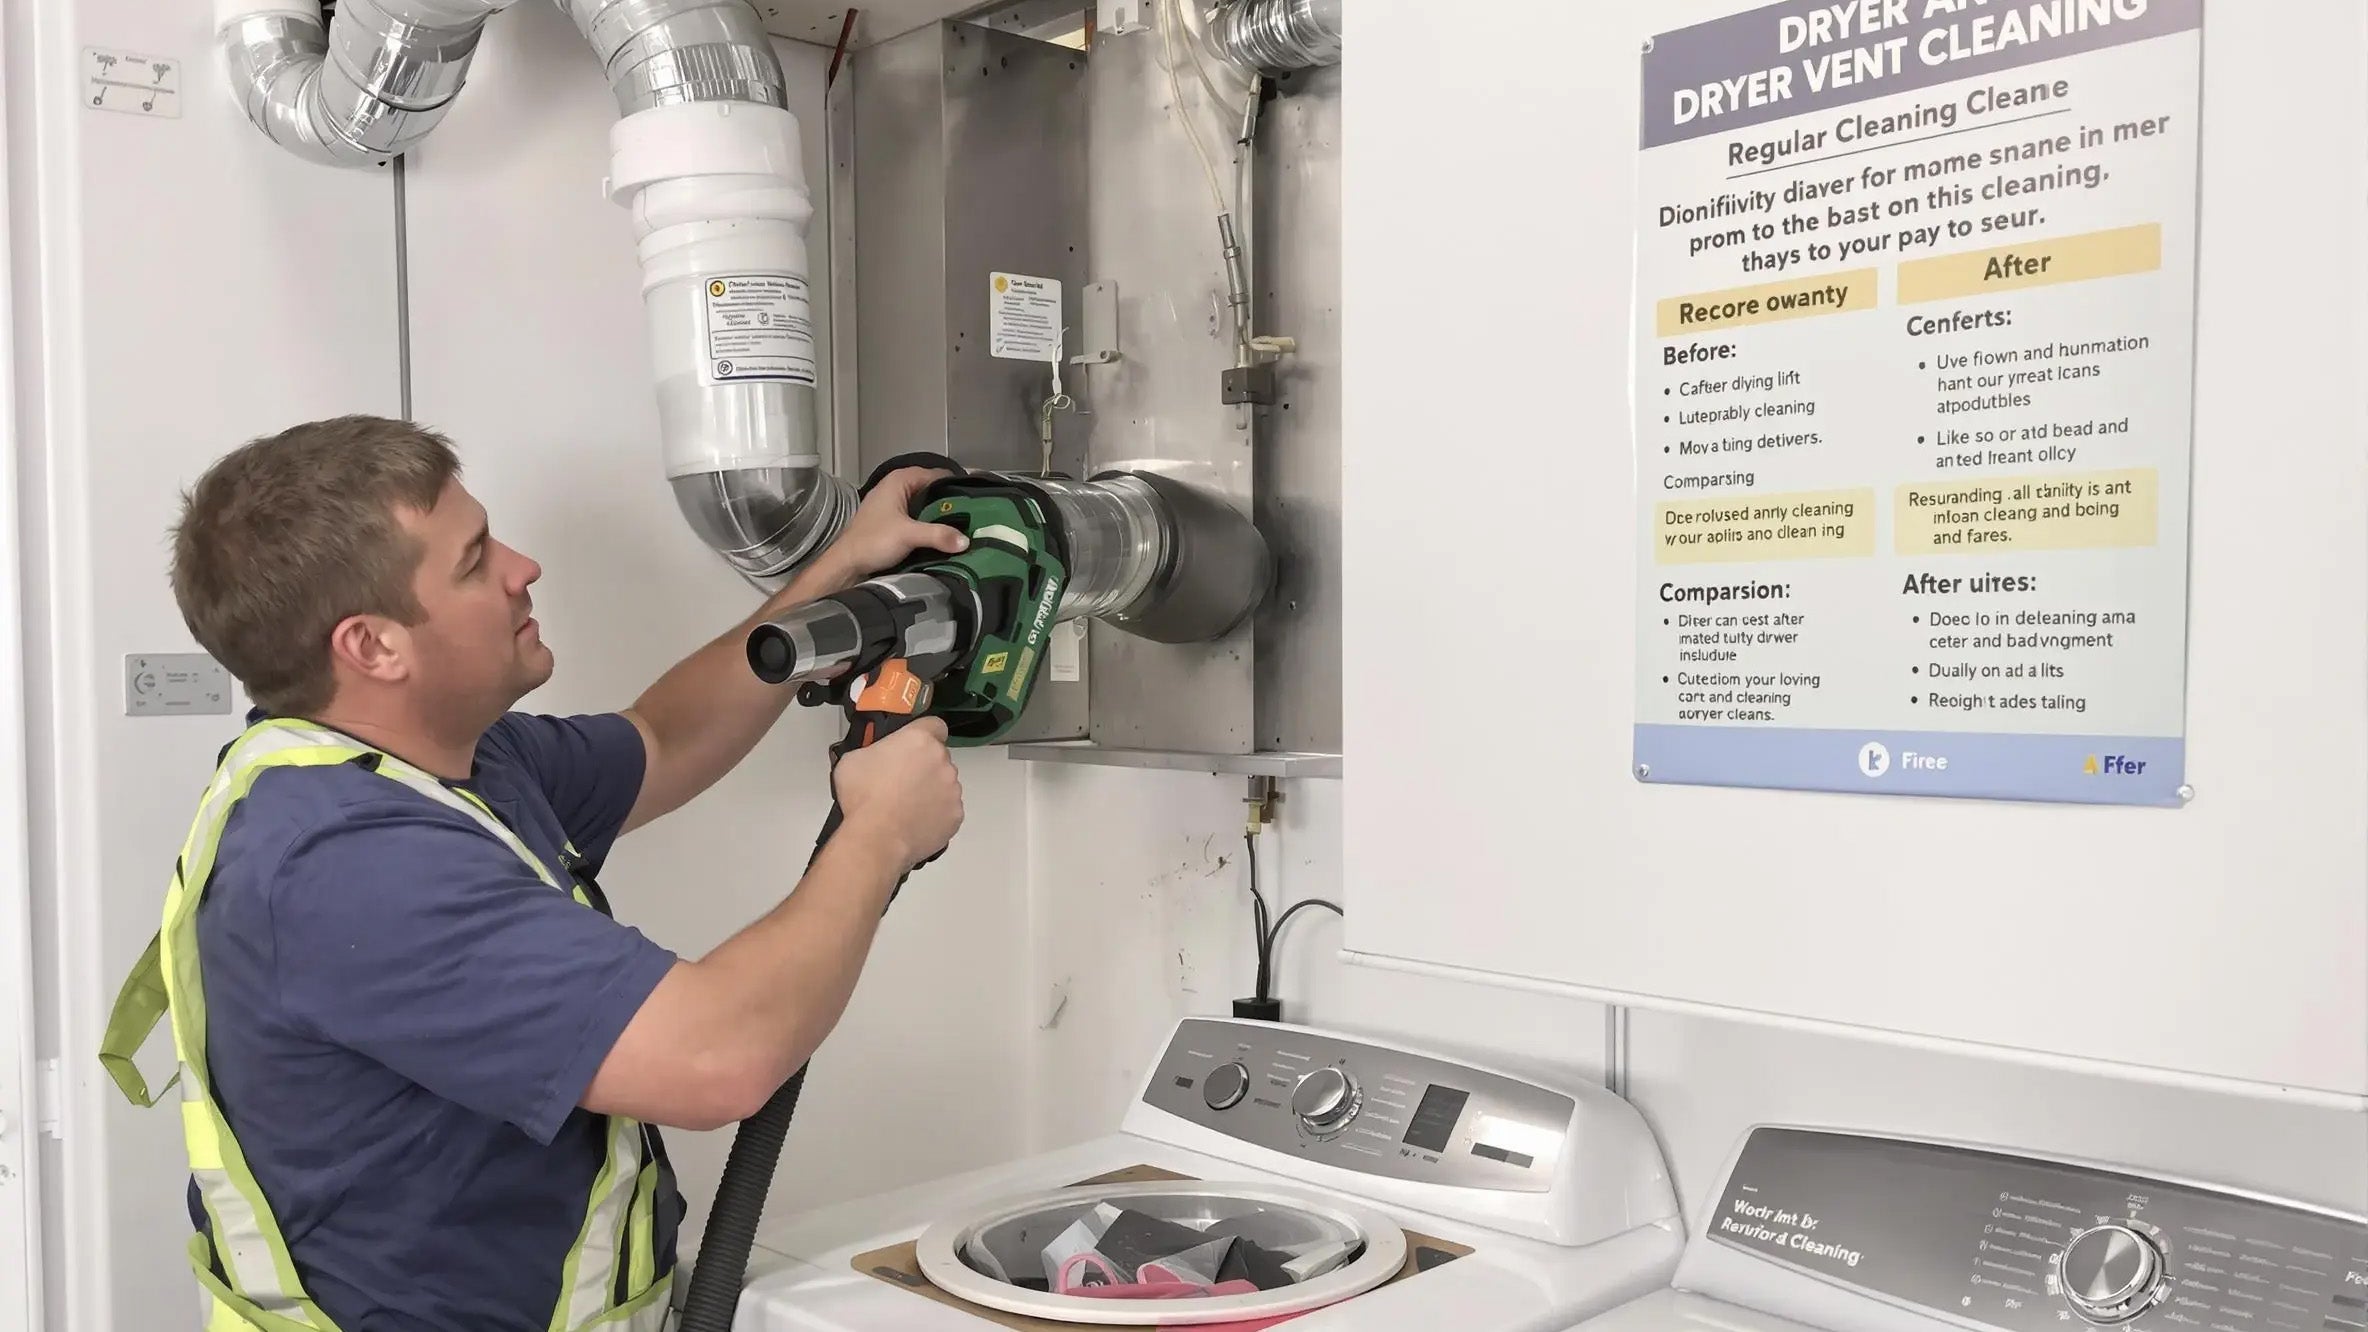
If your dryer is taking too long to dry, leaving clothes damp, overheating, or producing weak airflow, the most common cause isn’t the dryer itself—it’s a clogged dryer vent hose. When lint builds up inside the hose, air can’t escape properly, which slows drying time, increases energy use, and even creates a fire hazard.
Regular dryer vent hose cleaning is one of the simplest ways to restore airflow, improve drying performance, and keep your laundry room safe. This guide walks you through the preparation, cleaning steps, and troubleshooting tips to ensure your dryer runs efficiently.
Signs Your Dryer Vent Hose Needs Cleaning
Recognizing the symptoms early can prevent bigger problems:
- Clothes still damp after a full cycle
- Dryer takes multiple cycles to finish
- Weak airflow from the exterior vent
- Dryer feels unusually hot
- Burning or musty smell
- Excess lint behind the dryer
- Visible kinks or crushed hose
If you notice one or more of these, it’s time for a thorough cleaning.
Preparation: Tools You’ll Need
Before getting started, gather the right tools for the job:
- Vacuum cleaner with a hose attachment
- Dryer vent cleaning brush (long and flexible is best)
- Screwdriver (to loosen clamps or panels)
- Microfiber cloth for wiping lint and dust
- Duct tape or clamps to resecure connections
- Having these items on hand will make the job quick, safe, and thorough.
Step-by-Step Dryer Vent Cleaning Guide
Step 1: Unplug and Disconnect
Safety first: unplug the dryer and pull it a few feet from the wall.
Disconnect the vent hose from both the dryer and the wall port.
Loosen clamps carefully to avoid tearing the hose.
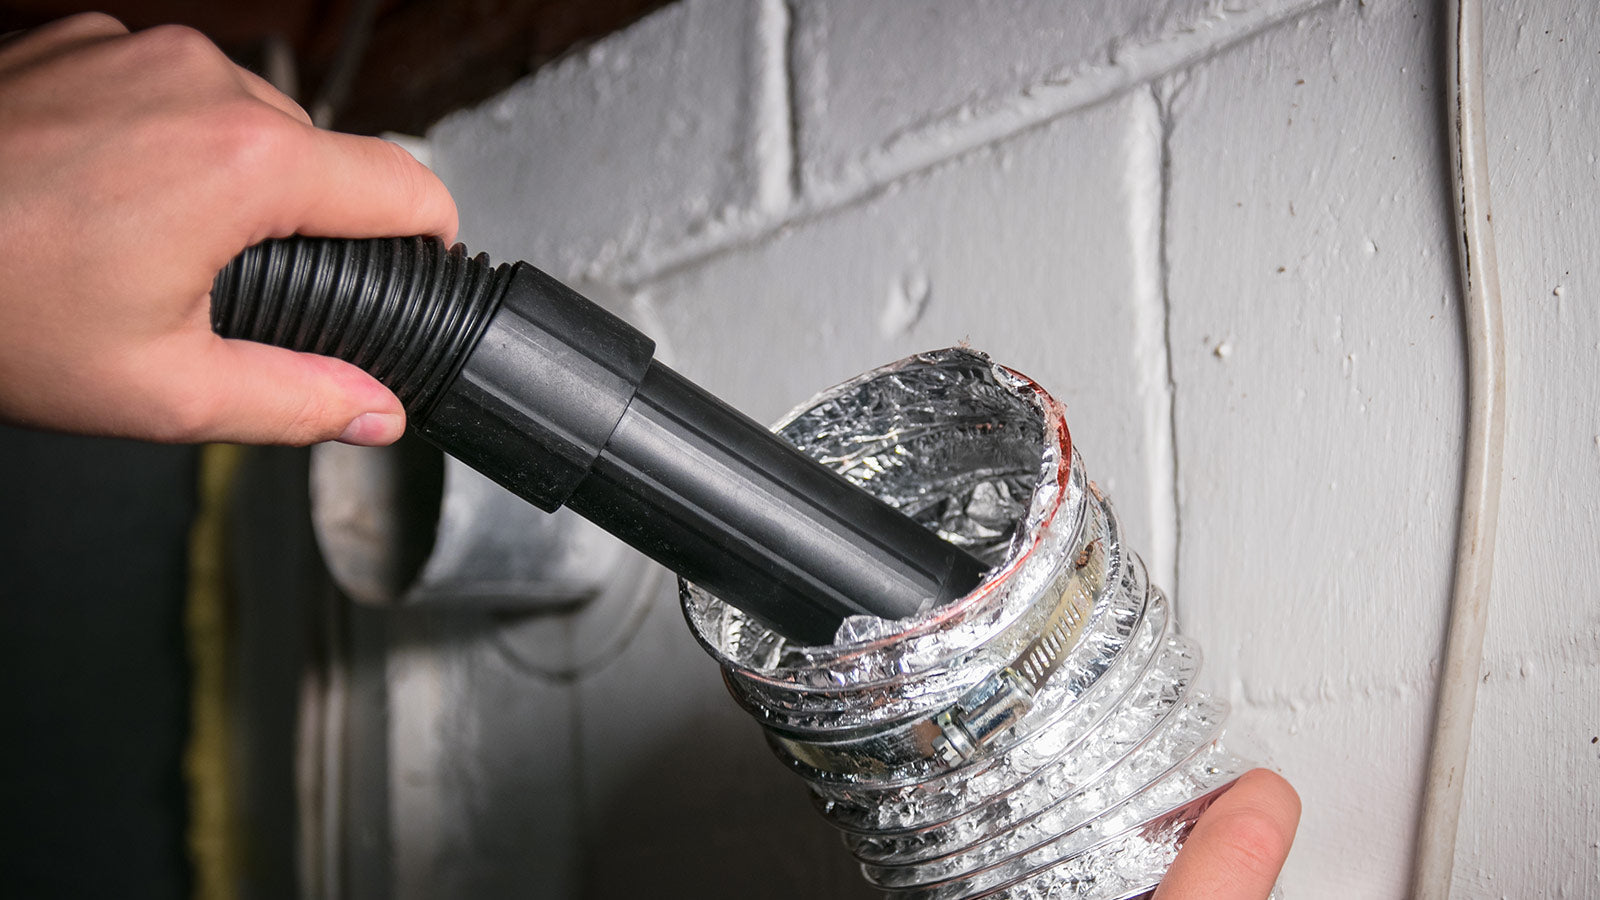
Step 2: Vacuum the Dryer and Hose
Use a vacuum with a hose attachment to remove as much lint as possible from:
- The dryer’s vent opening
- Inside the vent hose
- Around the lint trap area
This step prevents blockages and reduces overheating risk.
Step 3: Brush Out the Hose
Insert a long, flexible dryer vent brush into the hose.
Rotate the brush as you push it through to loosen stuck debris.
Work from both ends for the best results.
If your vent run is long, use extension rods for deeper cleaning.
Step 4: Wipe and Inspect
Wipe the hose and surrounding area using a microfiber cloth.
Then inspect the hose under strong light:
- Look for cracks
- Soft or melted sections
- Punctures
- Kinks or crushed spots
If any damage is found, replace the hose immediately.
Rigid metal vent hoses are safer and clog less frequently.
Step 5: Reassemble and Test
Reconnect the hose using clamps or aluminum tape.
Ensure the connection is tight but not pinching the hose.
Push the dryer back into place and run a short cycle.
Check the exterior vent:
- Strong airflow → cleaning successful
- Weak airflow → check for hidden blockages or crushed sections
Common Problems and Quick Solutions
Weak Airflow After Cleaning
You may have blockages deeper in the duct.
Use a longer brush kit or call a professional.
Overheating or Burning Smell
This usually indicates lint buildup or a damaged hose.
Replace worn or plastic hoses with rigid metal ones.
Frequent Lint Buildup
Clean the lint filter after every load.
Perform hose cleaning every 3–6 months depending on usage.
Water Dripping from Vent Hose
Condensation forms when airflow is weak or the vent run is too long.
Check for sags or replace crushed sections.
FAQs
1. Why is my dryer still not drying fully after cleaning the vent hose?
There may be lint deeper in the duct, a clogged exterior vent cap, or a crushed hose behind the dryer.
2. How often should I clean my dryer vent hose?
Every 3–6 months, or monthly if you dry heavy fabrics like towels or bedding.
3. Can a clogged vent hose cause overheating?
Yes. Restricted airflow makes the dryer run hotter and increases fire risk.
4. Should I replace plastic or foil hoses?
Yes. Rigid metal hoses are safer, more durable, and maintain stronger airflow.
Final Thoughts
Dryer vent hose cleaning may not be the most glamorous household chore, but it pays off in significant ways: faster drying cycles, lower energy bills, and a safer laundry room. By taking just a few minutes every few months, you'll extend the life of your dryer and enjoy peace of mind knowing your home is protected from preventable fire risks.
Sources:
- National Fire Protection Association (NFPA) – Home Dryer Fires Report
- U.S. Consumer Product Safety Commission (CPSC) – Clothes Dryer Safety Tips
- U.S. Department of Energy (DOE) – Energy Efficiency Tips