Tools and Materials Needed
Before starting the replacement process, gather all the necessary tools and materials:
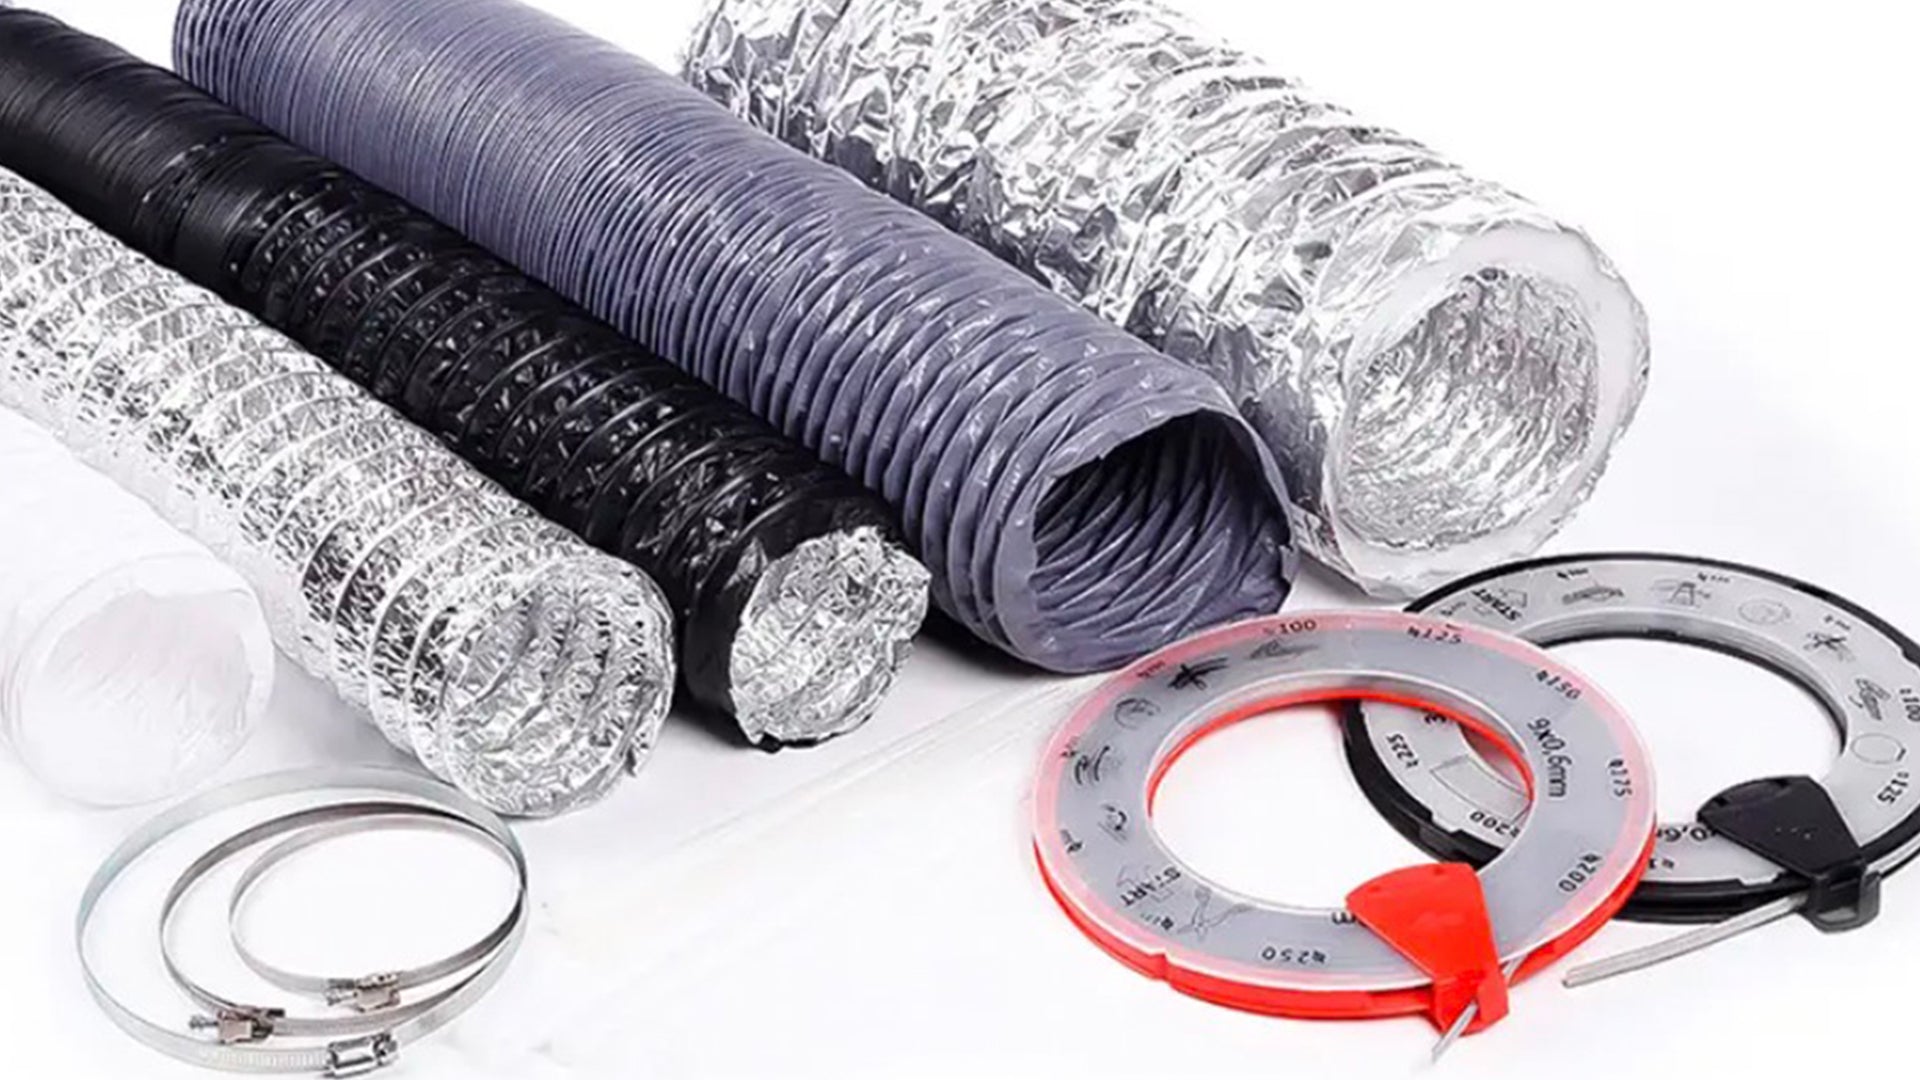
● Replacement vent hose (appropriate length and diameter)
● Hose clamps
● Utility knife or scissors
● Screwdriver (flathead or Phillips, depending on hose clamps)
● Measuring tape
● Marker or pen
● Duct tape
● Drywall saw (for cutting into the wall, if needed)
● Stud finder (optional)
● Flashlight (for visibility inside the wall)
● Drill and appropriate bits (for securing the vent hose, if needed)
● Vacuum cleaner (for cleaning lint and debris)
Step-by-Step Guide to Replacing a Dryer Vent Hose Inside a Wall
Step 1: Turn Off the Dryer and Disconnect
Start by turning off your dryer and unplugging it from the electrical outlet. If your dryer is gas-powered, turn off the gas supply as well. Pull the dryer away from the wall to give yourself enough space to work. Disconnect the existing vent hose from the back of the dryer and the wall vent. Use a screwdriver to loosen the hose clamps and remove the hose.
Step 2: Inspect the Existing Vent Hose and Wall Connection
Inspect the existing vent hose to determine the extent of the damage or clog. Also, check the wall connection for any signs of wear or damage. If the hose is severely damaged or clogged, it will need to be replaced entirely. If the wall connection is damaged, you may need to replace or repair the vent outlet inside the wall.
Step 3: Access the Vent Hose Inside the Wall
If the vent hose runs through the wall, you may need to cut into the drywall to access it. Use a stud finder to locate the studs and mark the area where you need to cut. Carefully cut into the drywall using a drywall saw, making a hole large enough to access the vent hose. Be cautious not to cut any electrical wires or other utilities inside the wall.
Step 4: Remove the Old Vent Hose
Once you have access to the vent hose inside the wall, carefully remove it. If the hose is attached with additional clamps or screws, use a screwdriver or drill to remove them. Gently pull the hose out of the wall, being mindful of any obstacles or tight spaces.
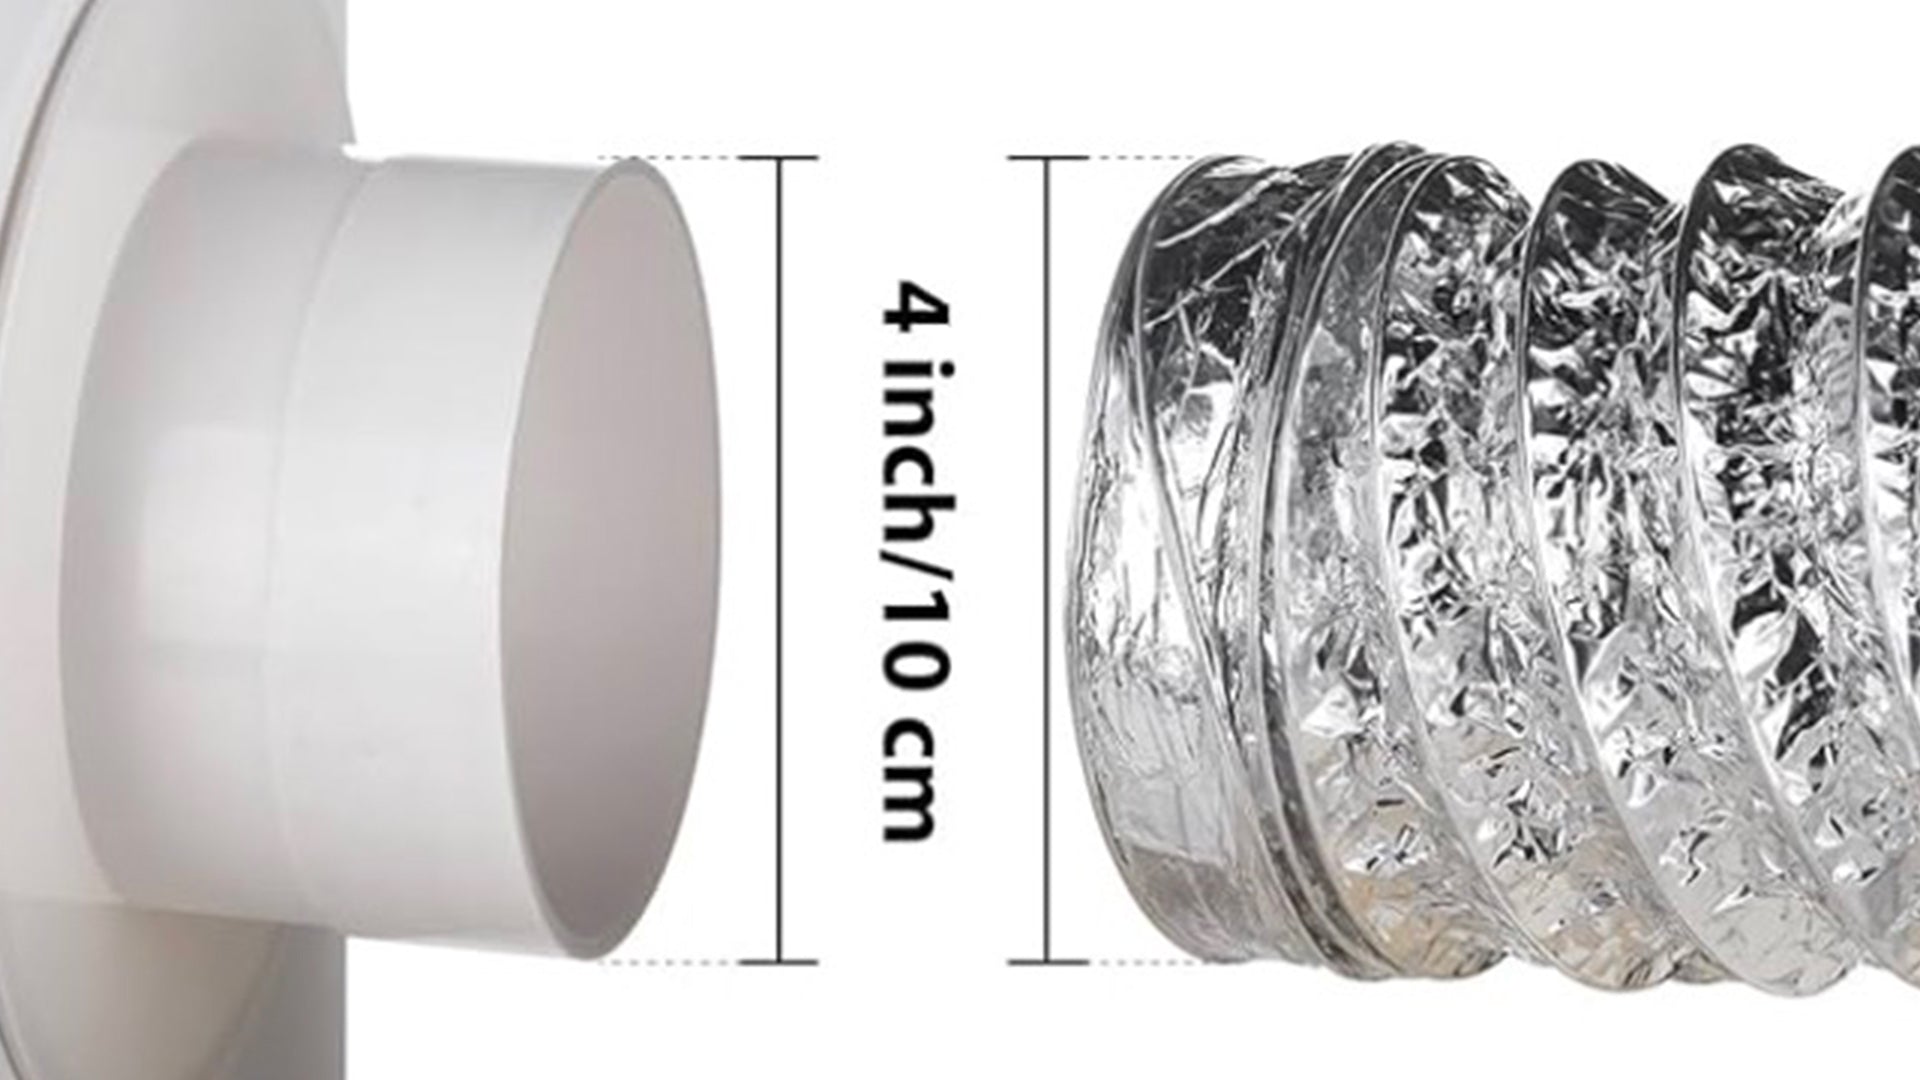
Step 5: Measure and Cut the New Vent Hose
Measure the distance between the dryer vent outlet and the exterior vent or wall connection. Add a few extra inches to account for bends and adjustments. Lay the new vent hose flat and use a marker to mark the cutting point. Trim the hose to the appropriate length using a utility knife or scissors. Ensure the cut is clean and even.
Step 6: Install the New Vent Hose Inside the Wall
Carefully feed the new vent hose through the hole in the wall, ensuring it runs smoothly without any kinks or bends. Attach one end of the hose to the exterior vent or wall connection. Use a hose clamp to secure the connection, tightening it with a screwdriver. Ensure the connection is tight and secure to prevent air leaks.
Step 7: Connect the Vent Hose to the Dryer
Connect the other end of the vent hose to the dryer vent outlet. Slide the hose onto the outlet and secure it with a hose clamp. Tighten the clamp with a screwdriver, ensuring a snug fit. Make sure the hose is not kinked or compressed and has a smooth path from the dryer to the wall.
Step 8: Seal and Repair the Wall
Once the new vent hose is securely in place, use duct tape to seal any gaps or joints for added security. If you had to cut into the drywall, repair the hole by fitting a drywall patch over the opening. Secure the patch with drywall screws and cover the seams with joint compound. Sand the area smooth and paint it to match the surrounding wall.
Step 9: Test the Dryer
After completing the installation, plug the dryer back in and turn it on. If you have a gas dryer, turn the gas supply back on. Test the dryer to ensure proper airflow and listen for any unusual noises that might indicate a loose connection or obstruction in the hose. Check the exterior vent to ensure that exhaust air is being properly vented outside.
Tips for Maintaining Your Dryer Vent Hose
Proper maintenance of your dryer vent hose is crucial for ensuring its longevity and efficiency. Here are some tips to help you keep your vent hose in optimal condition:
1. Regular Cleaning: Clean the vent hose and lint trap regularly to remove any buildup of lint and debris. This will help maintain proper airflow and reduce the risk of fire.
2. Inspect for Damage: Periodically inspect the vent hose for any signs of wear, damage, or loose connections. Address any issues promptly to prevent air leaks and maintain the efficiency of your dryer.
3. Check Connections: Ensure that the hose clamps and connections remain tight and secure. Loose fittings can cause air leaks and reduce the effectiveness of your dryer.
4. Avoid Sharp Bends: When installing the vent hose, avoid creating sharp bends or kinks, as these can restrict airflow and increase wear on the hose. Use smooth curves and gentle bends to maintain optimal airflow.
5. Replace When Necessary: If your vent hose becomes damaged beyond repair or shows signs of significant wear, replace it with a new one. Regular replacement ensures that your dryer continues to function efficiently and safely.
Troubleshooting Common Issues
Even with proper installation and maintenance, you may encounter some common issues with your dryer vent hose. Here are a few problems and their potential solutions:
Issue 1: Reduced Airflow
If you notice a decrease in airflow, check for obstructions or buildup inside the hose. Clean the hose thoroughly to remove any debris. Additionally, ensure that the hose is not kinked or compressed, as this can restrict airflow.
Issue 2: Air Leaks
If you detect air leaks around the connections, tighten the hose clamps or use duct tape to seal any gaps. Ensure that the hose fits snugly onto the vent outlets and that the clamps are securely fastened.
Issue 3: Hose Disconnections
If the hose frequently becomes disconnected, check the tightness of the hose clamps and ensure they are properly positioned. Consider using additional clamps or securing the hose with duct tape for added stability.
Issue 4: Excessive Lint Buildup
Regularly cleaning the vent hose can prevent excessive lint buildup. However, if you notice an unusual amount of lint, check the lint trap in your dryer and clean it thoroughly. Ensure that the hose is properly installed and not obstructed.
Conclusion
Replacing a dryer vent hose inside a wall can be a complex task, but it is essential for maintaining the efficiency and safety of your dryer system. By following the step-by-step guide provided in this article, you can ensure a secure and effective installation. Regular maintenance and prompt troubleshooting of any issues will help extend the lifespan of your vent hose and keep your dryer running smoothly. Remember, a properly installed and maintained vent hose not only improves the performance of your dryer but also enhances the overall safety of your home.