Understanding the Importance of Proper Vent Hose Installation
Flexible vent hoses are used to transport exhaust air from dryers and HVAC units to the outside of a building. Improper installation can lead to several issues, including reduced efficiency, increased energy consumption, potential fire hazards, and moisture buildup. Properly trimming and attaching the vent hose ensures a secure connection, minimizes airflow resistance, and helps maintain the safety and efficiency of your system.
Tools and Materials Needed
Before starting, gather all the necessary tools and materials. Having everything on hand will make the process smoother and more efficient.
● Flexible vent hose (appropriate length and diameter for your application)
● Hose clamps (sized to fit the vent hose)
● Scissors or a utility knife
● Wire cutters (for cutting the internal wire coil of the hose)
● Screwdriver (flathead or Phillips, depending on the hose clamps)
● Measuring tape
● Marker or pen
● Duct tape (optional, for sealing connections)
Step-by-Step Guide to Trimming and Attaching a Flexible Vent Hose
Step 1: Measure the Required Length
The first step in trimming a flexible vent hose is to measure the distance between the vent outlet (on your dryer or HVAC unit) and the point where the hose will be attached to the wall or vent cap. Use a measuring tape to get an accurate measurement. It's essential to account for any bends or turns in the hose path, as these will require additional length. Adding a few extra inches to your measurement will provide some flexibility for adjustments.
Step 2: Mark the Cutting Point
Once you have the correct length, lay the vent hose flat on a work surface. Use a marker or pen to mark the point where you need to cut. Ensure the mark goes around the entire circumference of the hose to guide a straight cut. This step is crucial for ensuring a clean and even trim, which will facilitate a secure connection later.
Step 3: Trim the Vent Hose
Using a pair of scissors or a utility knife, carefully cut along the marked line. If you are using a utility knife, make sure to cut slowly and steadily to avoid jagged edges. Flexible vent hoses typically have a wire coil inside to provide structure and flexibility. Use wire cutters to snip through the coil, then continue cutting the remaining material with your scissors or knife. Take care to make a clean cut to ensure a proper fit with the hose clamp.
Step 4: Attach the Hose Clamps
Before attaching the vent hose, slide a hose clamp over each end. Hose clamps are essential for securing the hose to the vent outlet and the exhaust point, preventing air leaks and ensuring a stable connection. Position the clamps so they are ready to be tightened once the hose is in place.
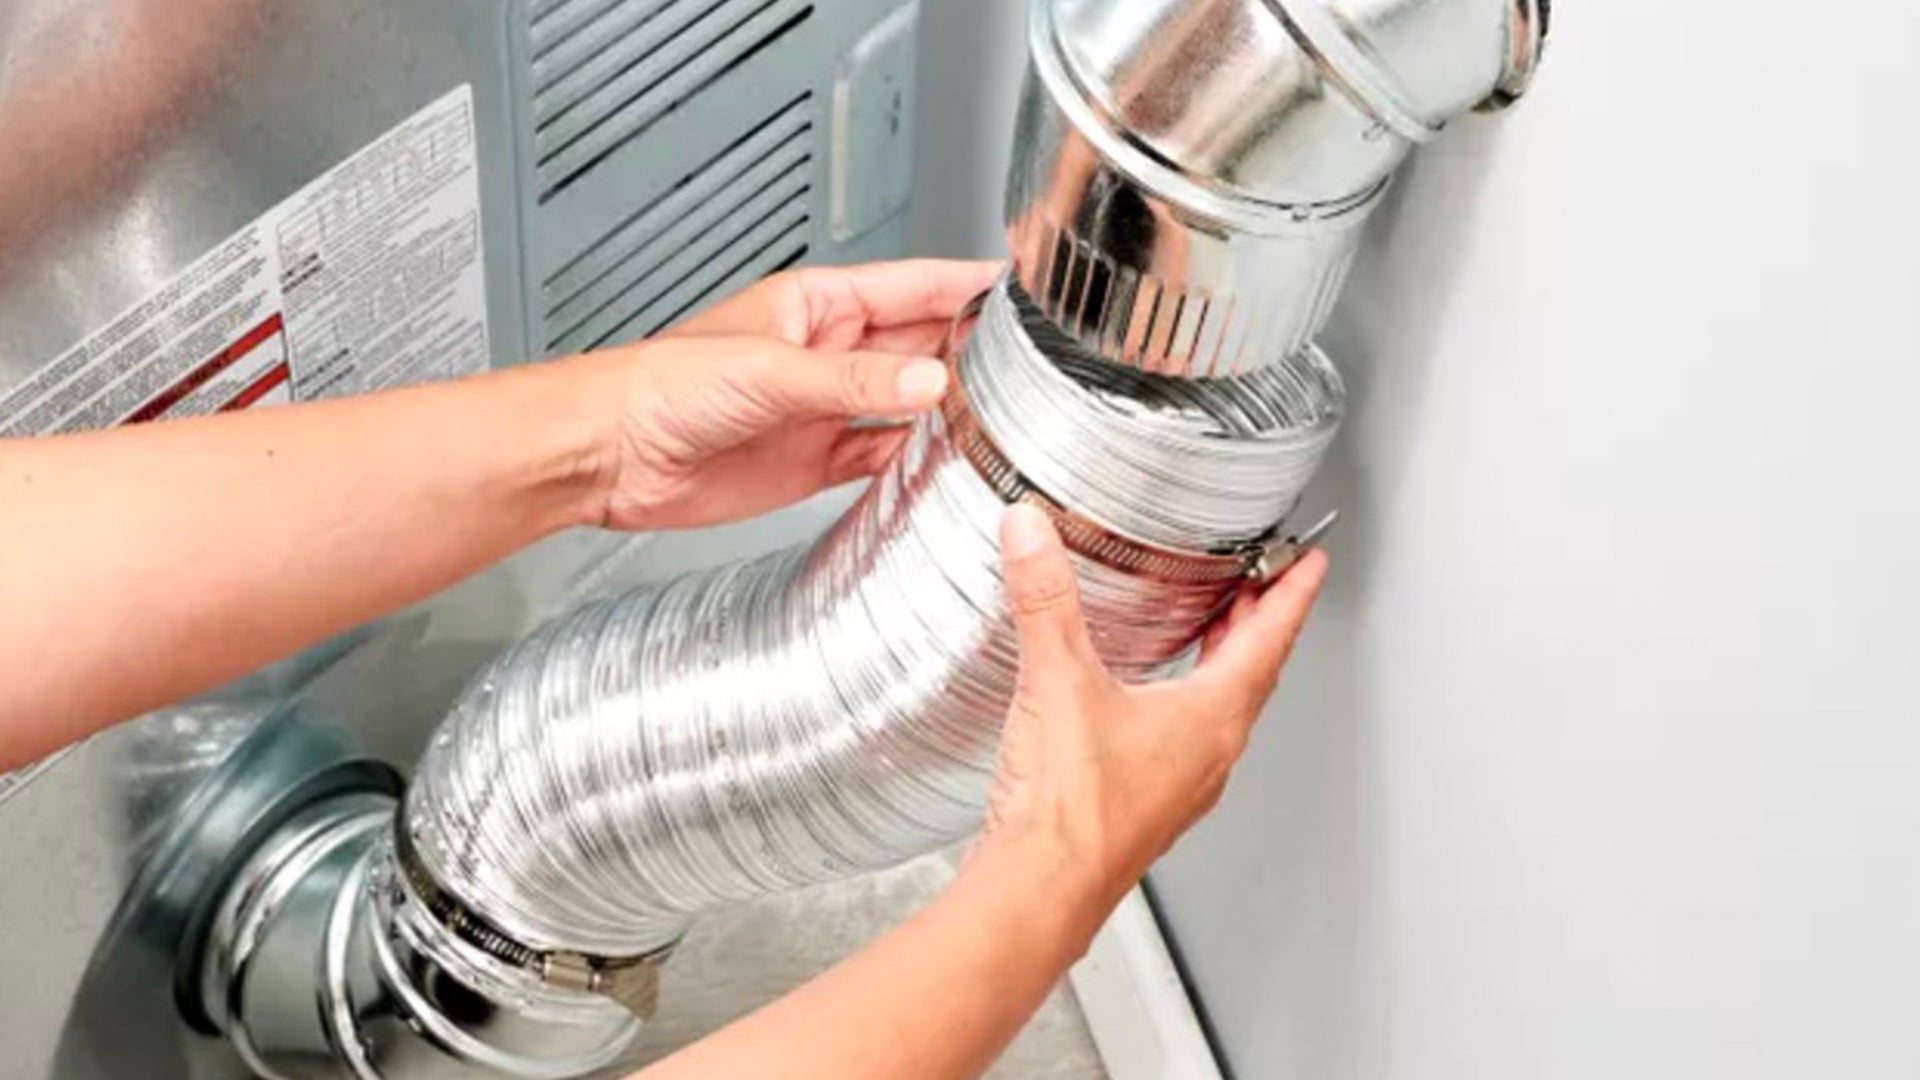
Step 5: Connect the Vent Hose to the Dryer or HVAC Unit
Attach one end of the trimmed vent hose to the vent outlet on your dryer or HVAC unit. Push the hose onto the outlet, ensuring it fits snugly. Once the hose is in place, slide the hose clamp over the connection point and tighten it using a screwdriver. Make sure the clamp is securely fastened but not so tight that it damages the hose.
Step 6: Connect the Vent Hose to the Wall or Vent Cap
Next, attach the other end of the vent hose to the wall vent or vent cap. Follow the same procedure as in Step 5: push the hose onto the connection point, slide the hose clamp over the joint, and tighten it with a screwdriver. Ensure a secure and airtight fit to prevent any leaks or disconnections.
Step 7: Inspect and Test the Installation
After attaching both ends of the vent hose, inspect the connections to ensure they are secure and airtight. Look for any gaps or loose fittings that could cause leaks. If desired, you can use duct tape to seal the connections further. This step is optional but can provide additional security and peace of mind.
Step 8: Test the System
Finally, turn on your dryer or HVAC unit to test the system. Check for proper airflow and listen for any unusual noises that might indicate a loose connection or obstruction in the hose. Ensure that the exhaust air is being vented outside as intended. If everything is functioning correctly, you have successfully trimmed and attached your flexible vent hose.
Tips for Maintaining Your Vent Hose
Proper maintenance of your flexible vent hose is essential for ensuring its longevity and efficiency. Here are some tips to help you keep your vent hose in optimal condition:
1. Regular Cleaning: Over time, lint and debris can accumulate inside the vent hose, reducing airflow and increasing the risk of fire. Regularly clean the hose to remove any buildup. Use a vent brush or vacuum attachment to reach inside the hose and clear out any obstructions.
2. Inspect for Damage: Periodically inspect the vent hose for any signs of wear or damage, such as tears, holes, or loose connections. Address any issues promptly to prevent air leaks and maintain the efficiency of your system.
3. Check Connections: Ensure that the hose clamps and connections remain tight and secure. Loose fittings can cause air leaks and reduce the effectiveness of your ventilation system.
4. Avoid Sharp Bends: When installing the vent hose, avoid creating sharp bends or kinks, as these can restrict airflow and increase wear on the hose. Use smooth curves and gentle bends to maintain optimal airflow.
5. Replace When Necessary: If your vent hose becomes damaged beyond repair or shows signs of significant wear, replace it with a new one. Regular replacement ensures that your ventilation system continues to function efficiently and safely.
Common Issues and Troubleshooting
Even with proper installation and maintenance, you may encounter some common issues with your flexible vent hose. Here are a few problems and their potential solutions:
1. Reduced Airflow: If you notice a decrease in airflow, check for obstructions or buildup inside the hose. Clean the hose thoroughly to remove any debris. Additionally, ensure that the hose is not kinked or compressed, as this can restrict airflow.
2. Air Leaks: If you detect air leaks around the connections, tighten the hose clamps or use duct tape to seal any gaps. Ensure that the hose fits snugly onto the vent outlets and that the clamps are securely fastened.
3. Hose Disconnections: If the hose frequently becomes disconnected, check the tightness of the hose clamps and ensure they are properly positioned. Consider using additional clamps or securing the hose with duct tape for added stability.
4. Excessive Lint Buildup: Regularly cleaning the vent hose can prevent excessive lint buildup. However, if you notice an unusual amount of lint, check the lint trap in your dryer and clean it thoroughly. Ensure that the hose is properly installed and not obstructed.
Conclusion
Trimming and attaching a flexible vent hose is a crucial task for maintaining the efficiency and safety of your dryer or HVAC system. By following the step-by-step guide provided in this article, you can ensure a secure and effective installation. Regular maintenance and prompt troubleshooting of any issues will help extend the lifespan of your vent hose and keep your system running smoothly. Remember, a properly installed and maintained vent hose not only improves the performance of your appliances but also enhances the overall safety of your home.