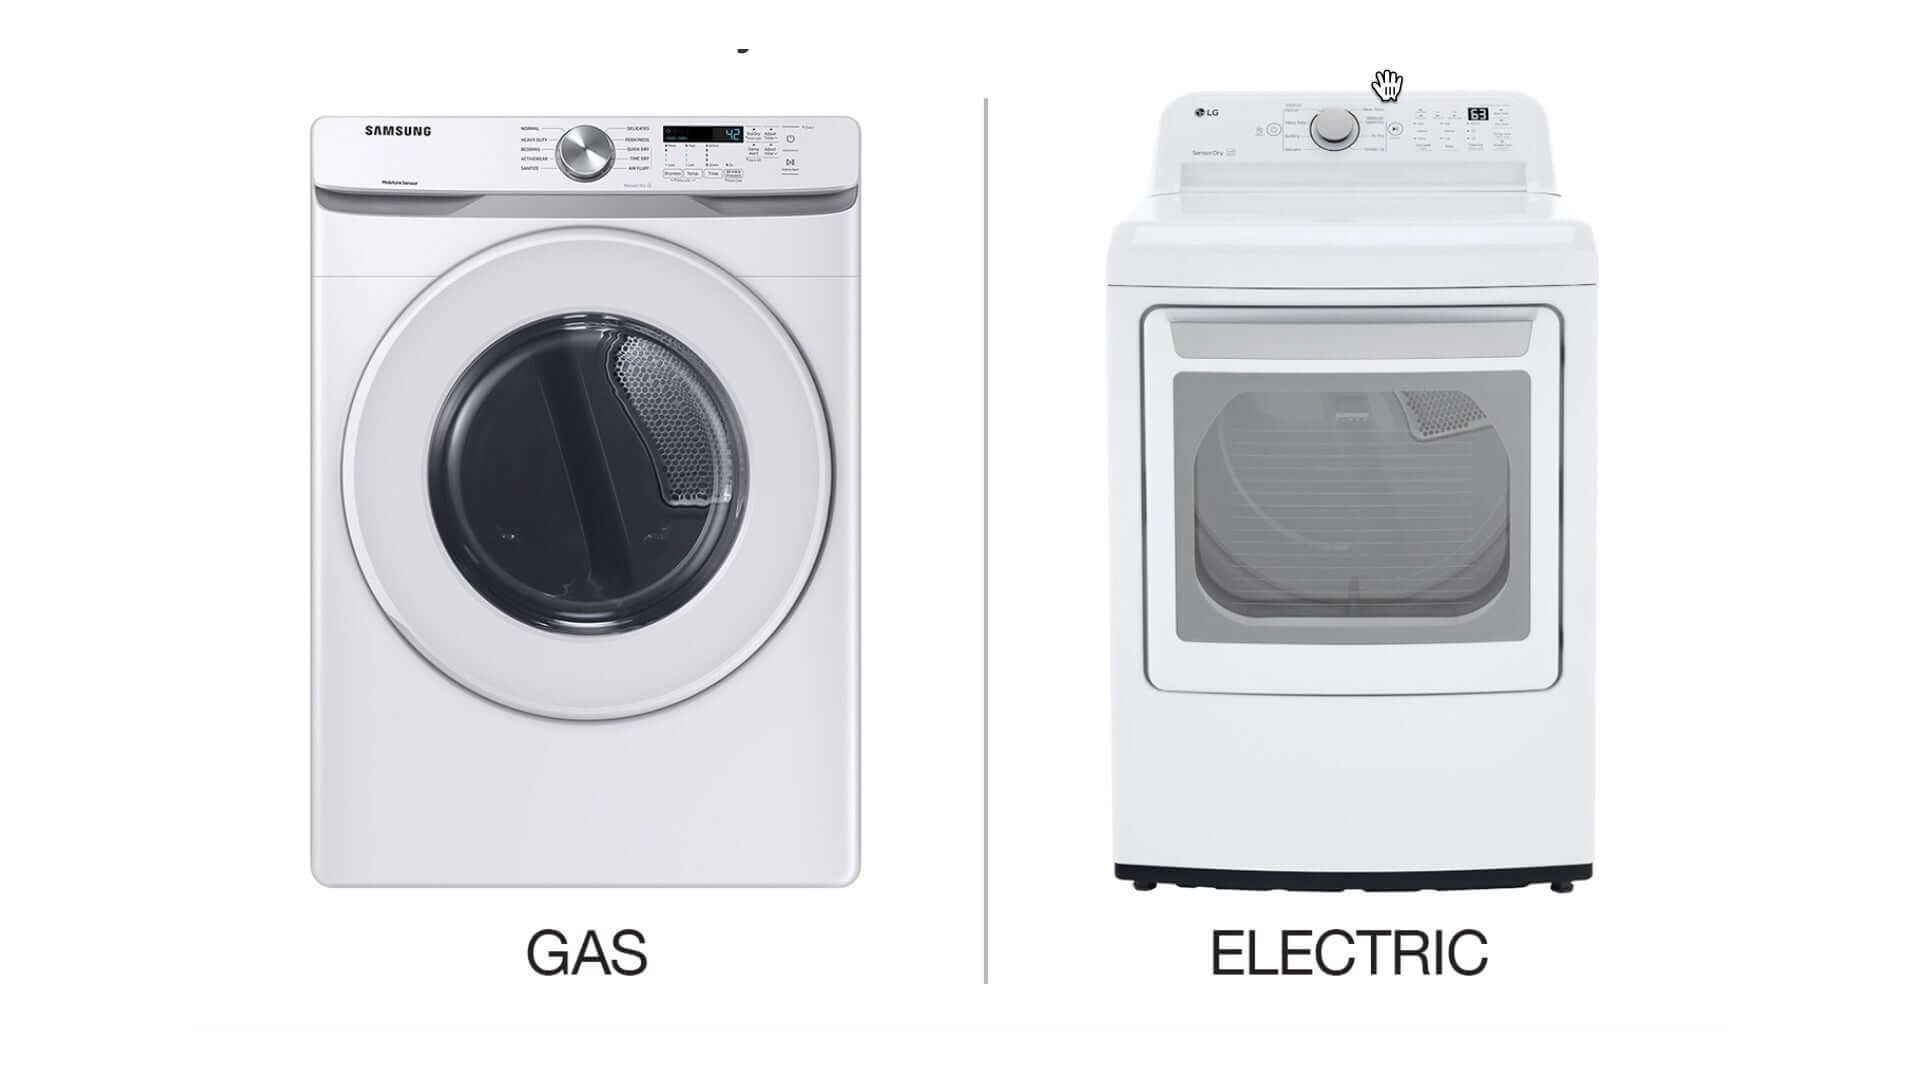
Understanding the Importance of Proper Dryer Duct Installation
Flexible vent hoses play a crucial role in directing exhaust air from dryers and HVAC systems safely outdoors. However, improper installation can lead to reduced efficiency, higher energy consumption, moisture buildup, and even potential fire hazards. Learning how to correctly trim and attach a flexible vent hose ensures a tight seal, smooth airflow, and long-term safety and performance for your ventilation system.
Tools and Materials Needed
Before beginning your dryer duct installation, make sure you have the right tools and materials prepared. This will make the process smoother and more efficient.
- Flexible vent hose (correct length and diameter for your setup)
- Hose clamps (to secure both ends)
- Scissors or utility knife
- Wire cutters (for cutting the inner coil)
- Screwdriver (flathead or Phillips)
- Measuring tape
- Marker or pen
-
Duct tape (optional, for sealing joints)

Step-by-Step Guide to Trimming and Attaching a Flexible Vent Hose
Step 1: Measure the Required Length
Measure the distance between the appliance outlet (dryer or HVAC unit) and the wall vent or exterior cap. Use a measuring tape to get an accurate measurement, and account for any bends in the hose path. It’s best to add a few extra inches to allow for flexibility during installation.
Step 2: Mark the Cutting Point
Lay the vent hose on a flat surface and use a marker to draw a clear line around the entire circumference where you plan to cut. A precise mark ensures a clean trim and an easy, airtight connection later.

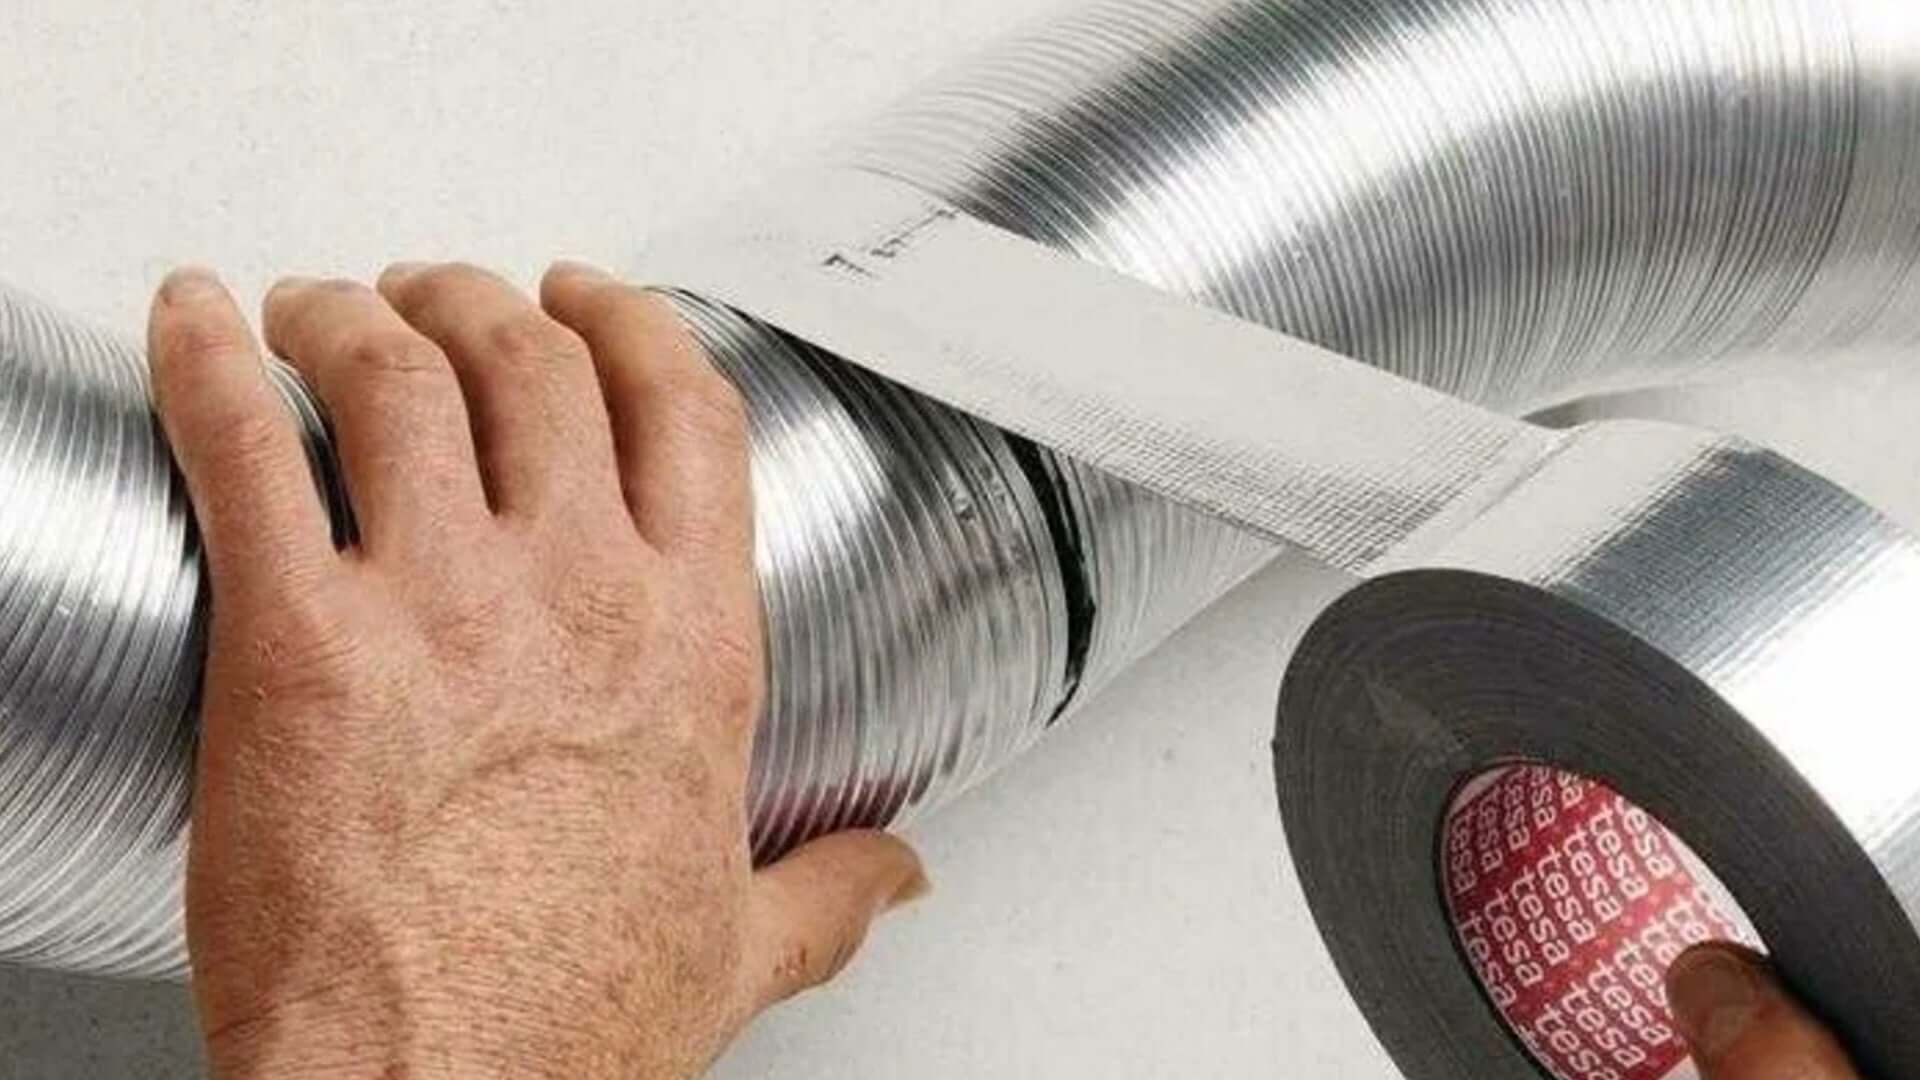
Step 3: Trim the Vent Hose
Use scissors or a utility knife to carefully cut along the line. Most vent hoses contain a metal wire coil for structure—cut through it with wire cutters, then finish trimming the rest of the material. Make sure the cut is smooth and even for a secure fit.
Step 4: Prepare and Slide on Hose Clamps
Before attaching, slide a hose clamp onto each end of the vent hose. These clamps will secure the connections to prevent air leaks. Keep them loose for now—you’ll tighten them after fitting the hose.
Step 5: Connect the Hose to the Dryer or HVAC Unit
Attach one end of the hose to the dryer’s exhaust outlet. Push it in firmly until it’s snug, then position the clamp over the joint and tighten it using a screwdriver. Ensure the connection is secure but avoid over-tightening, which could damage the hose.
Step 6: Attach the Other End to the Wall or Vent Cap
Repeat the same process for the other end of the hose, connecting it to the wall duct or vent cap. Make sure the connection is airtight and properly aligned to prevent disconnections or air leaks.
Step 7: Inspect the Installation
Check both ends for tightness and gaps. If you notice small openings, apply duct tape to reinforce the seal. This extra step can improve efficiency and safety.
Step 8: Test the Dryer Duct Installation
Turn on your dryer or HVAC unit and check for strong, steady airflow through the vent. Listen for any rattling or air escaping around the clamps. Proper airflow means your installation was successful.
Tips for Maintaining Your Vent Hose
Regular maintenance helps your vent hose last longer and operate safely. Follow these tips to keep your dryer duct installation in top condition:
- Clean Regularly: Lint and dust buildup can block airflow and pose fire hazards. Clean the hose periodically using a vent brush or vacuum attachment.
- Inspect for Damage: Check for cracks, holes, or loose fittings. Replace or tighten parts as needed.
- Keep Connections Tight: Make sure clamps stay snug to prevent leaks.
- Avoid Sharp Bends: Gentle curves reduce strain on the hose and maintain airflow.
- Replace When Needed: If the hose shows significant wear or damage, replace it promptly to ensure safety and efficiency.
Common Issues and Troubleshooting
Even with proper installation, some issues may occur:
- Reduced Airflow: Check for lint or debris inside the hose and clean it thoroughly. Avoid kinks or compressed sections.
- Air Leaks: Tighten clamps or use duct tape to close small gaps.
- Frequent Disconnections: Reposition and secure clamps more firmly, or add an extra one for stability.
- Excessive Lint: Clean the dryer lint trap and vent hose more frequently to maintain smooth airflow.
Conclusion
A well-executed dryer duct installation improves efficiency, extends the life of your dryer, and enhances home safety. By following this step-by-step guide, you can easily trim and attach a flexible vent hose the right way. Regular cleaning, inspection, and timely replacements will keep your system running efficiently for years to come.
Frequently Asked Questions About Dryer Duct Installation

1. How long should a dryer duct hose be?
Ideally, a dryer duct hose should be as short and straight as possible—no longer than 25 feet. Each 90-degree bend reduces airflow, so keep the path simple and smooth.
2. Can I use duct tape for dryer duct installation?
It’s not recommended. Duct tape can dry out or peel due to heat. Instead, use UL-listed aluminum foil tape for sealing connections securely and safely.
3. How often should I clean my dryer vent hose?
Clean your vent hose every 3 to 6 months to prevent lint buildup, maintain efficient airflow, and reduce the risk of fire hazards.
4. What type of hose is best for dryer ducts?
Aluminum or semi-rigid metal ducts are preferred. Plastic or vinyl hoses are not up to code in most areas because they pose higher fire risks.
5. How do I know if my dryer duct installation is done correctly?
You should feel strong airflow outside when the dryer is running. Also, your clothes should dry faster and there shouldn’t be any heat or moisture buildup in your laundry area.
Read more tips on dryer vent maintenance and installation at DryerVentHose.com