Tools and Materials Needed
Before starting the replacement process, gather all the necessary tools and materials:
- Replacement vent hose (appropriate length and diameter)
- Hose clamps
- Utility knife or scissors
- Screwdriver (flathead or Phillips, depending on hose clamps)
- Measuring tape
- Marker or pen
- Aluminum foil tape
- Drywall saw (for cutting into the wall, if needed)
- Stud finder (optional)
- Flashlight (for visibility inside the wall)
- Drill and appropriate bits (for securing the vent hose, if needed)
- Vacuum cleaner (for cleaning lint and debris)
For detailed guidance on duct tape, clamps, trimming & sealing your dryer vent hose, please read the guides below:
- Can You Use Duct Tape On Dryer Vents?
- How to Tape and Seal a Dryer Vent Hose Correctly
- How to Attach a Dryer Vent Hose
- How to Cut a Dryer Vent Hose
Step-by-Step Guide to Replacing a Dryer Vent Hose Inside a Wall
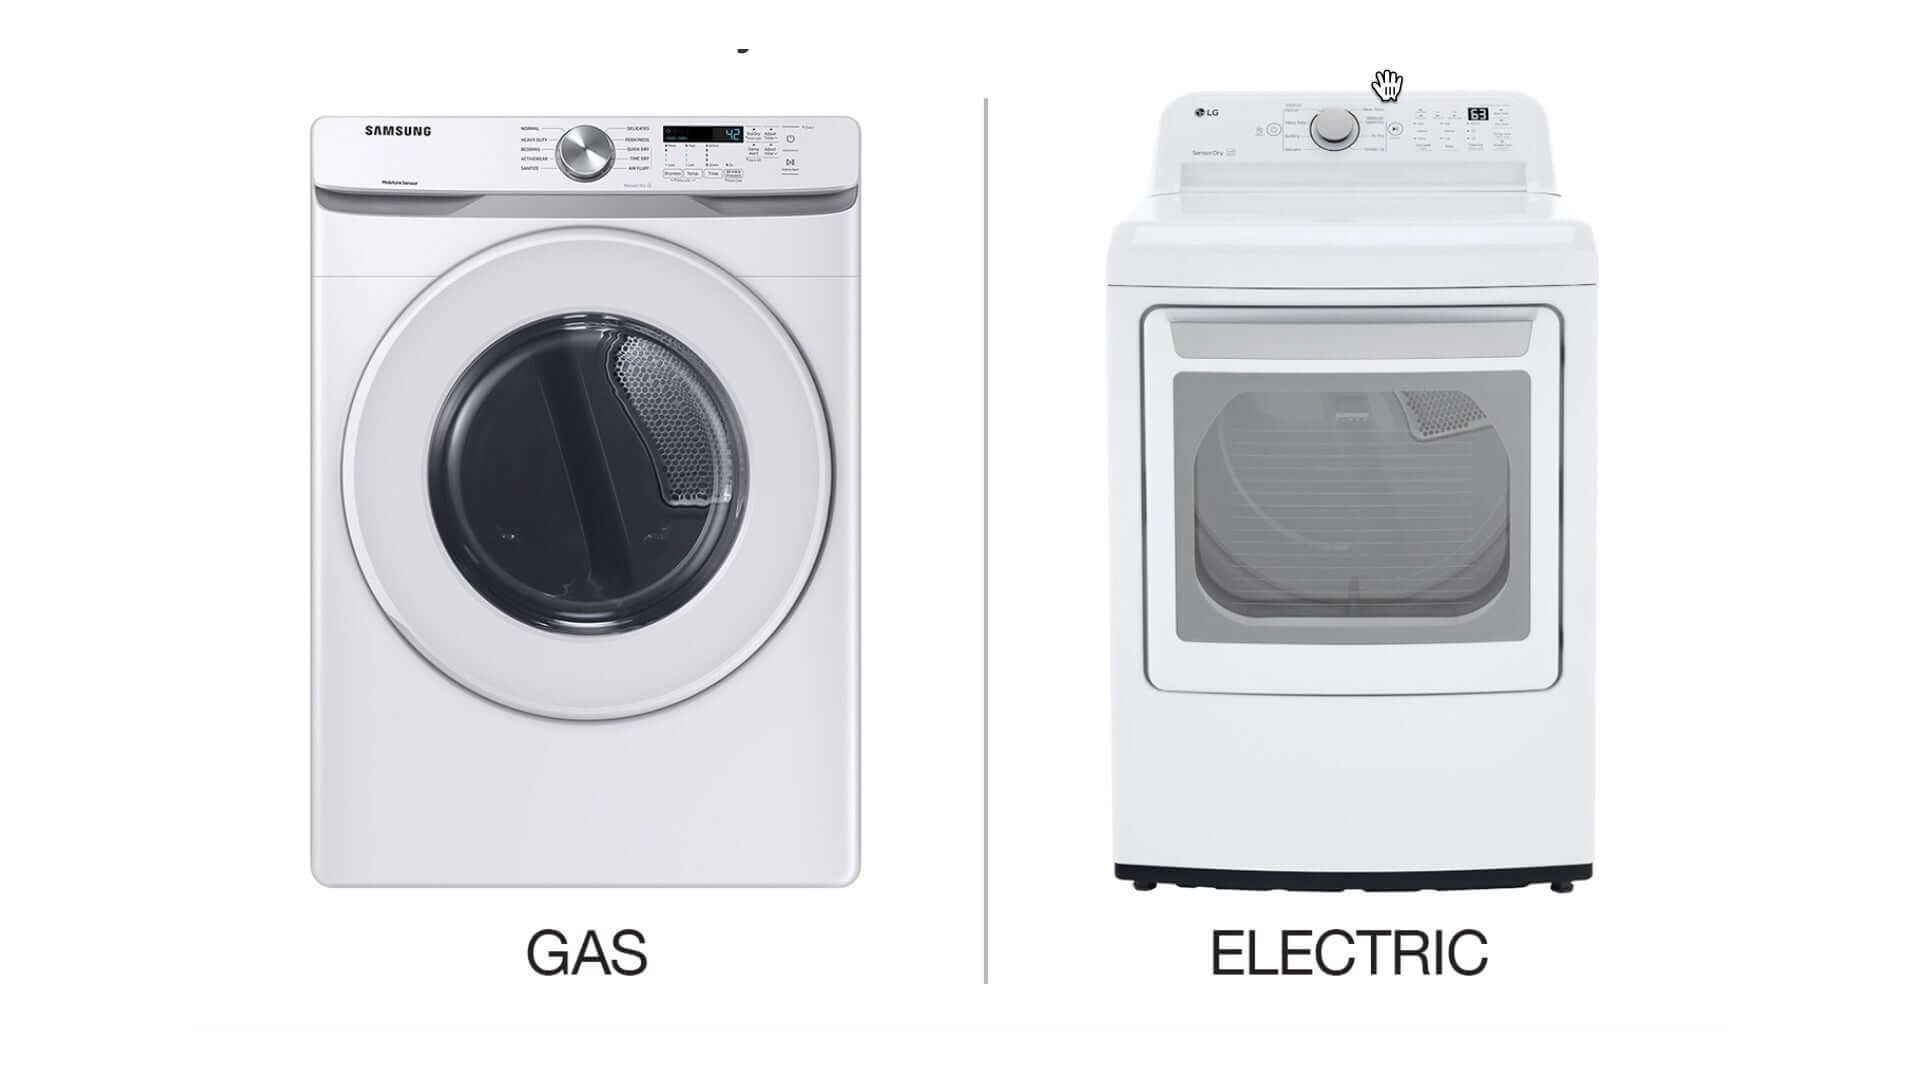
Step 1: Turn Off the Dryer and Disconnect
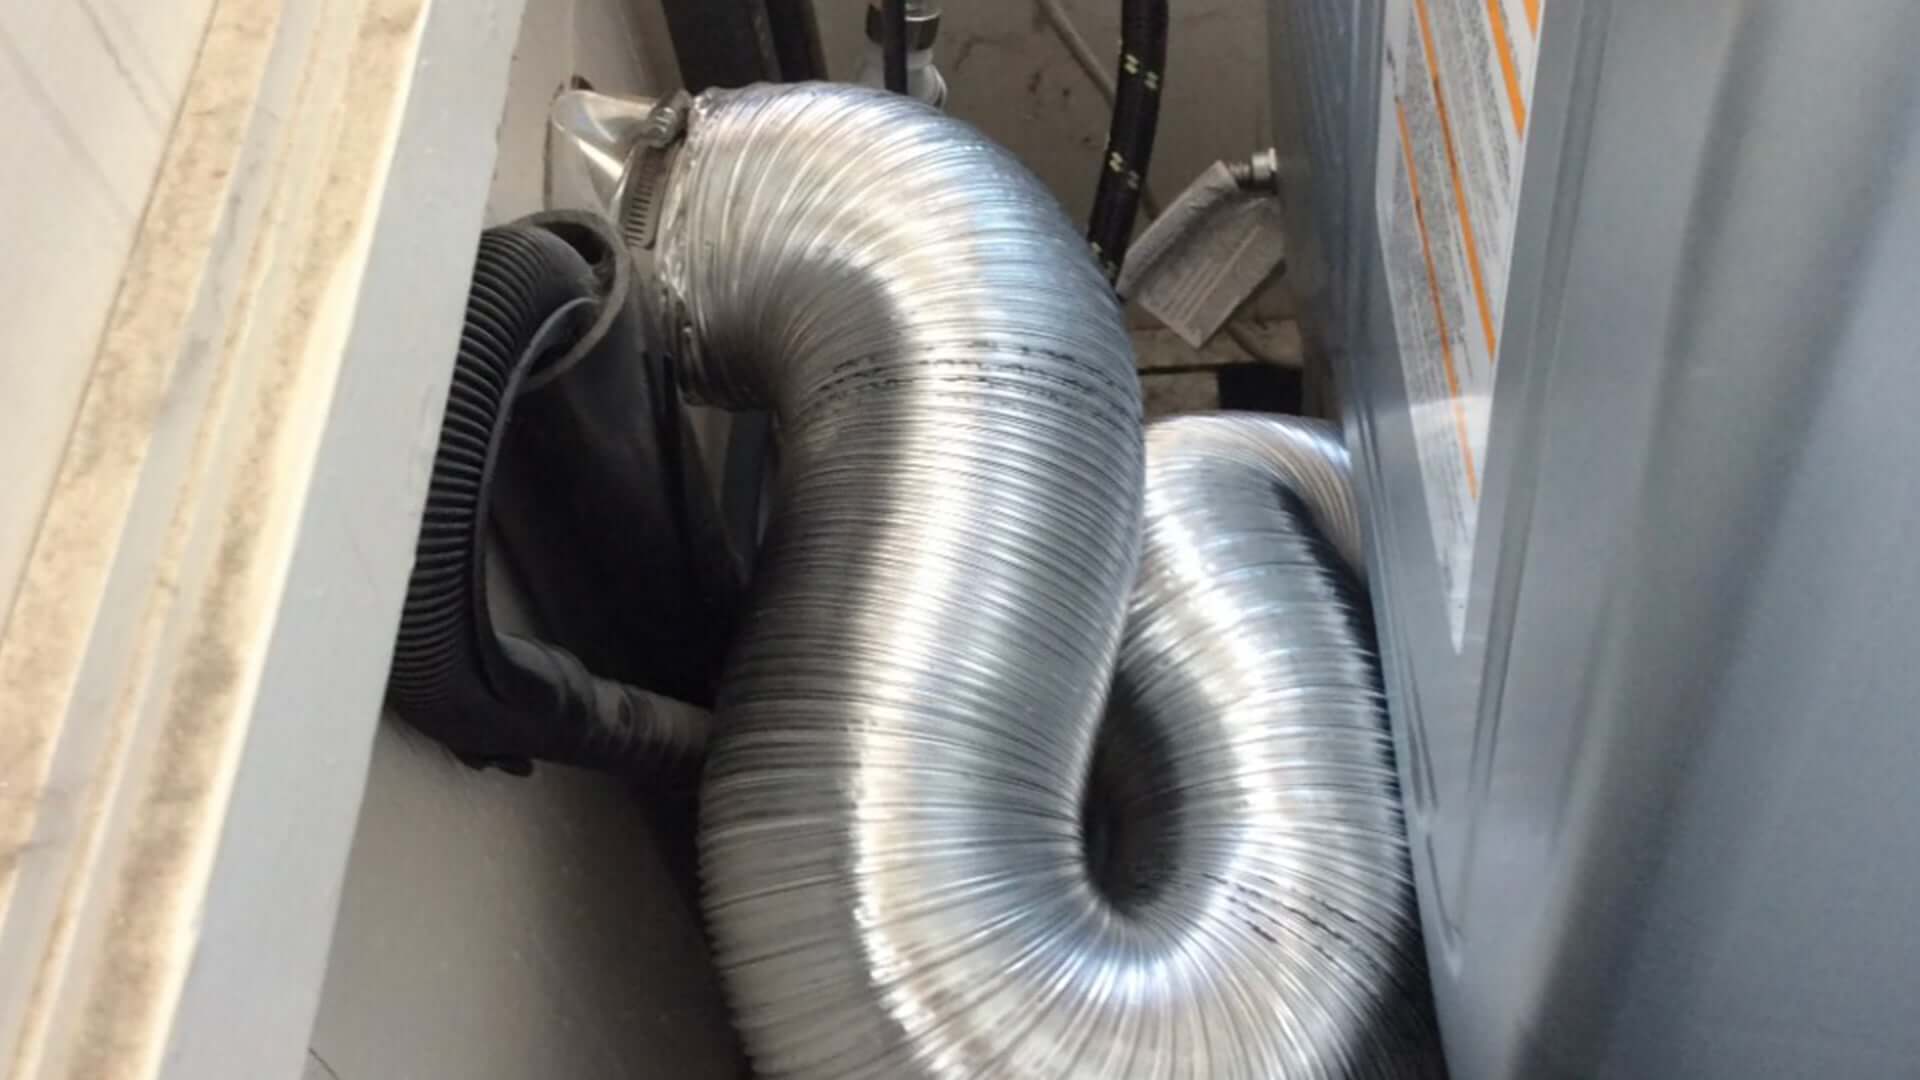
Turn off your dryer and unplug it from the electrical outlet. If your dryer is gas-powered, turn off the gas supply. Pull the dryer away from the wall to create enough workspace. Loosen the hose clamps using a screwdriver and remove the existing vent hose from the dryer and wall vent.
Step 2: Inspect the Existing Hose and Wall Connection
Check the vent hose for signs of damage or clogging, and inspect the wall connection for wear or defects. If the hose is severely clogged or broken, a full replacement is required. If the wall outlet inside the wall is damaged, it may need repair or replacement.
Step 3: Access the Hose Inside the Wall
If the hose runs inside the wall, locate studs using a stud finder and mark the cutting area. Carefully cut into the drywall using a drywall saw to create an access hole. Avoid cutting electrical wires or utilities.
Step 4: Remove the Old Hose
Unscrew or unclamp any internal wall fasteners if present. Gently pull the hose out, navigating around obstacles in tight spaces.
Step 5: Measure and Cut the New Hose
Measure the distance between the dryer vent outlet and the exterior or wall connection, adding extra inches for bends and adjustments. Mark the cutting point and trim the hose cleanly using a utility knife or scissors.
Step 6: Install the New Hose Inside the Wall
Feed the new hose smoothly through the access hole without kinks. Attach one end to the exterior vent or wall outlet, secure it with a hose clamp, and tighten firmly with a screwdriver to prevent leaks.
Step 7: Connect the Hose to the Dryer
Slide the other end onto the dryer vent outlet and secure it with a hose clamp. Ensure the hose path remains smooth, uncompressed, and free of sharp bends.
Step 8: Seal and Repair the Wall
Use duct tape to seal joints and gaps for added security. If drywall was cut, apply a drywall patch, secure with drywall screws, coat seams with joint compound, sand smooth when dry, and repaint to match the wall.
Step 9: Test the Dryer
Plug the dryer back in and restore gas supply if applicable. Run the dryer to verify airflow and listen for unusual noises. Check the exterior vent to confirm exhaust air exits properly.
Tips for Maintaining Your Dryer Vent Hose
- Regular Cleaning: Clean the hose and lint trap frequently to remove lint and debris.
- Inspect for Damage: Look for wear, cracks, or loose connections and address issues promptly.
- Check Connections: Ensure hose clamps remain tight and properly positioned.
- Avoid Sharp Bends: Use smooth, gentle curves to maintain optimal airflow.
- Replace When Necessary: Swap out severely worn or damaged hoses to ensure safety and efficiency.
Troubleshooting Common Issues
| Issue | Possible Cause | Solution |
|---|---|---|
| Reduced Airflow | Obstruction or compressed hose | Clean the hose and ensure no kinks |
| Air Leaks | Loose clamps or poor sealing | Tighten clamps or apply duct tape |
| Hose Disconnections | Improper clamp positioning | Reposition or add extra securing |
| Excessive Lint Buildup | Dirty lint trap or blocked path | Clean lint trap and inspect hose |
Conclusion
Replacing a dryer vent hose inside a wall is a detailed and sometimes complex process, but it is essential for maintaining dryer performance and ensuring home safety. Correct installation improves airflow efficiency, reduces noise issues, and significantly lowers fire hazards. Routine maintenance and timely troubleshooting further extend the lifespan of your vent system, keeping your dryer and home secure.