Step 1: Gather Your Tools
Before you start, make sure you have all the necessary tools:
- Screwdriver
- Vacuum cleaner with a hose attachment
- Dryer vent cleaning kit (usually includes a brush and flexible rods)
- Mask and gloves for protection
Step 2: Locate the Outside Vent
The outside dryer vent is typically located on an exterior wall of your home. It’s where the dryer expels hot air and lint outside. Ensure you have easy access to this area.
Step 3: Disconnect the Dryer
For safety, unplug the dryer or turn off the gas supply if you have a gas dryer. Move the dryer away from the wall to access the vent at the back of the unit.
Step 4: Remove the Vent Cover
Use a screwdriver to remove the screws holding the vent cover in place. Some vent covers may simply snap off. Carefully set the cover aside.
Step 5: Clean the Vent Cover
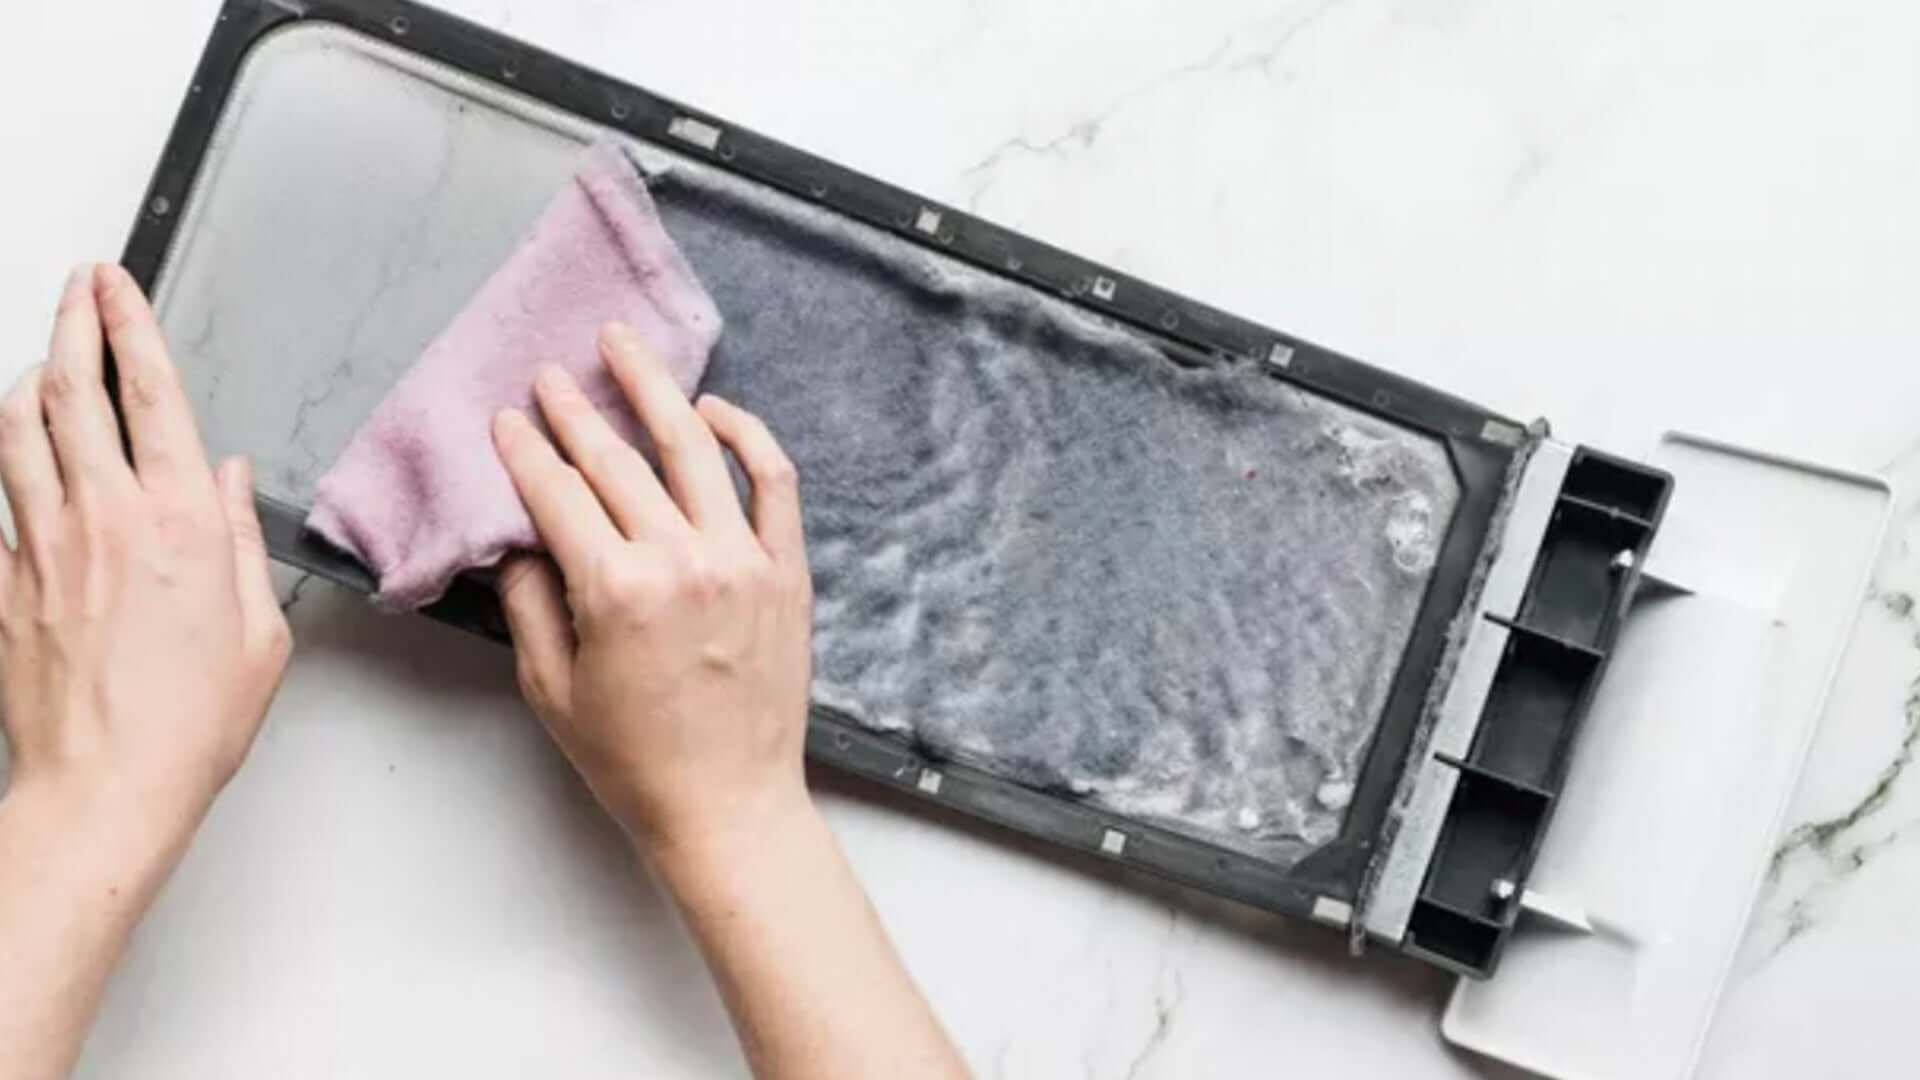
Inspect the vent cover for lint buildup. Use a vacuum cleaner to remove any lint from the cover. If it’s particularly dirty, you can wash it with soap and water, then let it dry completely before reattaching.
Step 6: Clean Inside the Vent
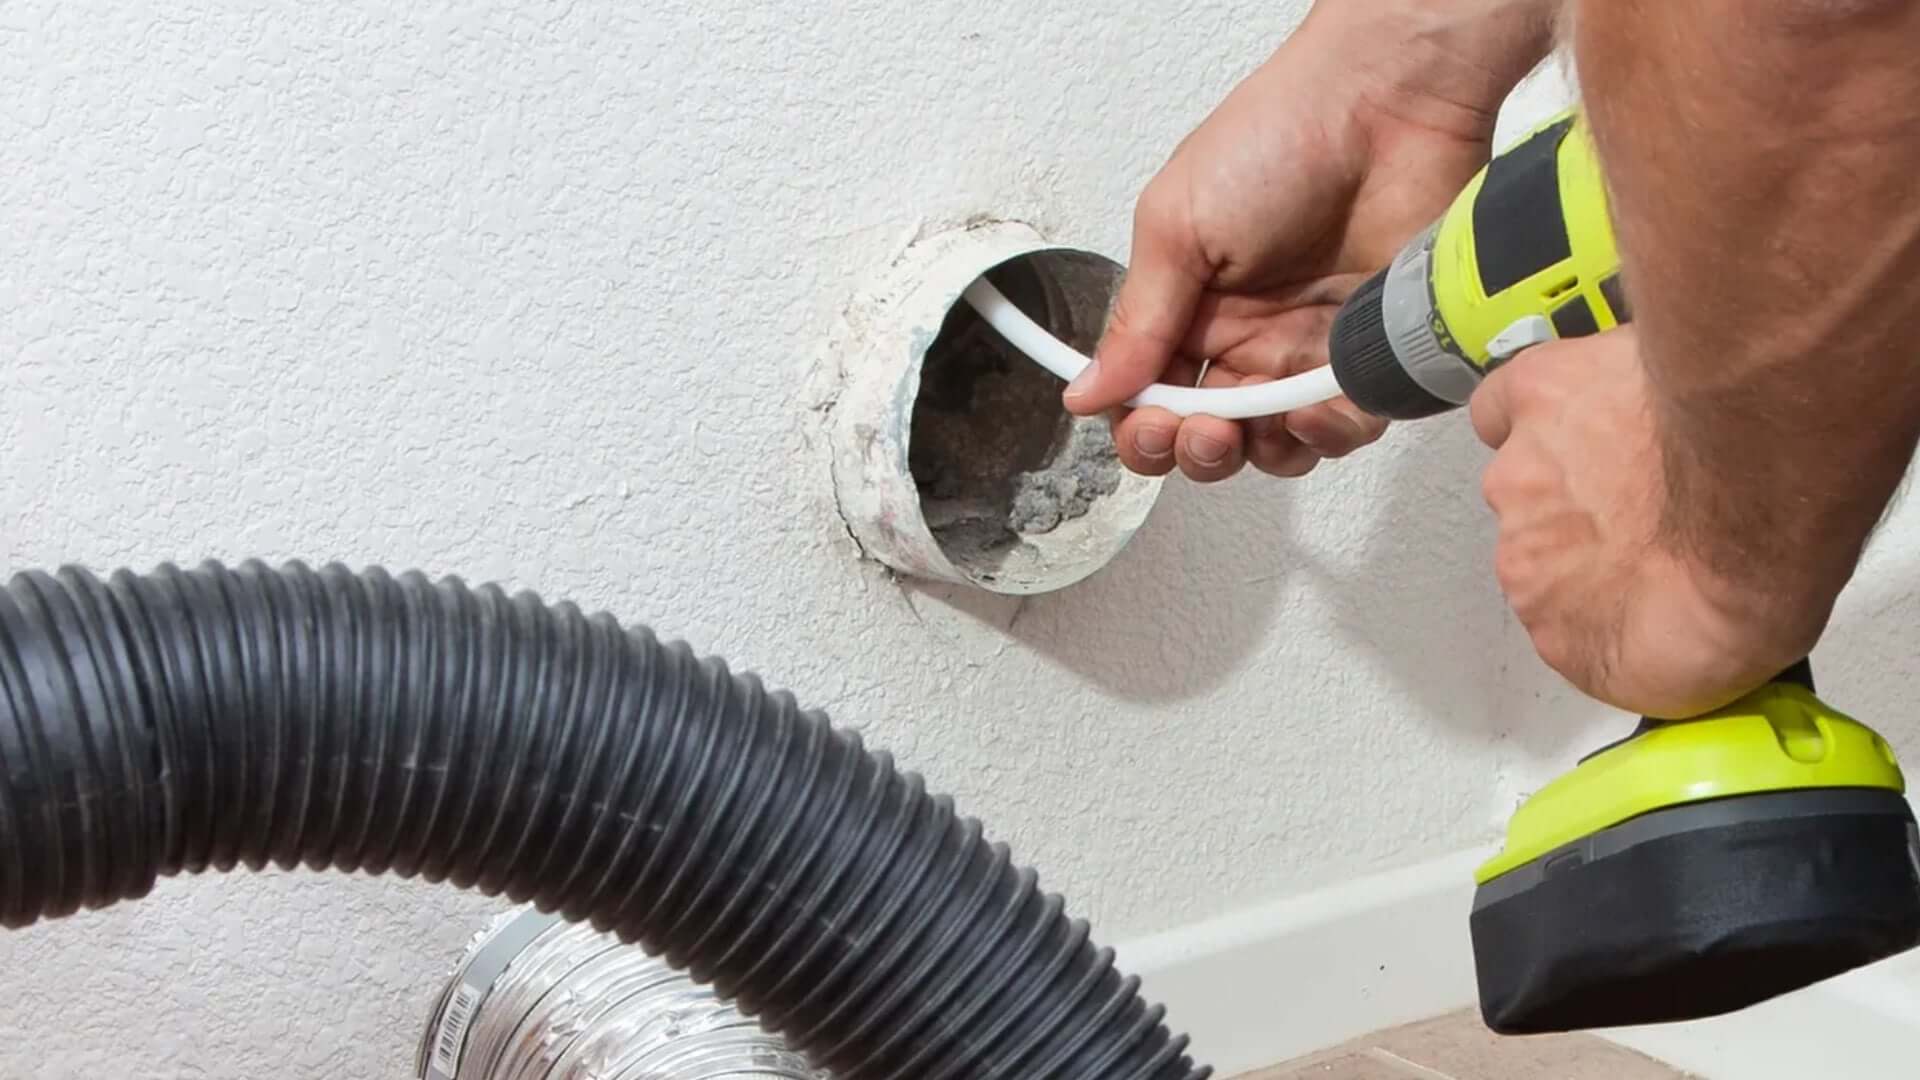
- Vacuum Inside: Use the vacuum hose attachment to remove as much lint as possible from inside the vent. Insert the hose as far as it will go.
- Brush and Flexible Rods: Attach the brush to the flexible rod. Insert the brush into the vent and push it through to dislodge any remaining lint. Twist and turn the brush to get it all the way through the vent duct.
Step 7: Clean from Inside
Go back inside and clean the vent from the dryer end. Use the vacuum and the brush to ensure the duct is completely free of lint. This step ensures that lint doesn’t get pushed further into the duct during the outside cleaning.
Step 8: Reassemble and Test
- Reattach the Vent Cover: Once the vent and vent cover are clean, reattach the cover using the screws you removed earlier.
- Reconnect the Dryer: Push the dryer back into place, plug it in, or turn the gas back on.
- Test the Dryer: Run the dryer on a short cycle to make sure everything is working properly and that air is flowing freely through the vent.
Additional Tips
- Regular Maintenance: It’s recommended to clean your dryer vent every six months to prevent lint buildup and reduce the risk of fire.
- Professional Help: If the vent is long or has multiple bends, consider hiring a professional to clean it thoroughly.
- Replacement: If your air vent is old or broken, you can directly replace it with a new one.
By following these steps, you can maintain your dryer’s efficiency and safety, ensuring that your family know
how to prevent fire hazards.


