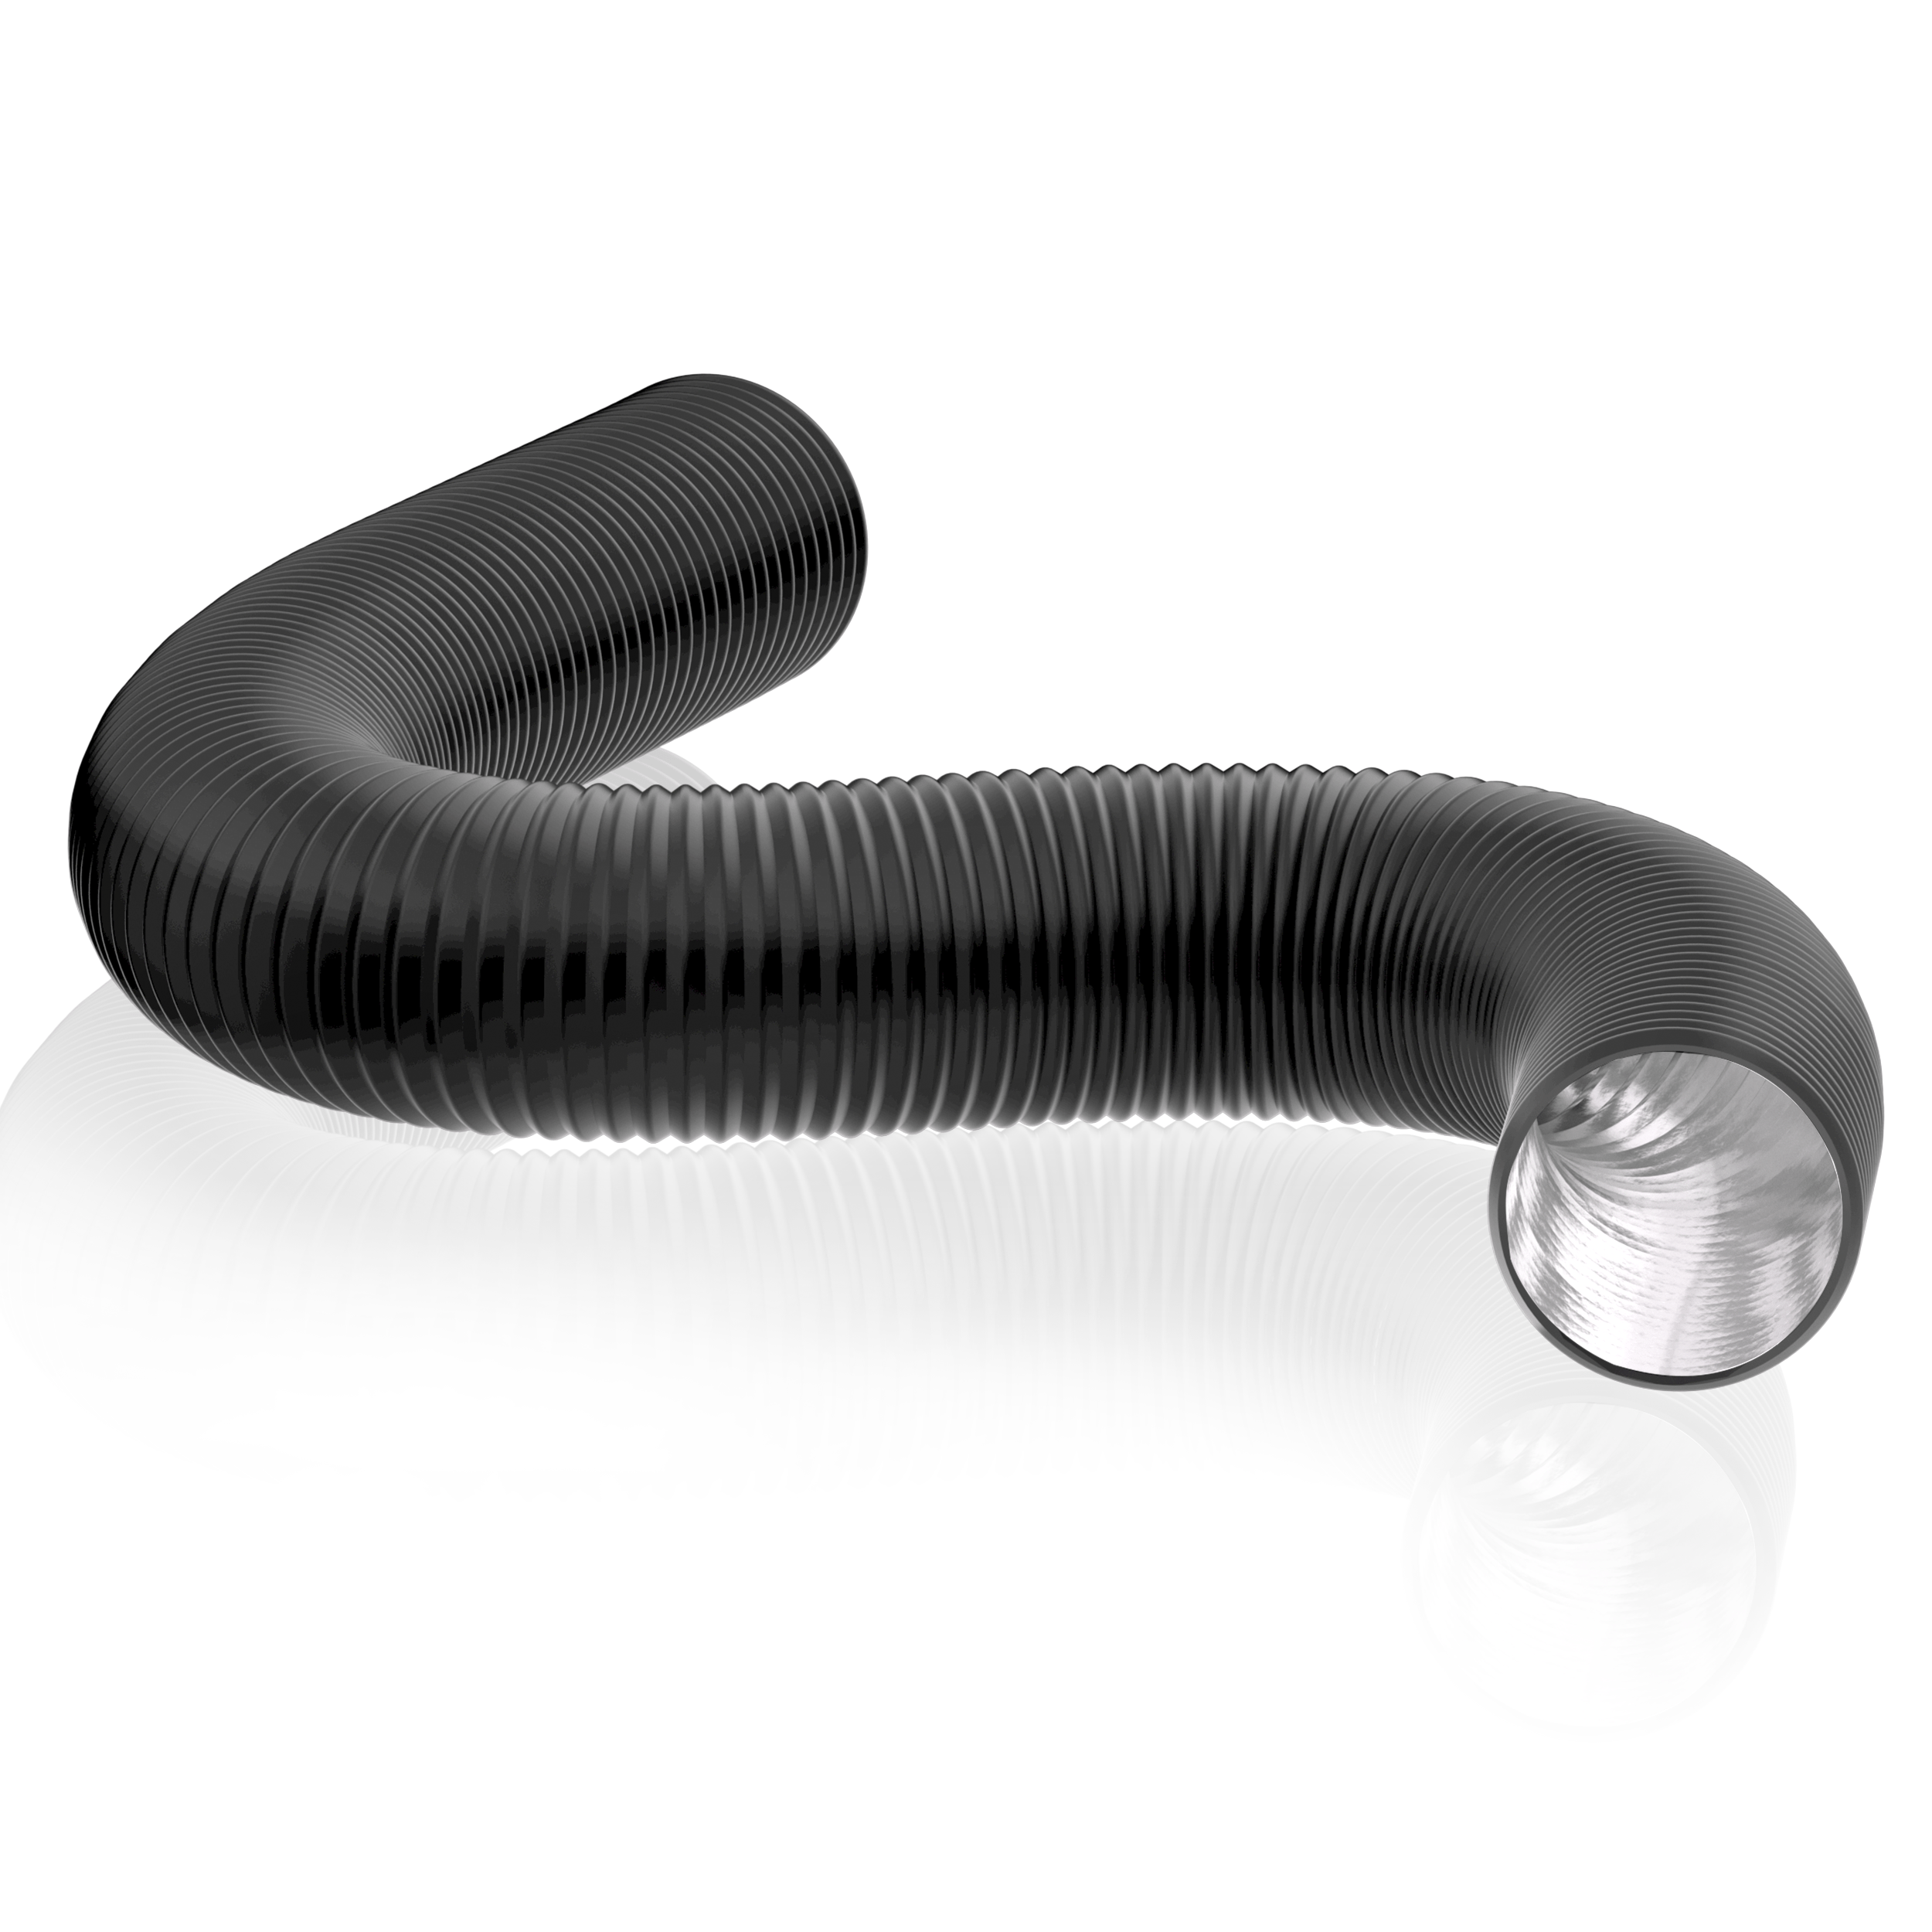
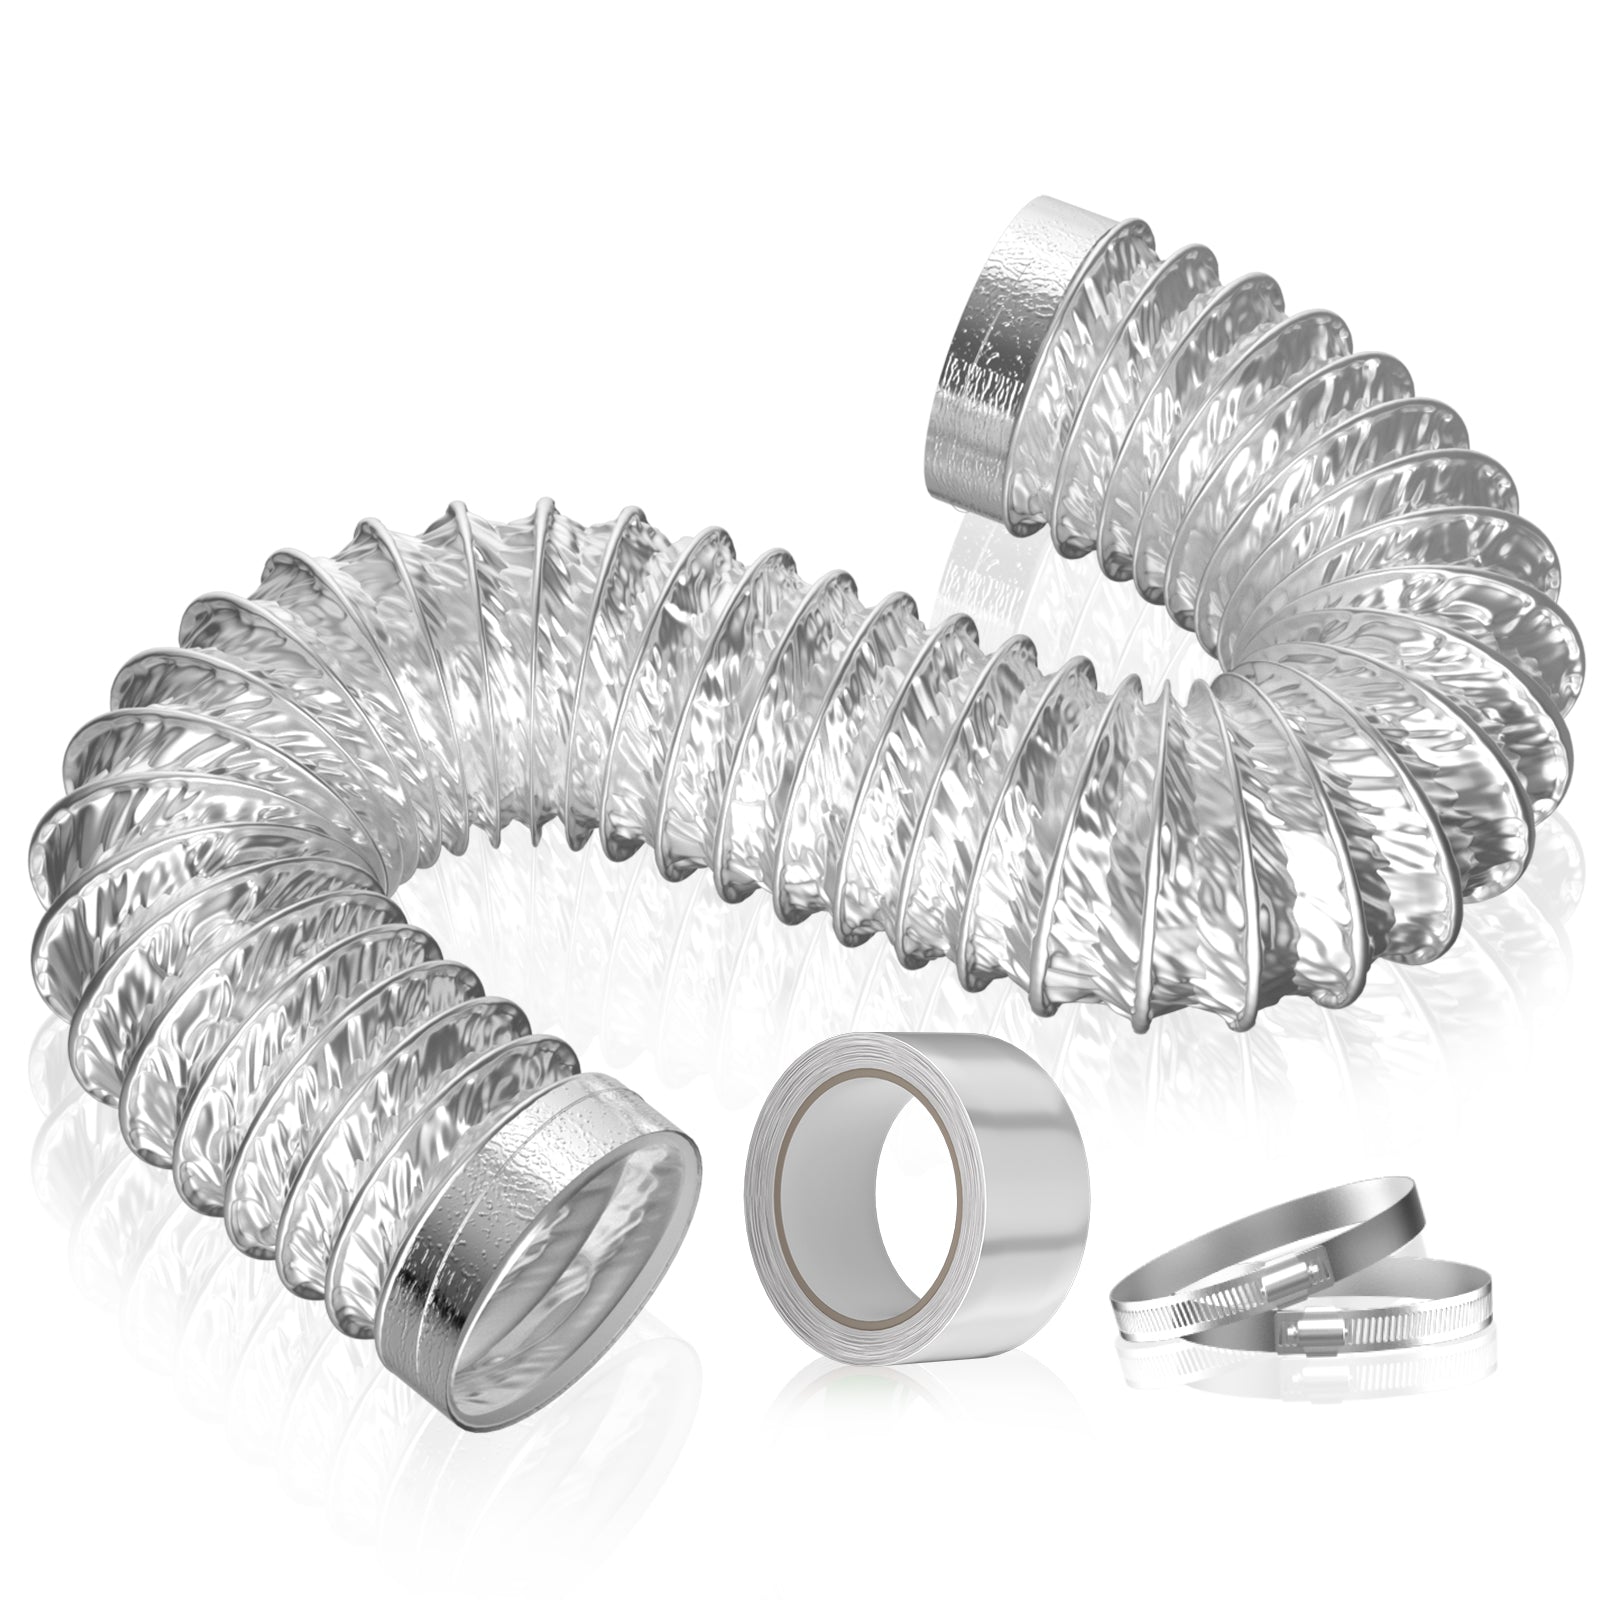
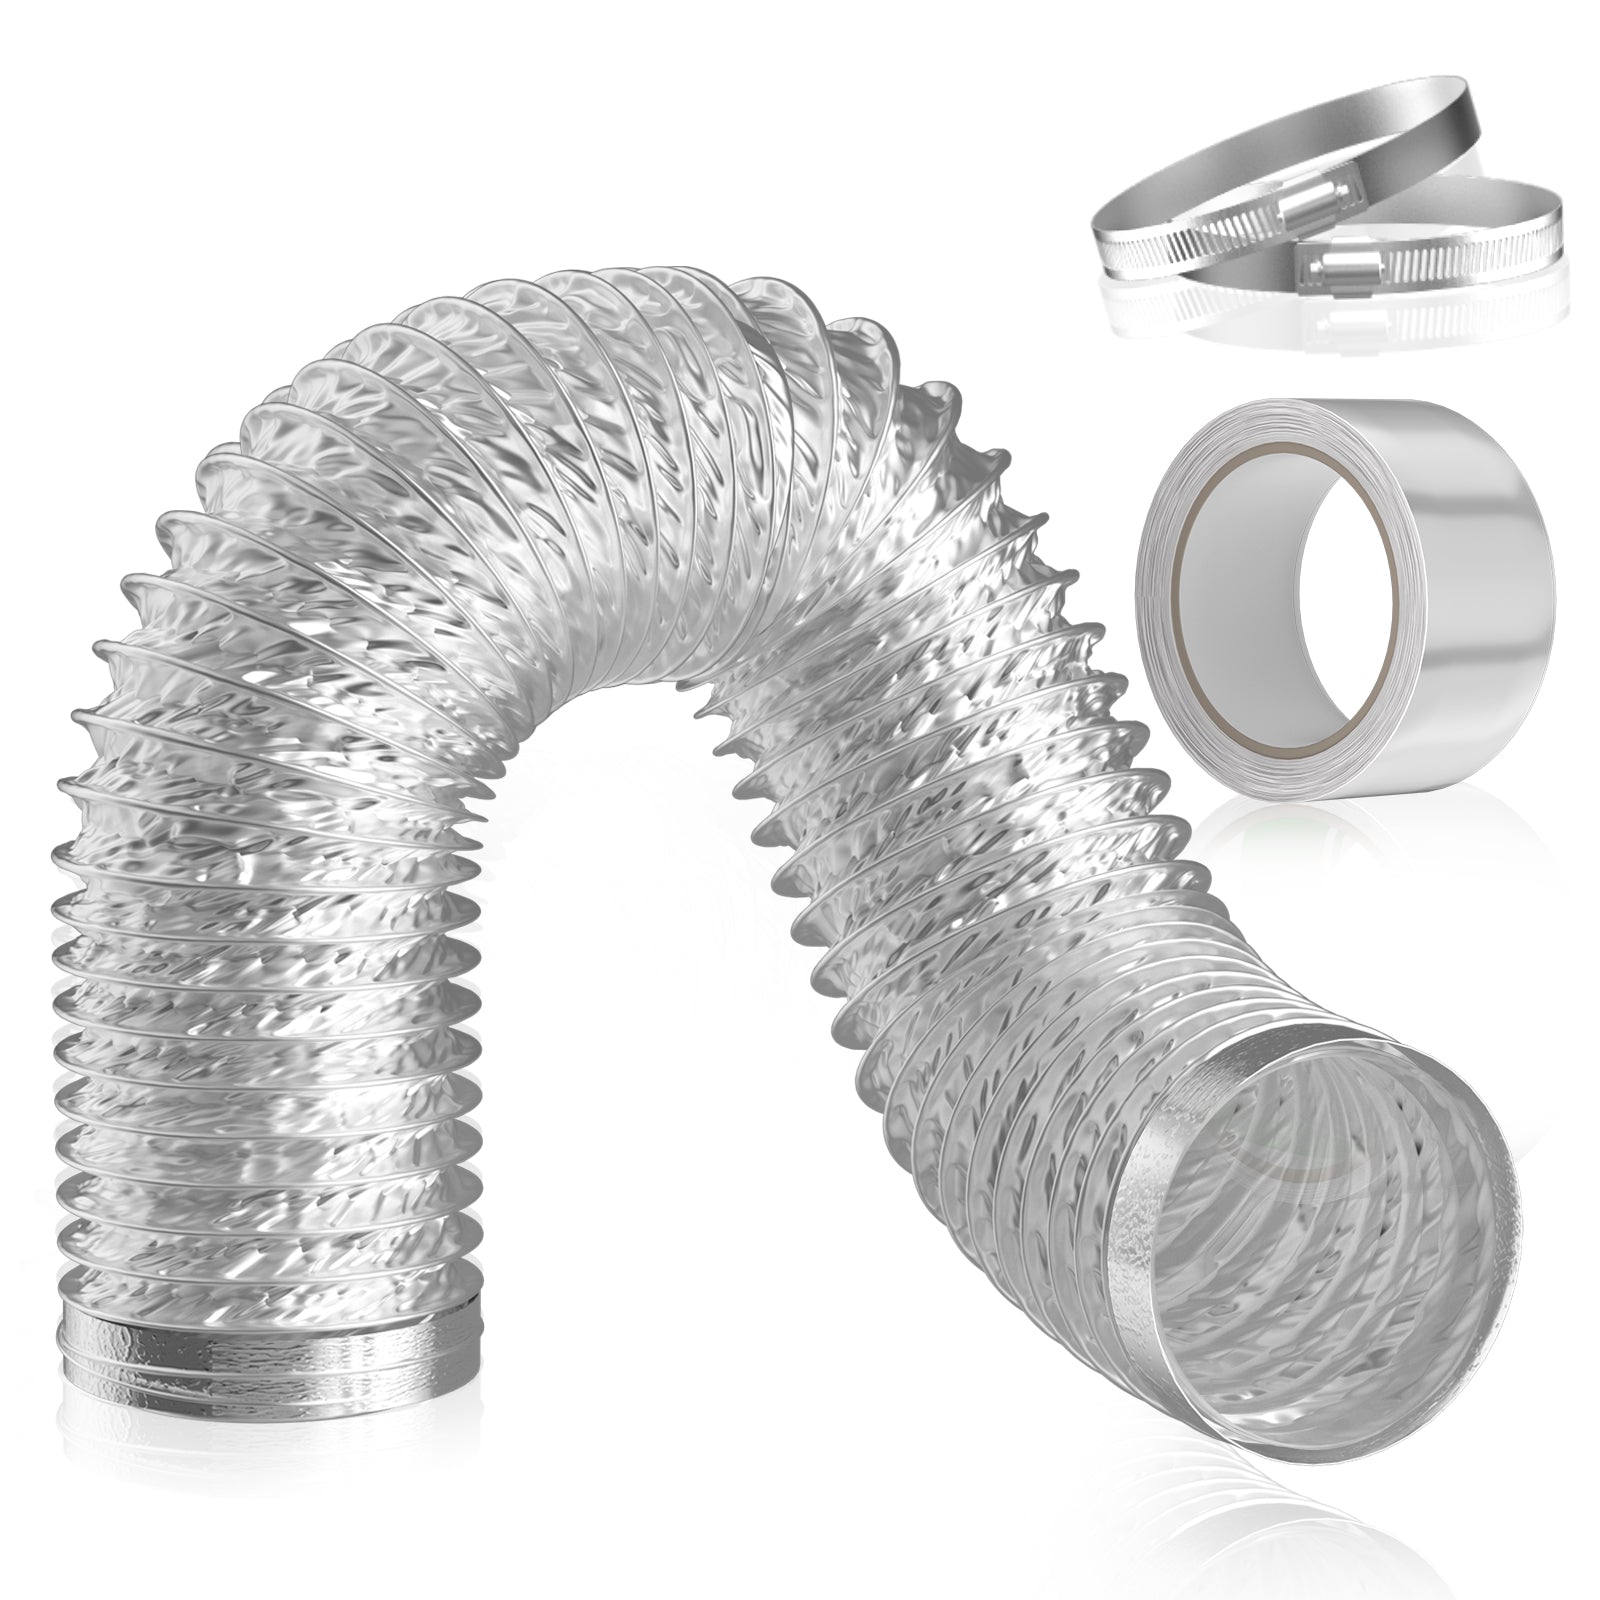
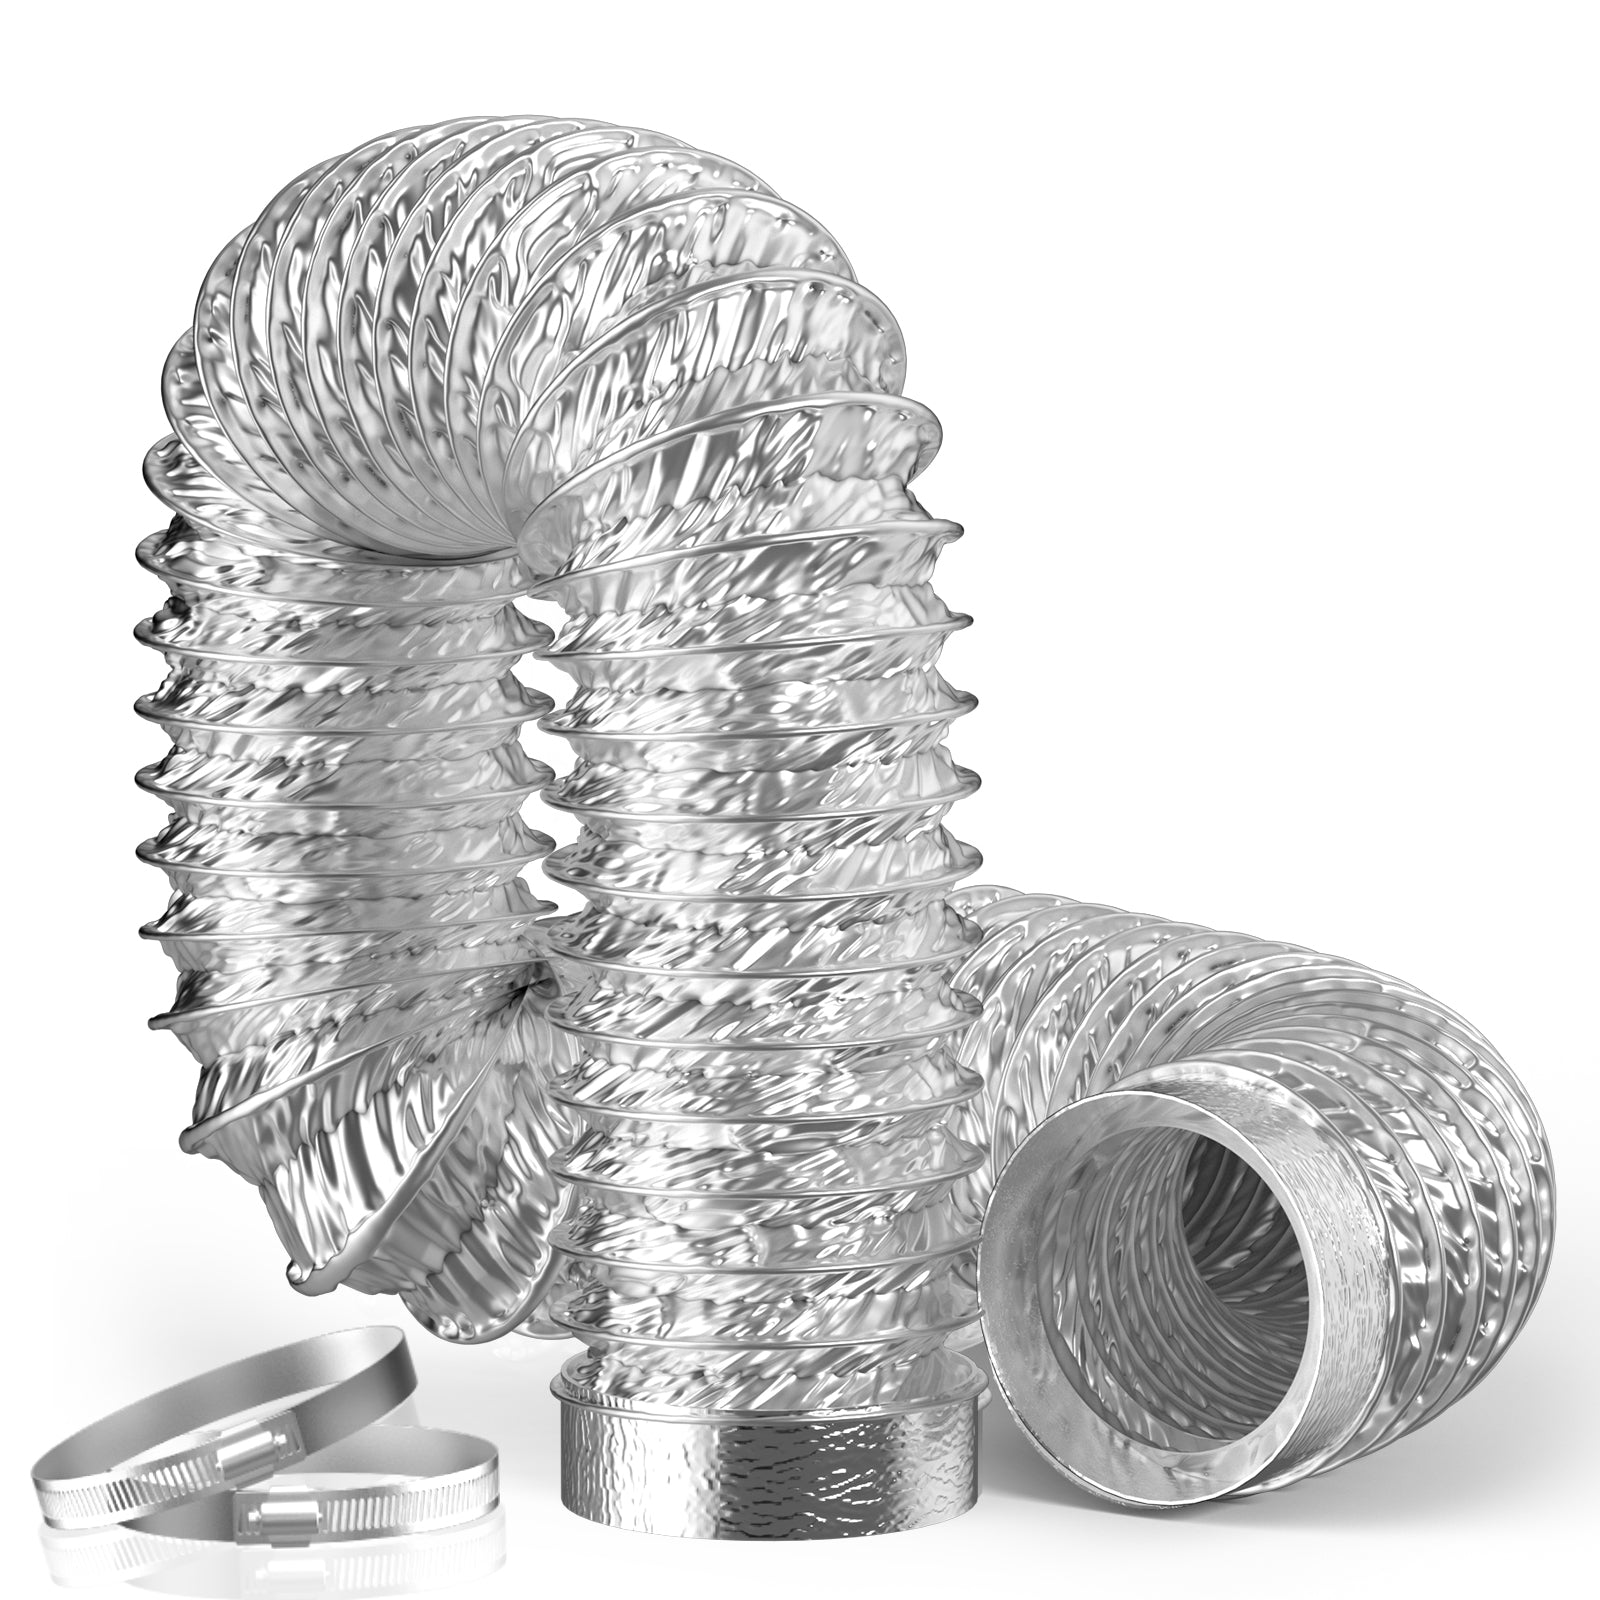
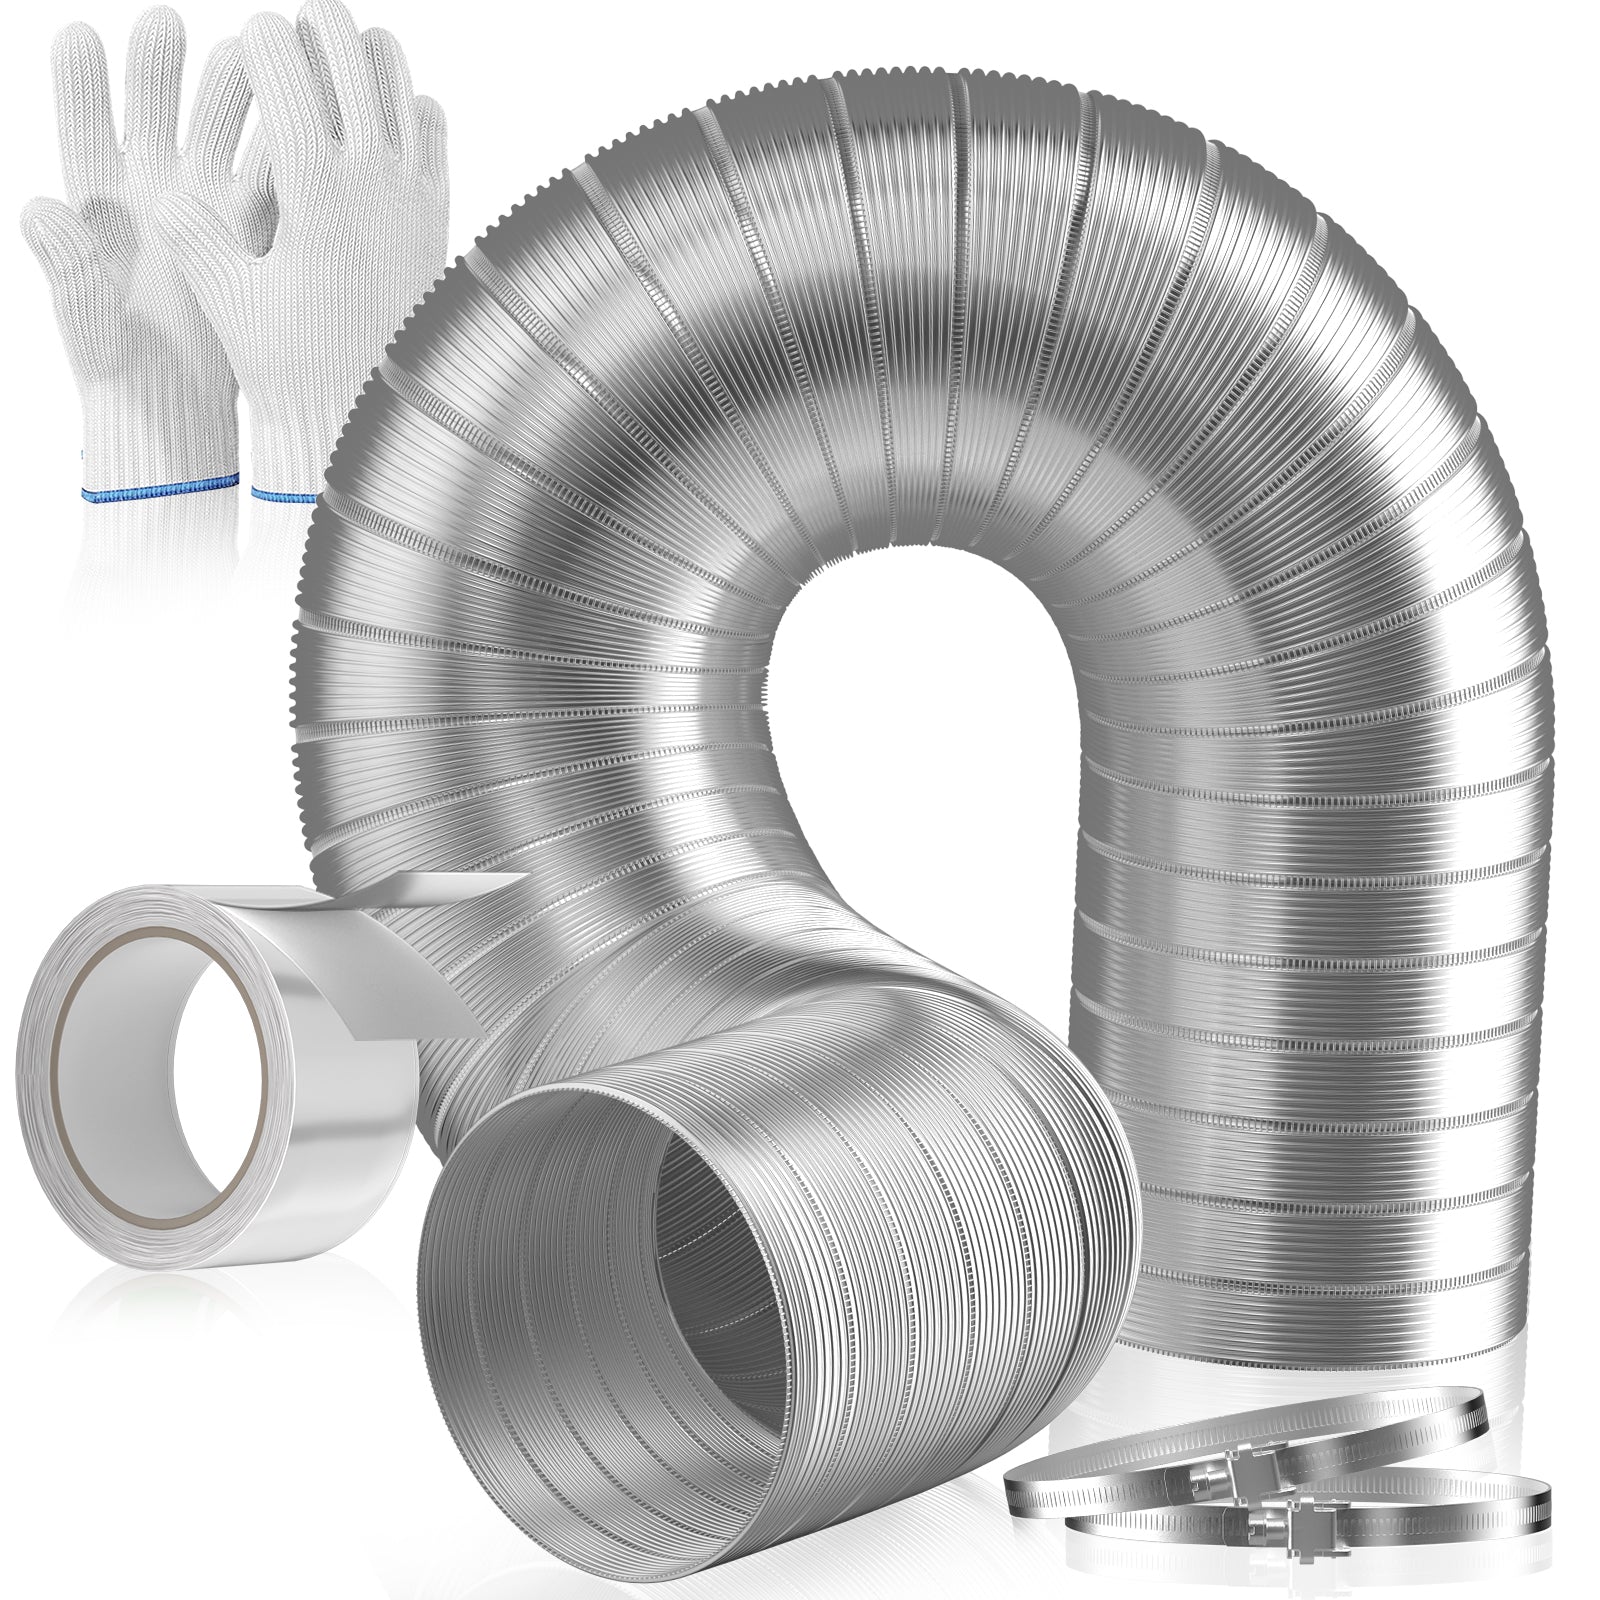
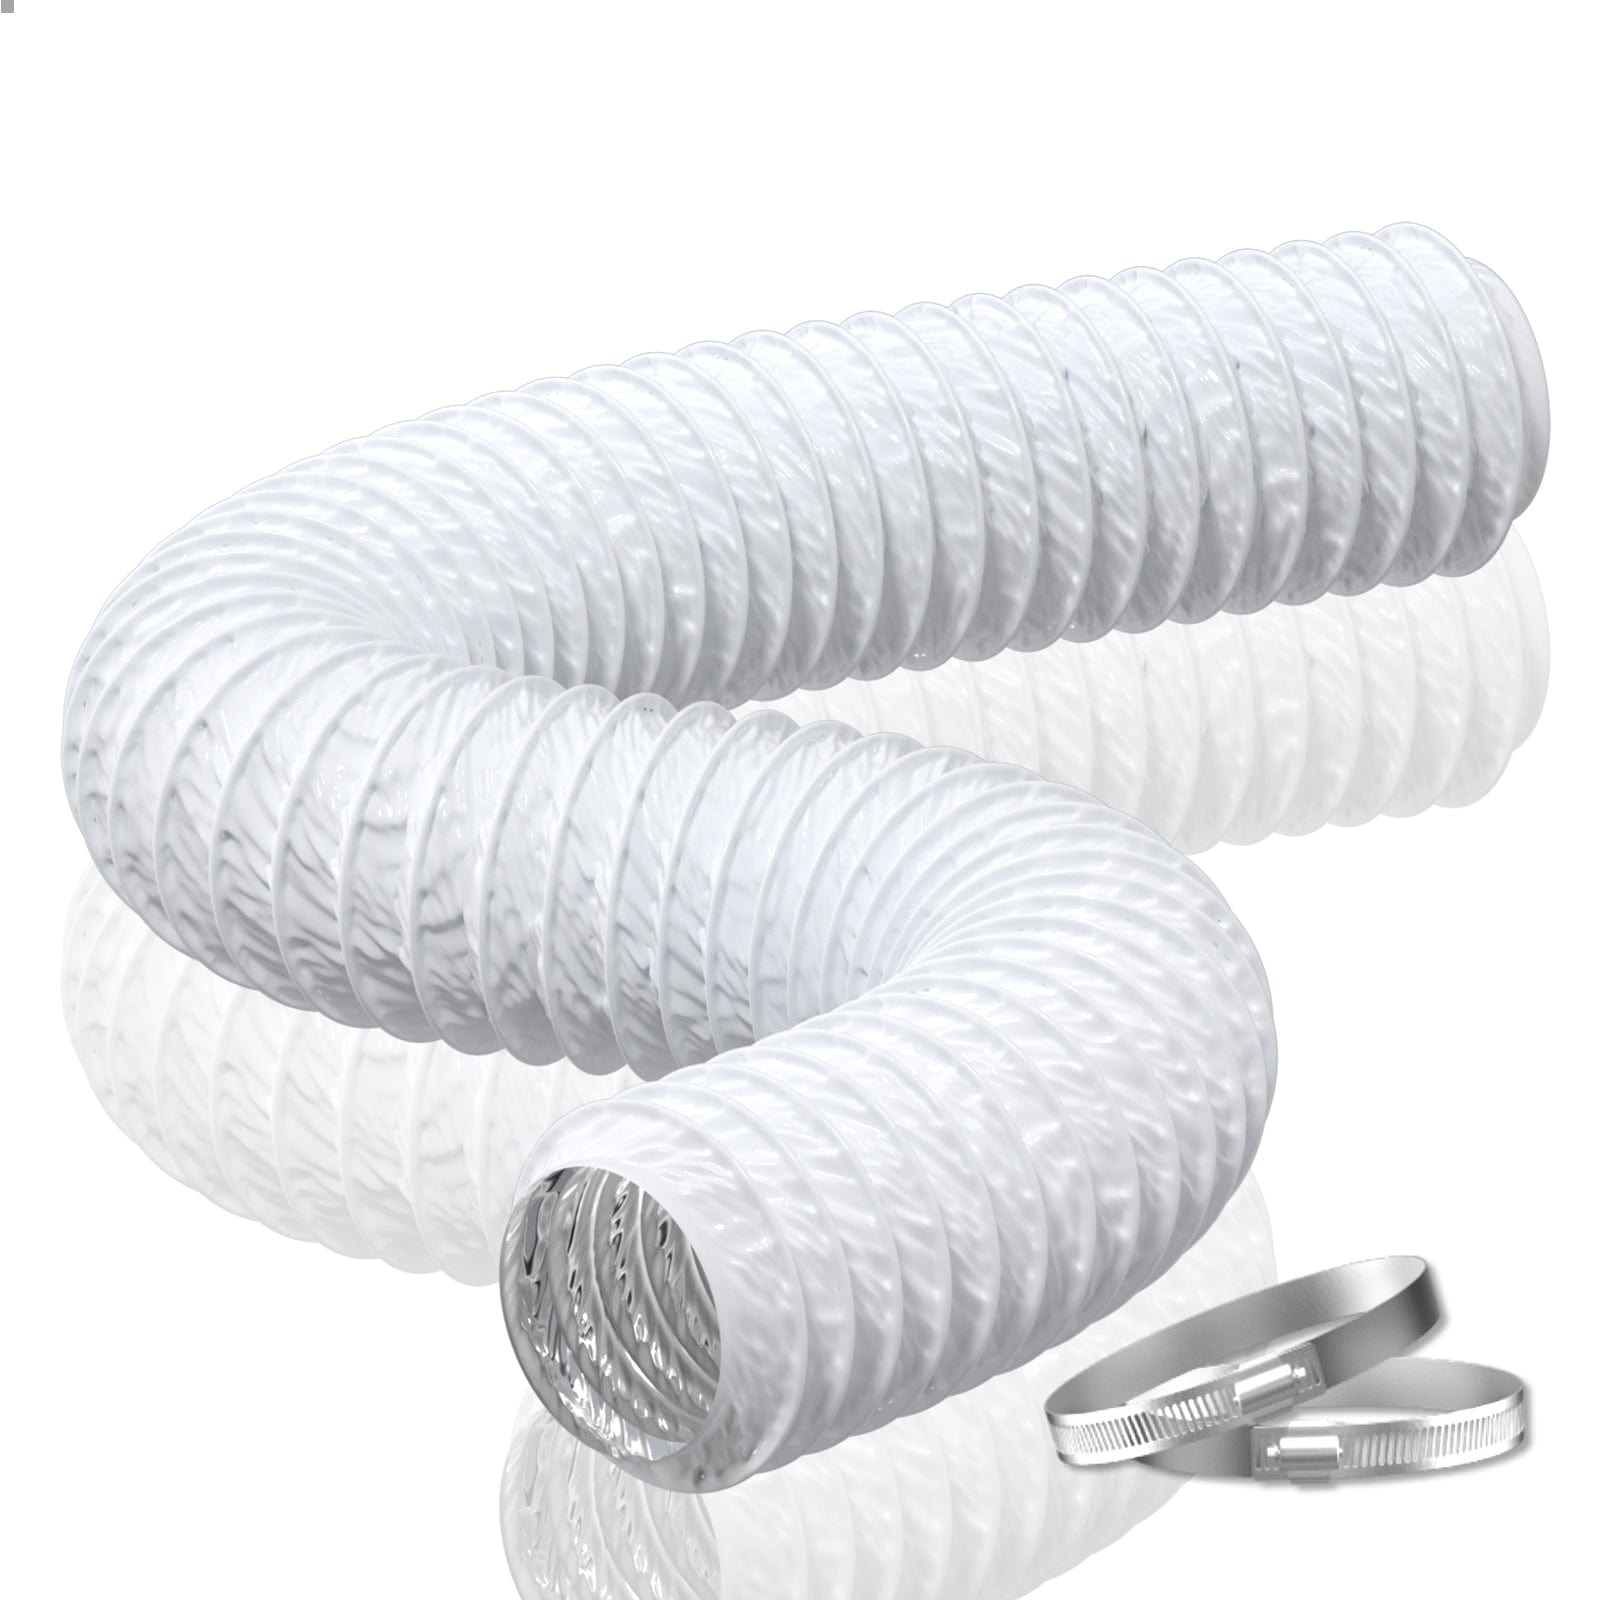
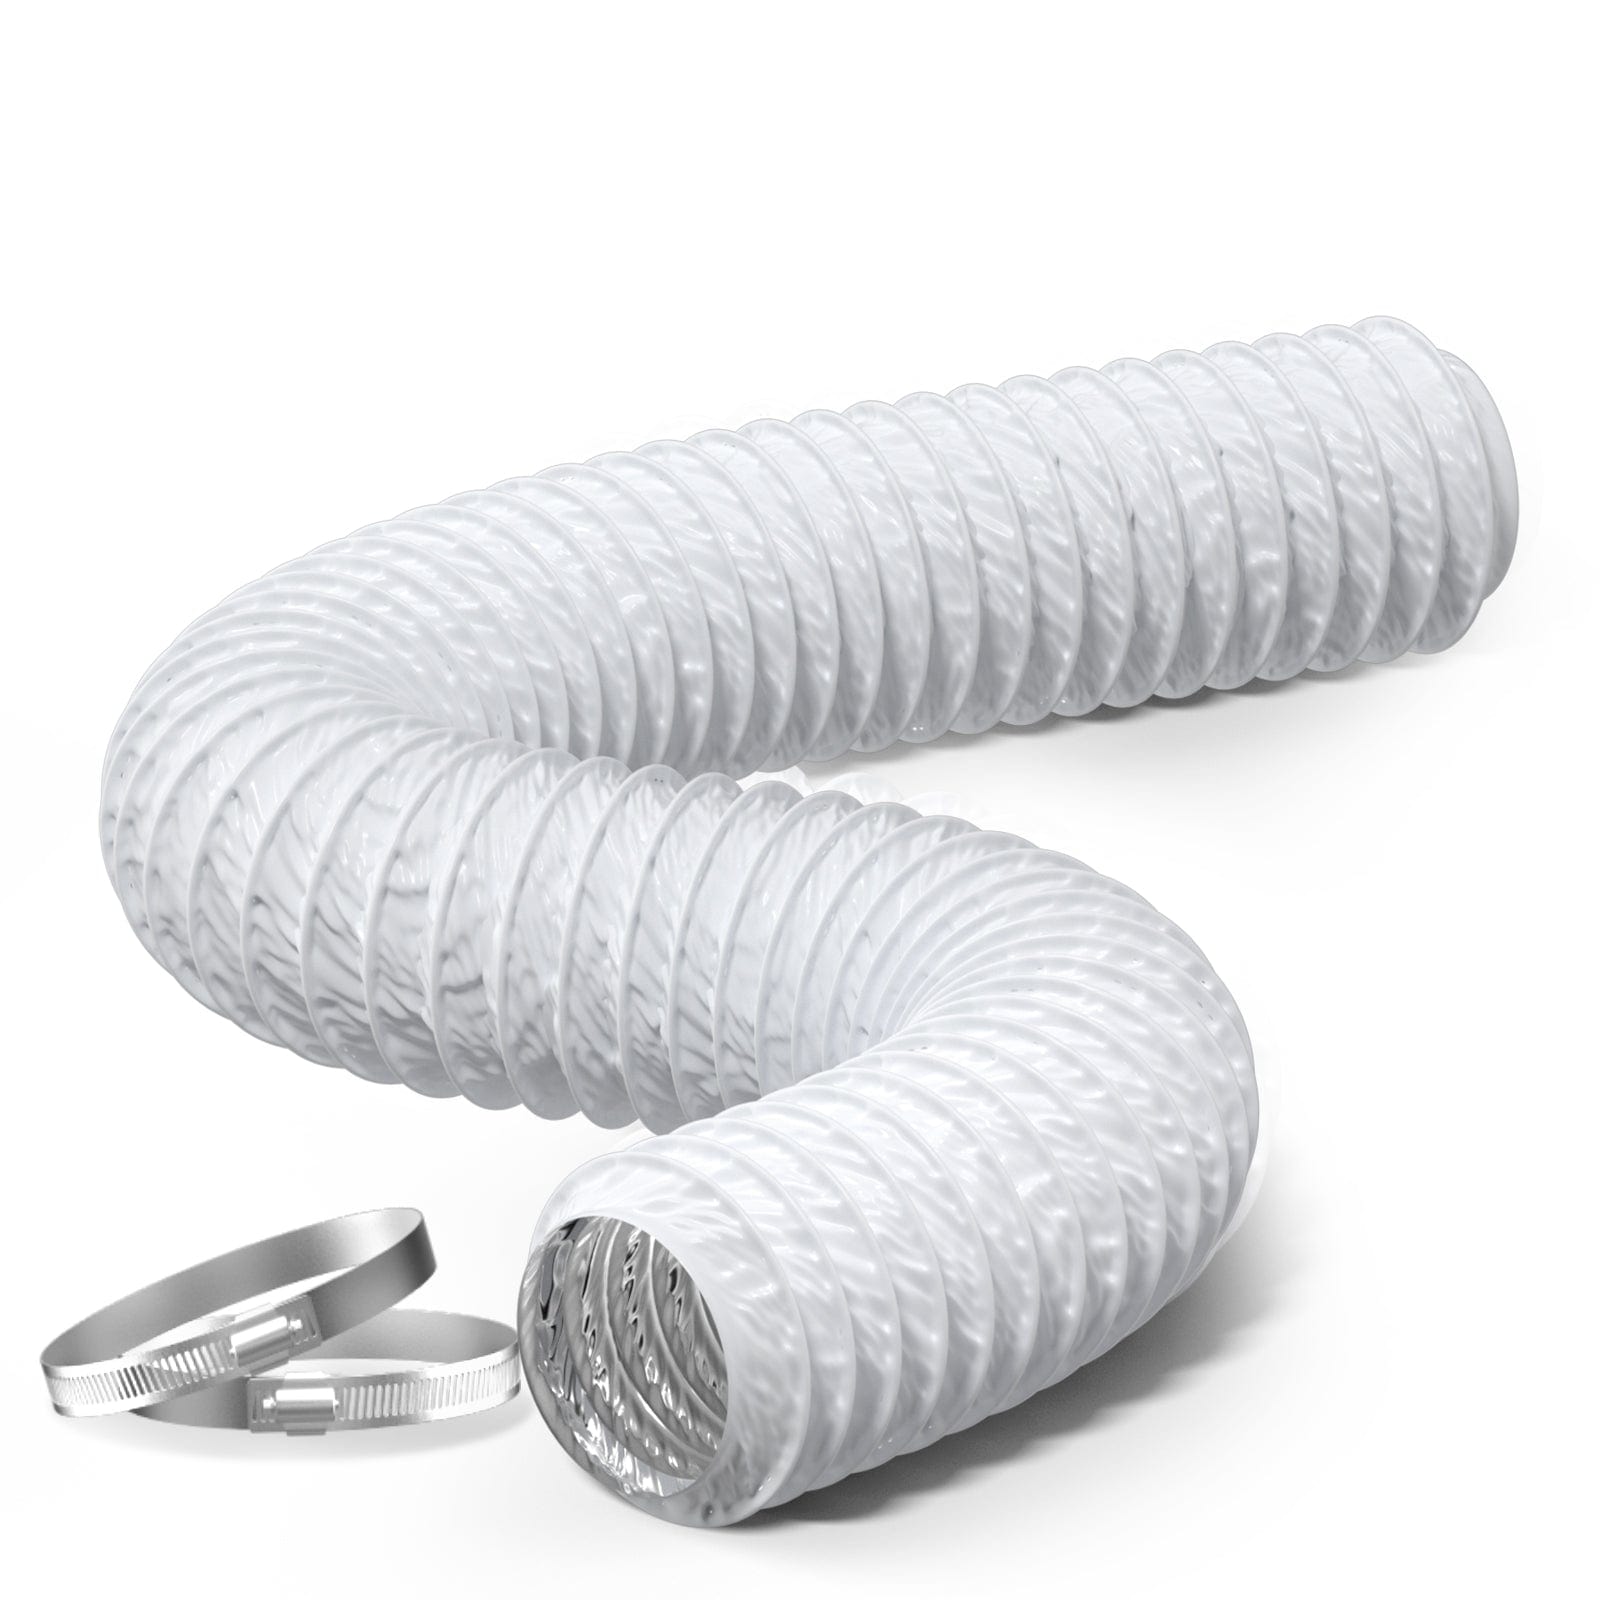
In an age where indoor dryer quality is of paramount concern to homeowners, understanding how to properly clean dryer ducts is crucial. This guide aims to demystify the process, providing step-by-step instructions, safety tips, and professional advice to ensure your home's HVAC system operates efficiently and your indoor dryer remains as clean as possible.
Understanding the Importance of Clean Dryer Ducts
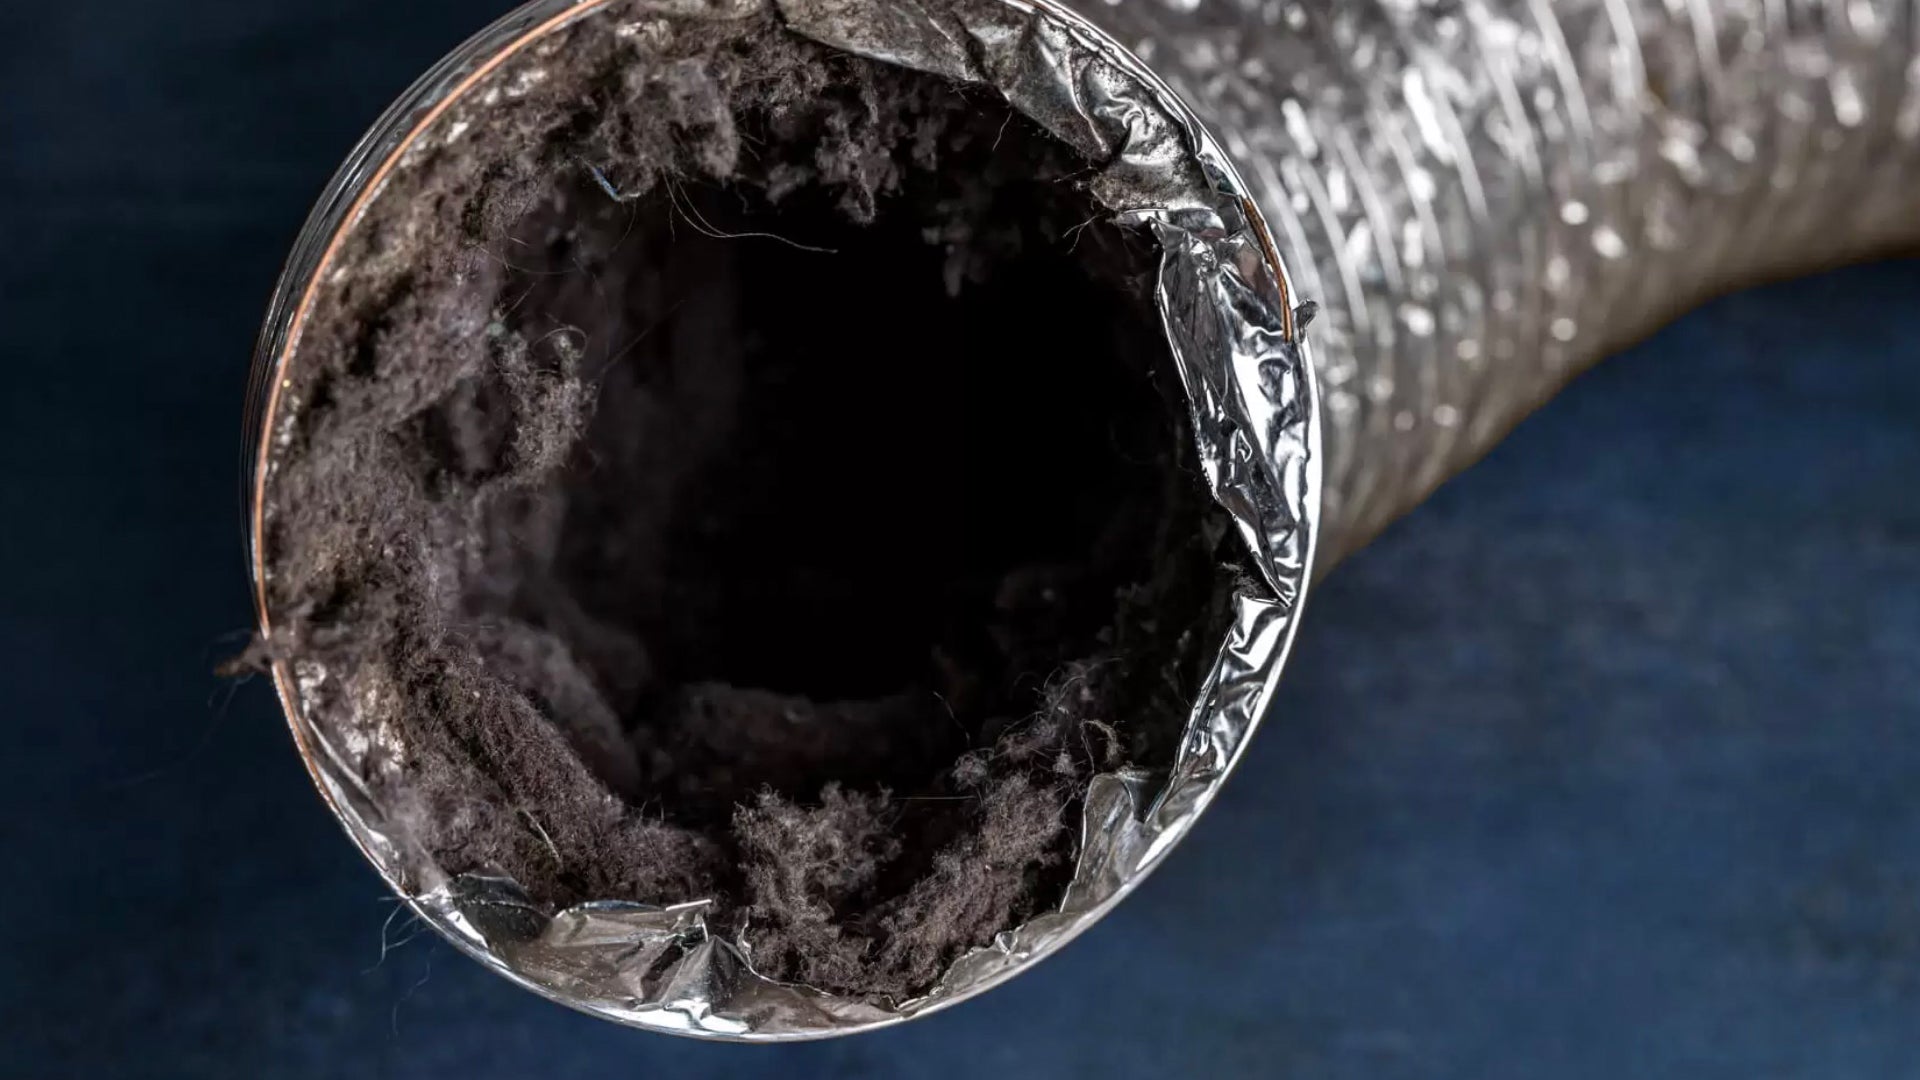
Before diving into the cleaning process, it's essential to grasp why keeping dryer ducts clean is vital for both your HVAC system's efficiency and the health of your household. Clean ducts help in reducing allergens and irritants, eliminating odors, and potentially lowering energy costs by promoting smoother airflow and reducing strain on the system.
Preparing for Duct Cleaning
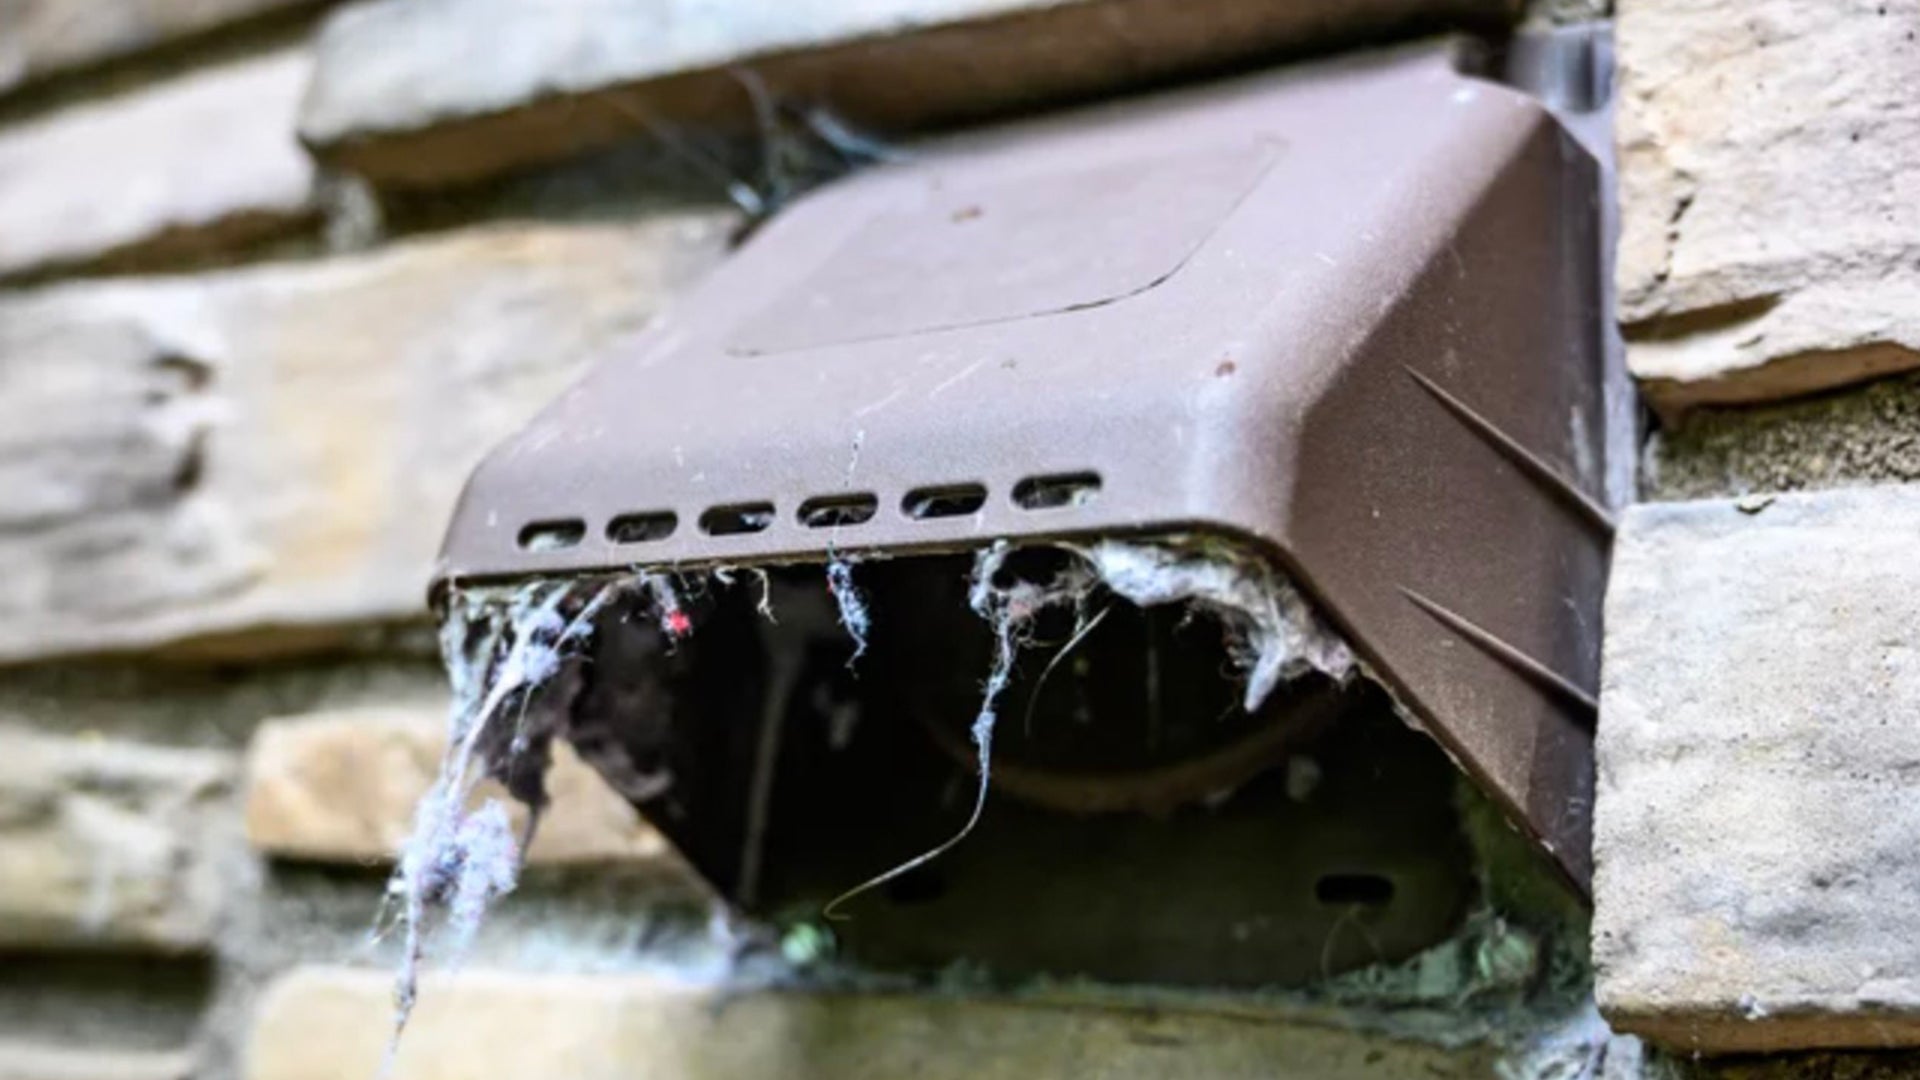
- Assessment: Begin by evaluating the condition of your ducts. Look for visible signs of mold, excessive dust, and pest infestation. This assessment will help you determine the extent of cleaning needed.
- Gathering Tools and Equipment: Essential tools include a high-powered vacuum with a long hose, soft-bristled brushes, and microfiber cloths. Protective gear, such as gloves and masks, is also crucial to safeguard against inhaling dust and other particulates.
- System Shutdown: Ensure the HVAC system is turned off before starting the cleaning process to prevent dust from circulating through the home.
Step-by-Step Duct Cleaning Process
- Access Ducts: Remove vent covers using a screwdriver. This step provides access to the ducts, allowing for thorough cleaning.
- Initial Vacuuming: Using a vacuum with a HEPA filter, start by vacuuming the inside of the ducts as far as the hose allows. This initial vacuum removes the loose dust and debris.
- Brushing: Attach a soft-bristled brush to a long handle to gently scrub the sides of the ducts. This action dislodges dust and buildup not removed by vacuuming.
- Deep Cleaning: For deeper cleaning, consider using a duct cleaning kit, which includes brushes that attach to a drill for more effective scrubbing. Always use gentle motions to avoid damaging the ductwork.
- Cleaning Vent Covers: Soak vent covers in a mixture of warm water and mild detergent. Scrub them clean, rinse thoroughly, and let them dry before reattaching.
- Final Vacuum and Filter Replacement: Vacuum the ducts again to remove any dust dislodged by brushing. It's also a good time to replace the HVAC system's air filter to ensure optimal air quality.
Safety Tips and Considerations
- Wear Protective Gear: Always wear gloves and a dust mask to protect yourself from inhaling dust and other particulates.
- Be Gentle: Avoid using excessive force when brushing the ducts to prevent damaging them.
- Professional Help: If you encounter mold or if the ducts are excessively dirty and beyond a simple DIY cleaning, consider hiring professionals.
Conclusion
Cleaning dryer ducts is a crucial maintenance task that not only improves your home's air quality but can also enhance the efficiency of your HVAC system. While the process requires time and effort, the benefits—ranging from reduced allergens to potential energy savings—make it a worthwhile endeavor.
This guide has outlined the essential steps to clean your dryer ducts effectively. However, remember that some situations may require professional assistance, especially when dealing with mold or a significant accumulation of debris.
By following these steps and maintaining a regular cleaning schedule, you can ensure that your home's dryer ducts contribute to a healthier, more comfortable living environment.
