How to Install a Dryer Lint Trap Box: A Simple Upgrade for Your Dryer
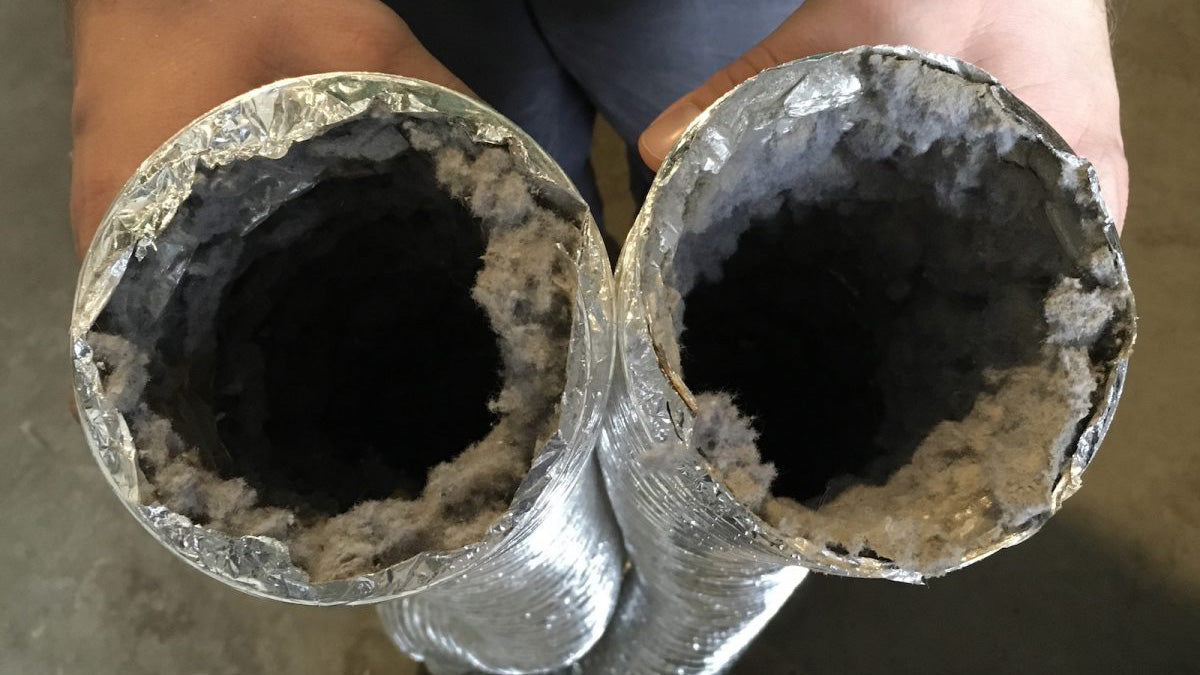
Upgrading your dryer with a secondary lint trap has become increasingly popular—and for good reason. This simple box-shaped device helps your dryer run more efficiently, makes maintenance easier, and significantly reduces the fire hazards associated with lint buildup in your exhaust system.
In this guide, I’ll explain tools you may need, how the lint trap box works, and a step-by-step installation process.
Materials & Tools Needed
Before you begin, gather the following:
- Dryer duct hose (existing)
- Screwdriver or nut driver
- Hose clamps (if not included)
- 90-degree dryer vent elbow
- Silicon ring clamp
- Aluminum duct tape
Recommended Lint Traps (Materials you can buy):
HG Power Dryer Duct Lint Trap – Easy Installation Model – great for quick install and standard setups.
HOOMESUN Stainless Secondary Lint Trap – more durable, stainless steel, ideal as an inline secondary filter.
How the Lint Trap Works
The lint trap box contains two filters:
- Diagonal Filter (with larger holes): Captures bigger debris before it reaches the vent.
- Top Filter (with smaller holes): Provides a finer layer of protection, catching particles that slip past the first filter.

Together, these filters ensure that lint is trapped inside the box, where it can be easily cleaned, rather than accumulating inside your dryer vent line.
Planning the Installation
Before beginning, decide where and how the box will be mounted. Some homeowners prefer a vertical setup (common in basements where vents run upward), while others mount it sideways for easier access and cleaning.
Here are a few preparation steps:
- Mark the wall: Use a level to outline the installation area and ensure the box aligns with your dryer.
- Check vent direction: Plan whether the intake and output need to run sideways or vertically, depending on your vent outlet.
- Gather materials: Most lint trap kits come with filters, clamps, and connectors. You may also want 90° elbows for a cleaner installation.
Step 1: Disconnect the Dryer Vent Hose
Start by pulling your dryer slightly away from the wall. Loosen the hose clamp on the exhaust vent using a screwdriver or nut driver, then detach the hose.

A 90° elbow pipe is recommended here—it allows the dryer to sit closer to the wall without kinking or collapsing the hose, improving both safety and appearance.

Step 2: Mount the Lint Trap Box
Using wallclaw anchors, mount the lint trap box securely to the wall. Avoid weak drywall anchors; instead, use toggles or wall claws that hold firmly behind the wall surface.
Once mounted, make sure the box opens easily so you can remove and clean the filters regularly.

Step 3: Connect the Dryer Hose
- Attach the dryer hose to the 90° elbow pipe on your dryer’s exhaust. Ensure the silicon ring has been installed beforehand.
- Secure it with a hose clamp, tightening clockwise until snug.
- Insert the other end into the intake side of the lint trap box and twist to lock into place.
- Repeat the same process for the output side, connecting it from the box to the wall vent.

For a cleaner look, many homeowners use additional 90° elbows on both sides of the box. This keeps hoses neatly aligned and reduces stress on the connections.

Step 4: Seal the Connections
Use aluminum duct tape to seal around the joints. While not necessary if you have a good fit, this extra step ensures there are no air leaks and adds durability to the installation.

Step 5: Test the Setup
With everything connected, push the dryer back against the wall and turn it on. You should see lint begin to collect inside the box filters, confirming that it’s working as intended.

Maintenance Tips
- Clean the lint trap box filters regularly—this is much easier than cleaning deep inside the vent line.
- Inspect your connections every few months to ensure they remain airtight.
- Consider painting or concealing hoses if aesthetics are important in your laundry space.
Tutorial Video
This is the complete tutorial video of installing the dryer lint trap box, where you can watch more handling techniques and proper details.
Products In The Video:
- Electric Dryer Trap: https://amzn.to/463j5tB
- 90 Degree Dryer Vent Elbow: https://amzn.to/3Vjb5OO
- Standard 4 Inch Dryer Vent Hose: https://a.co/d/6jLJnuX
- 4-Inch Dryer Vent Hose With Collar: https://amzn.to/45lHGrS
- Dryer Vent Clamps With Hand Tightening: https://amzn.to/477mngn
- WallClaw Anchors: https://amzn.to/4pn2qZu
- Aluminum Duct Tape: https://amzn.to/4mi9qEa
- White Spray Paint: https://amzn.to/462Zp9a
- Electric Screwdriver: https://amzn.to/4nlODAx
- Dewalt Drill And Battery: https://amzn.to/3VyUOoS
Installing a dryer duct lint trap box is a practical, affordable upgrade that improves efficiency, reduces drying time, and minimizes fire hazards. With just a few tools and some basic DIY skills, you can complete the installation in under an hour and enjoy safer, smoother dryer operation.