Importance of Proper Installation
A well-attached dryer vent hose is fundamental to the performance and safety of your dryer. It channels hot air and lint away from the appliance and out of your home, minimizing the risk of fire and ensuring optimal drying efficiency.
Tools and Materials Needed
Before starting, make sure you have the following tools and materials:
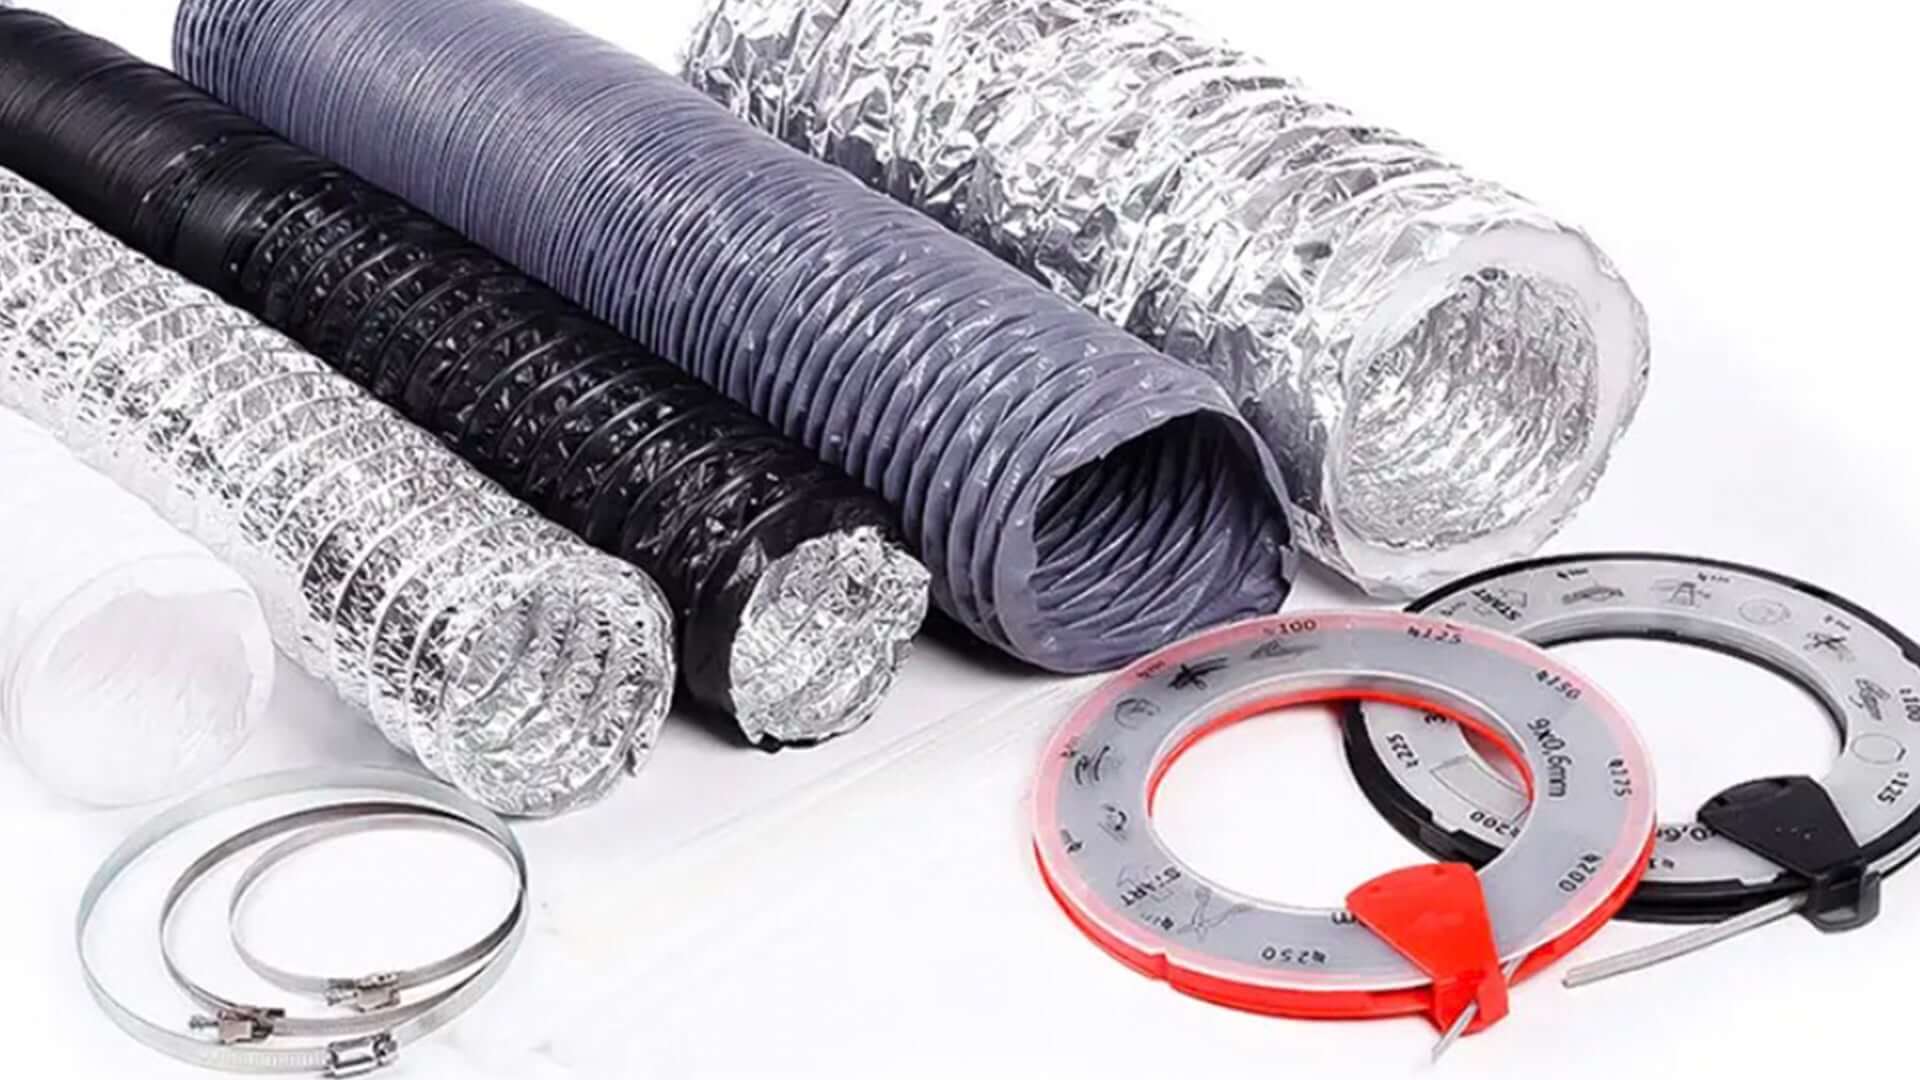
● Flexible dryer vent hose
● Clamps (usually two)
● Screwdriver or clamp tightener
● Utility knife (if trimming is needed)
● Tape measure
● Gloves (for safety while handling metal parts)
Steps to Attach a Dryer Vent Hose
Step 1: Choose the Right Hose
Select a vent hose that suits your needs. Options include:
● Flexible foil hoses: Lightweight and easy to manipulate.
● Semi-rigid hoses: Offer more durability and less risk of crushing.
● Rigid metal hoses: Best for safety and durability but harder to install.
Step 2: Prepare the Area
● Unplug the dryer: Safety first! Always unplug the appliance before starting the installation.
● Move the dryer away from the wall: This provides easier access to the vent outlet.
Step 3: Remove the Old Hose (if applicable)
● Detach the old hose: Loosen the clamps that secure the hose to the dryer and the external vent.
● Clean the vent and surrounding area: Remove lint and debris to ensure a clear path for the new hose.
Step 4: Measure and Cut the Hose
● Measure the distance: Measure the path from the dryer’s vent port to the external vent. Allow a little extra length for easier attachment and to prevent strain on the hose.
● Cut the hose to length: If your hose is too long, trim it with a utility knife to fit the measured length.
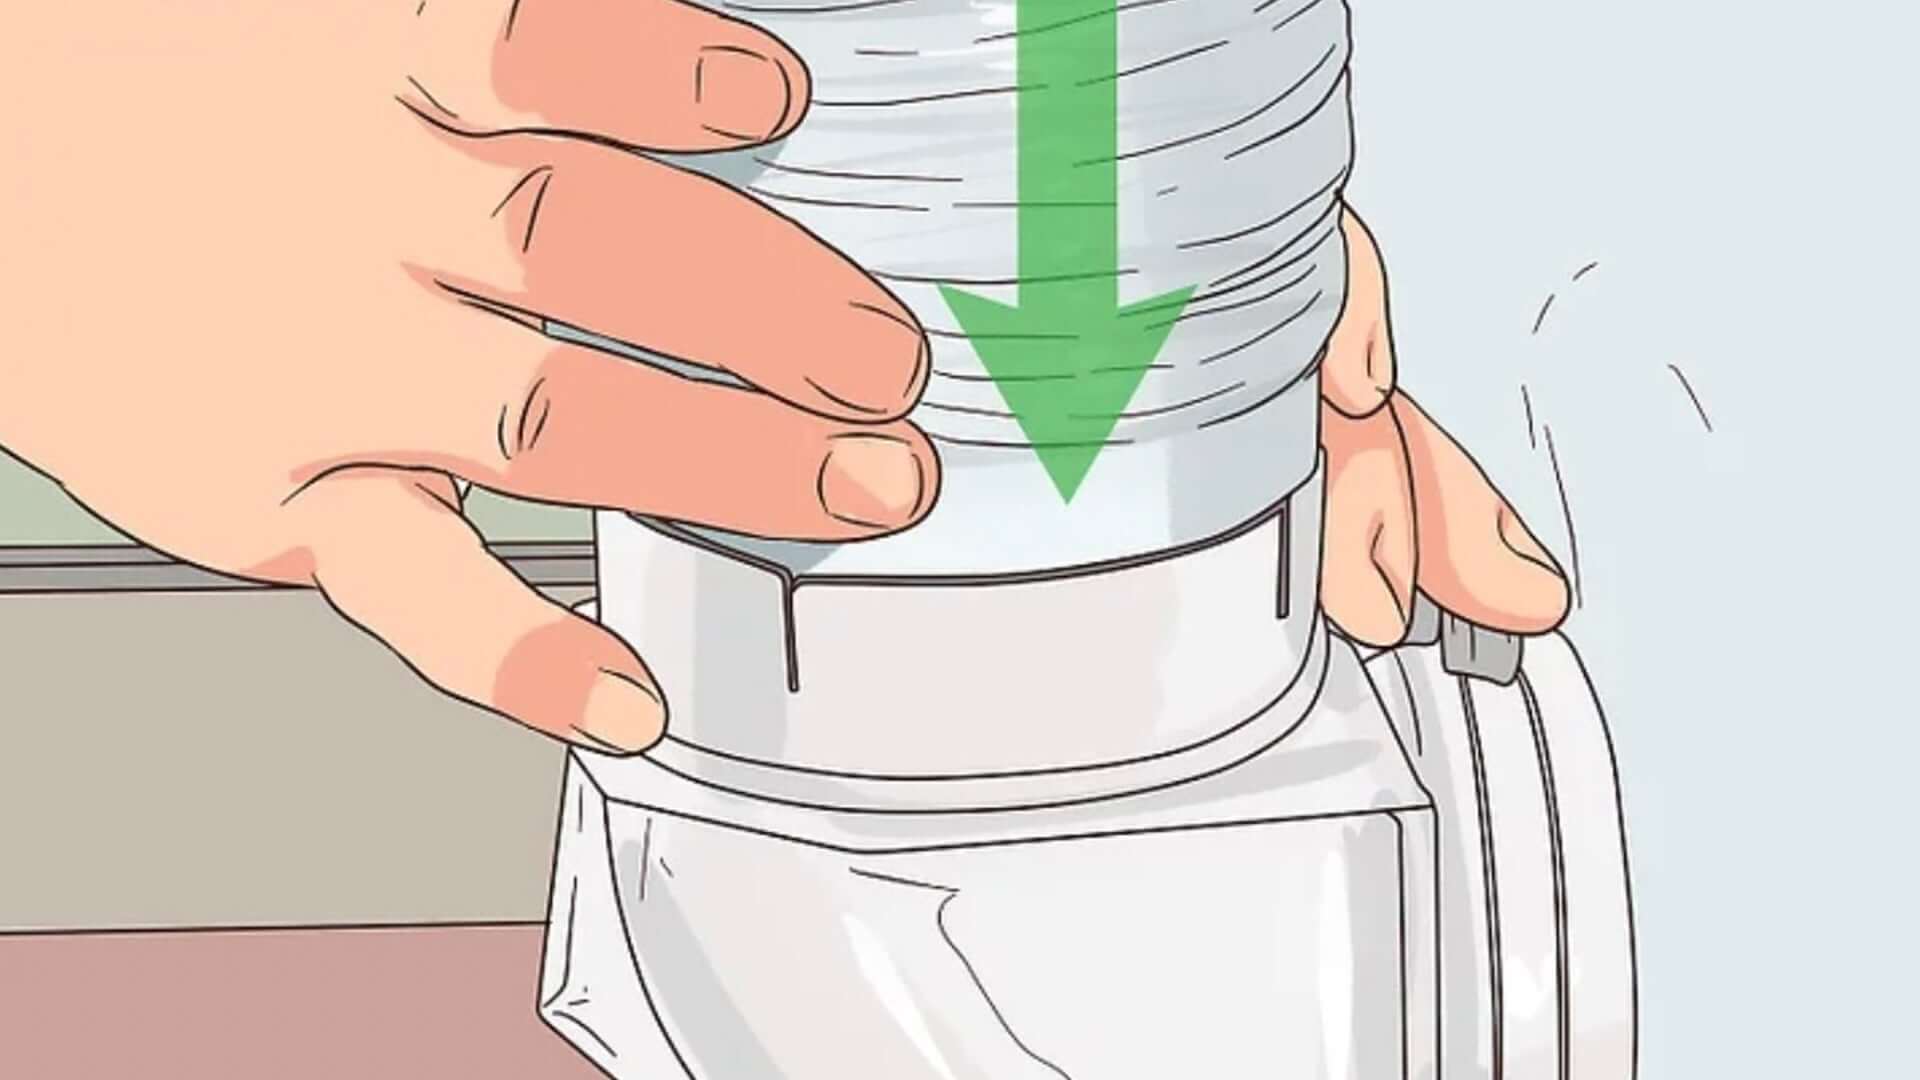
Step 5: Attach the Hose
● Attach one end to the dryer: Slip the hose over the dryer’s vent port. Secure it with a clamp by tightening it with a screwdriver or clamp tightener.
● Run the hose to the external vent: Arrange the hose in a way that avoids kinks and sharp bends. These can obstruct airflow and lead to accumulation of lint.
● Attach the other end to the external vent: Repeat the process used on the dryer end, ensuring the hose fits securely.
Step 6: Secure and Seal (Optional)
● Secure with metal tape for extra seal: For additional security, you can wrap the connections with metal tape. This helps seal any small gaps and reinforces the connection, preventing dislodgement and leaks.
Step 7: Test the Installation
● Plug in the dryer and test: Turn on the dryer to test the new vent hose. Check for any signs of air leaks or loose connections and adjust as necessary.
Conclusion
Properly attaching your dryer vent hose is essential for maintaining the efficiency and safety of your dryer. By following these detailed steps, you can ensure a secure fit and reliable performance. Regular checks and maintenance of your dryer vent hose can prevent potential hazards and keep your appliance running smoothly. Remember, a well-installed dryer vent is key to safe and effective drying.