Recognizing When It's Time for Change
Understanding the critical moment to replace your dryer vent hose can save you from unexpected breakdowns and hazardous situations. Here are unmistakable signs that your dryer vent needs a refresh:
● Aging Hose: If your dryer hose hasn't been replaced in over five years, it’s time to inspect it for wear and tear.
● Visible Damage: Look for any signs of cracks, holes, or serious bends in the hose. These can compromise the venting process.
● Excessive Drying Time: Feeling that your clothes take forever to dry? It might be a sign of a clogged or inefficient hose.
Material Matters: Choosing the Right Hose
Your choice of material for the dryer vent hose affects not only the safety of your appliance but also its efficiency. Here are the top contenders:
1. PVC Hose
● Pros: Budget-friendly and supremely flexible, PVC hoses are a go-to for quick fixes.
● Cons: They're not a fan of high heat. PVC can release harmful toxins when overheated, and some building codes might frown upon their use in dryer setups.
2. Aluminum Duct
● Pros: A hero in durability and safety, aluminum can withstand high temperatures and is less likely to accrue lint.
● Cons: It’s less forgiving in tight spaces due to its rigidity, which can make installation a bit of a puzzle.
3. Semi-Rigid Duct
● Pros: These offer the best of both worlds—flexibility and sturdiness. They're easier to install than rigid ducts and provide superior durability compared to their flexible counterparts.
● Cons: They can be on the pricier side, but for a good reason, given their balance of features.
Installation in a Snap: Replacing Your Dryer Vent Hose
Step 1: Preparation
Gear up with the right tools—a screwdriver, utility knife, measuring tape, and hose clamps. Safety first: unplug the dryer.
Step 2: Out With the Old
Disconnect the old hose from both the dryer and the wall vent. This is a great opportunity to clear out lint that’s built up at the connections.
Step 3: Measuring Up
Ensure the new hose matches the length needed without sagging or stretching. Cut to size if necessary.
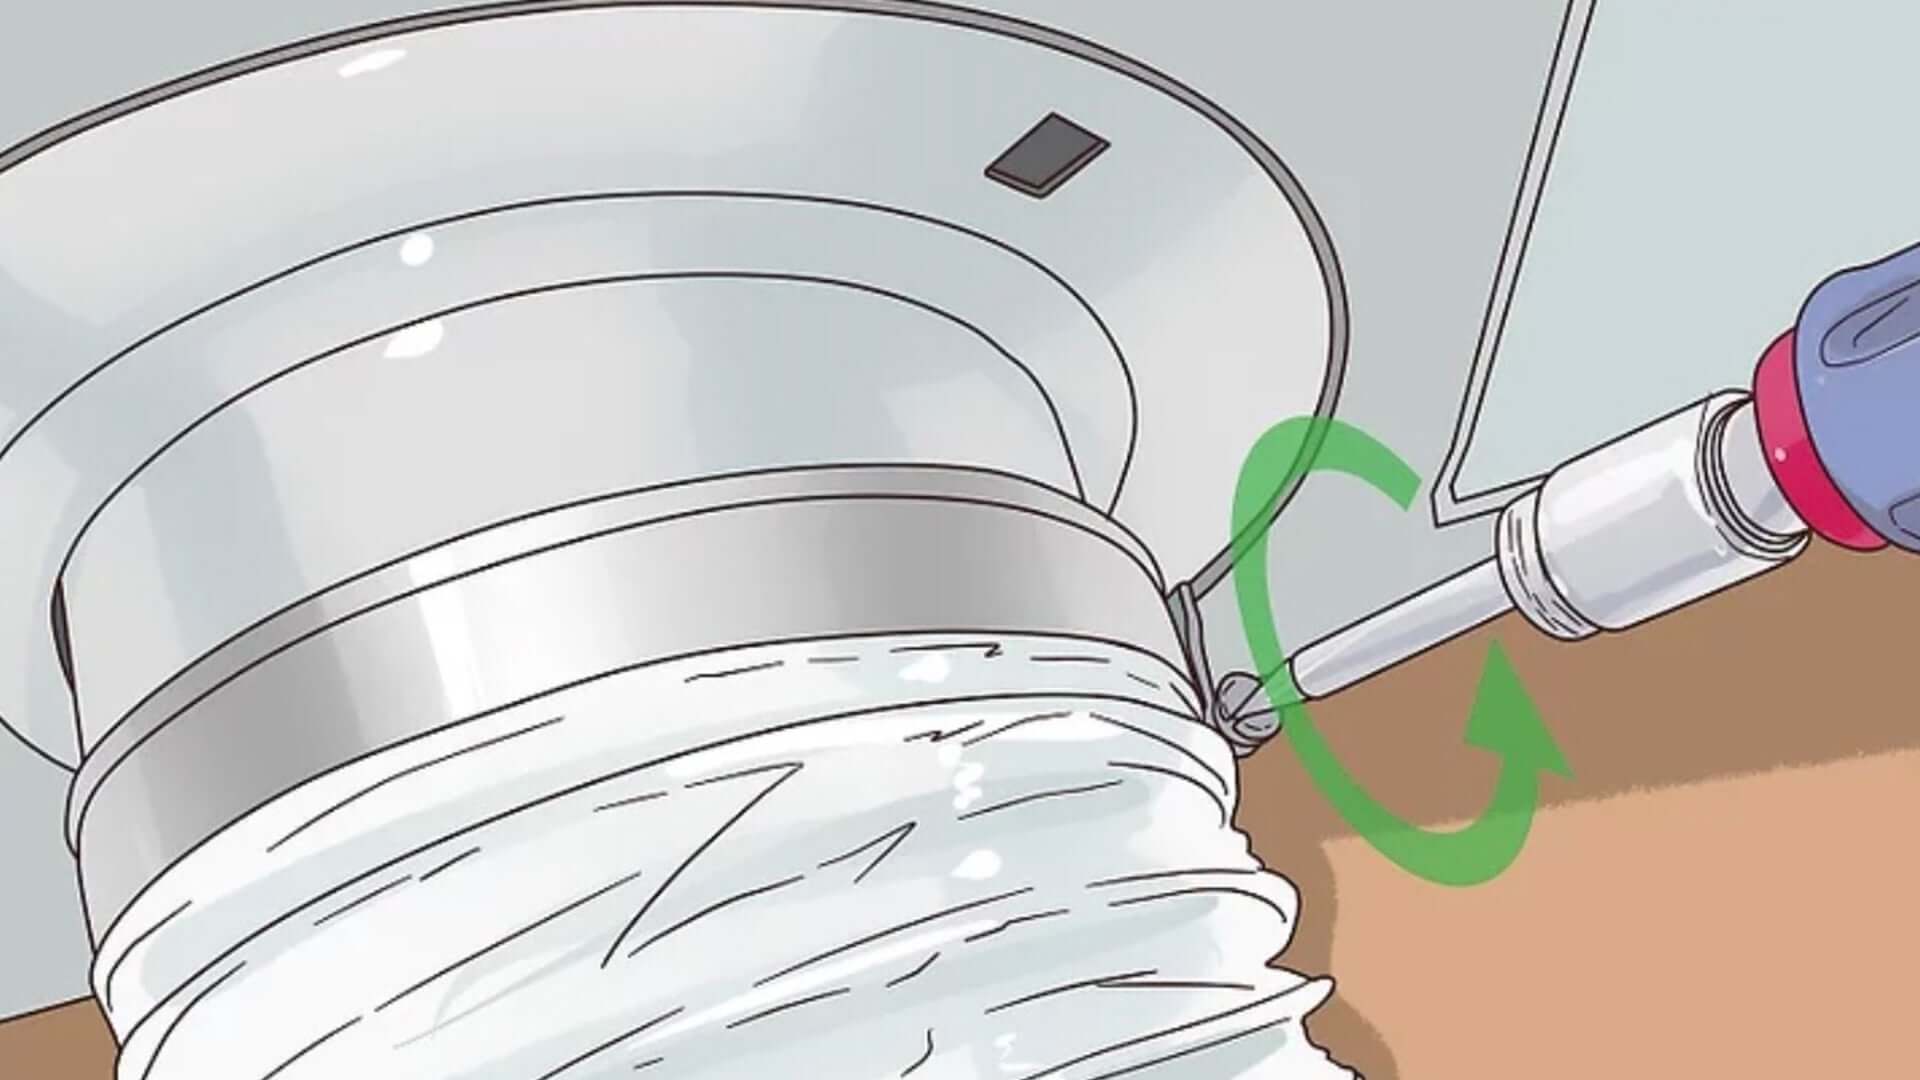
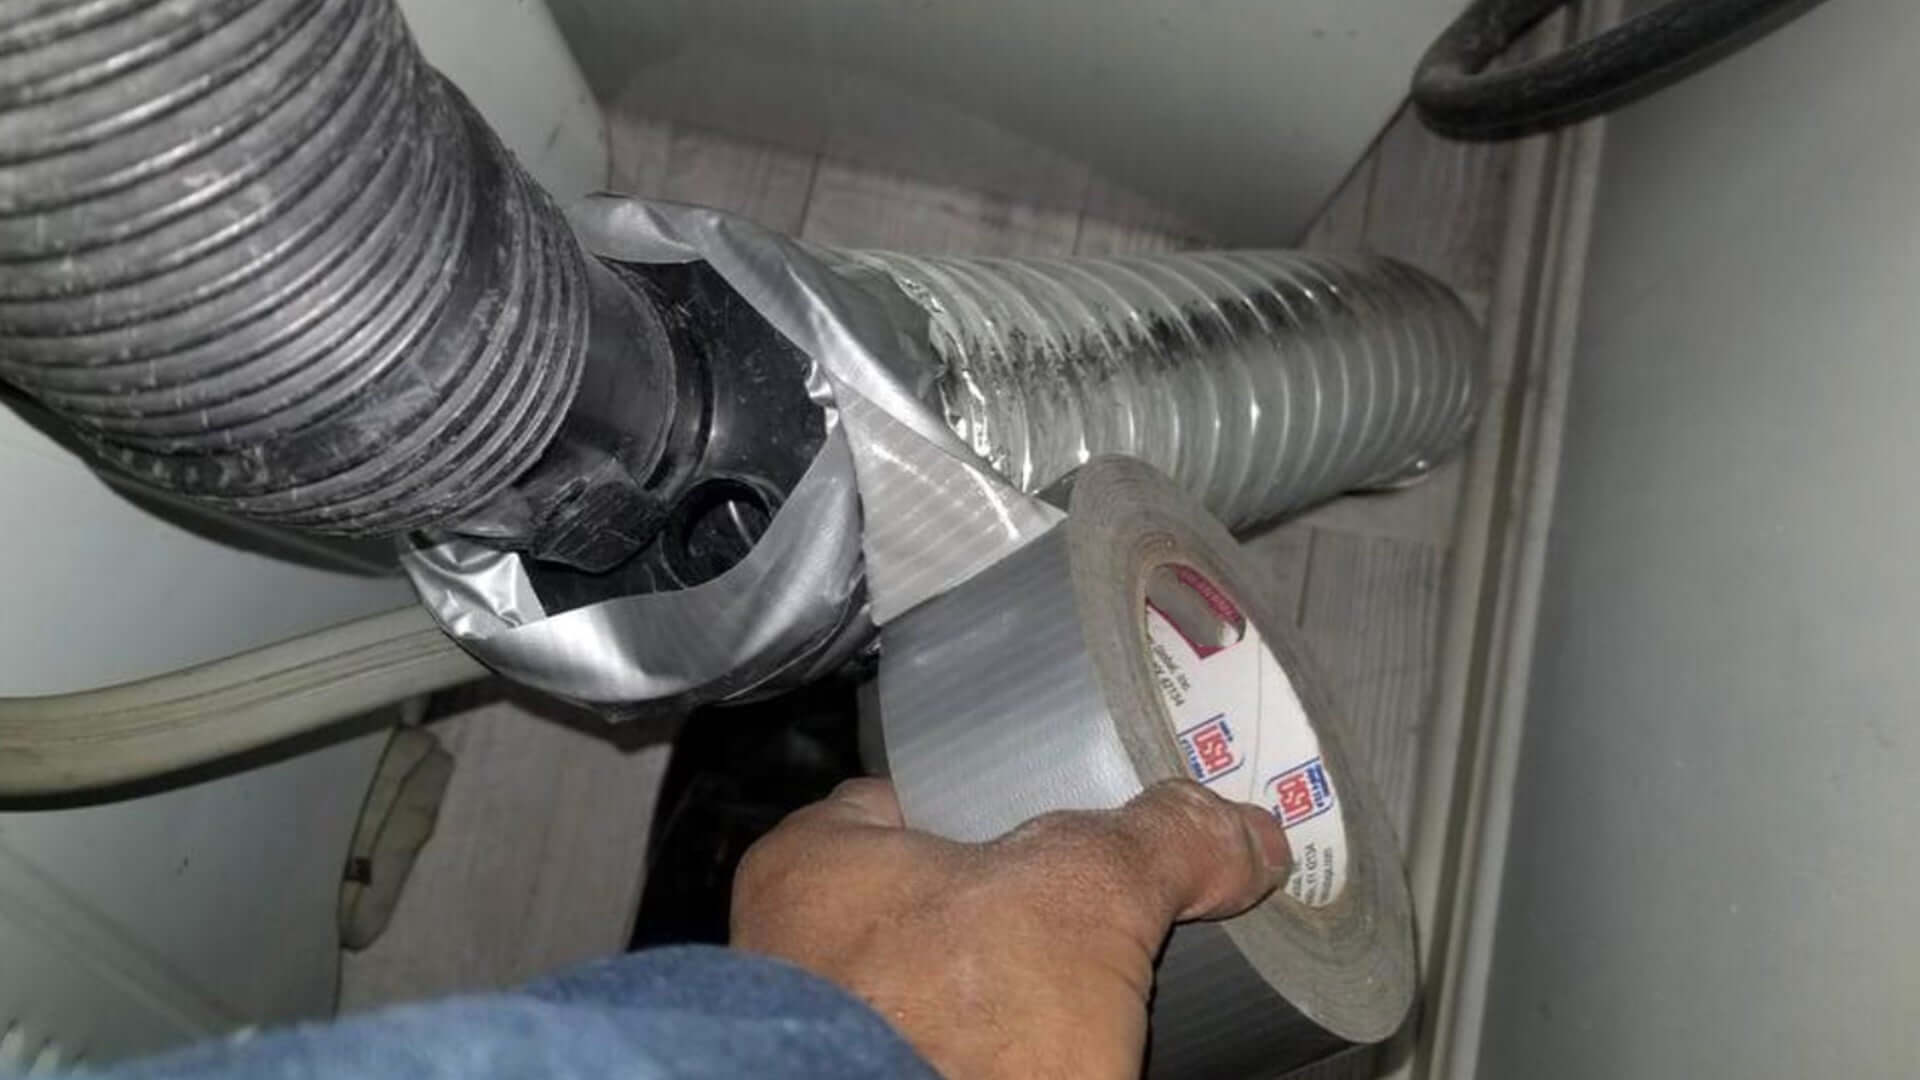
Step 4: Secure the New Hose
Attach the new hose to the dryer and then to the external vent. Secure each end with clamps to ensure a tight fit. Avoid any kinks or sharp bends.
Step 5: The Moment of Truth
Plug back in, fire up the dryer, and check around the hose for any leaks. If all feels airtight, you’re good to go!
Wrapping Up
Replacing your dryer vent hose with a suitable PVC, aluminum, or semi-rigid option can significantly upgrade the safety and functionality of your appliance. It's a practical DIY project that pays off by safeguarding your home against fire hazards and boosting your dryer's efficiency. Regular maintenance and timely upgrades can keep your dryer running smoothly for years to come. Happy drying!