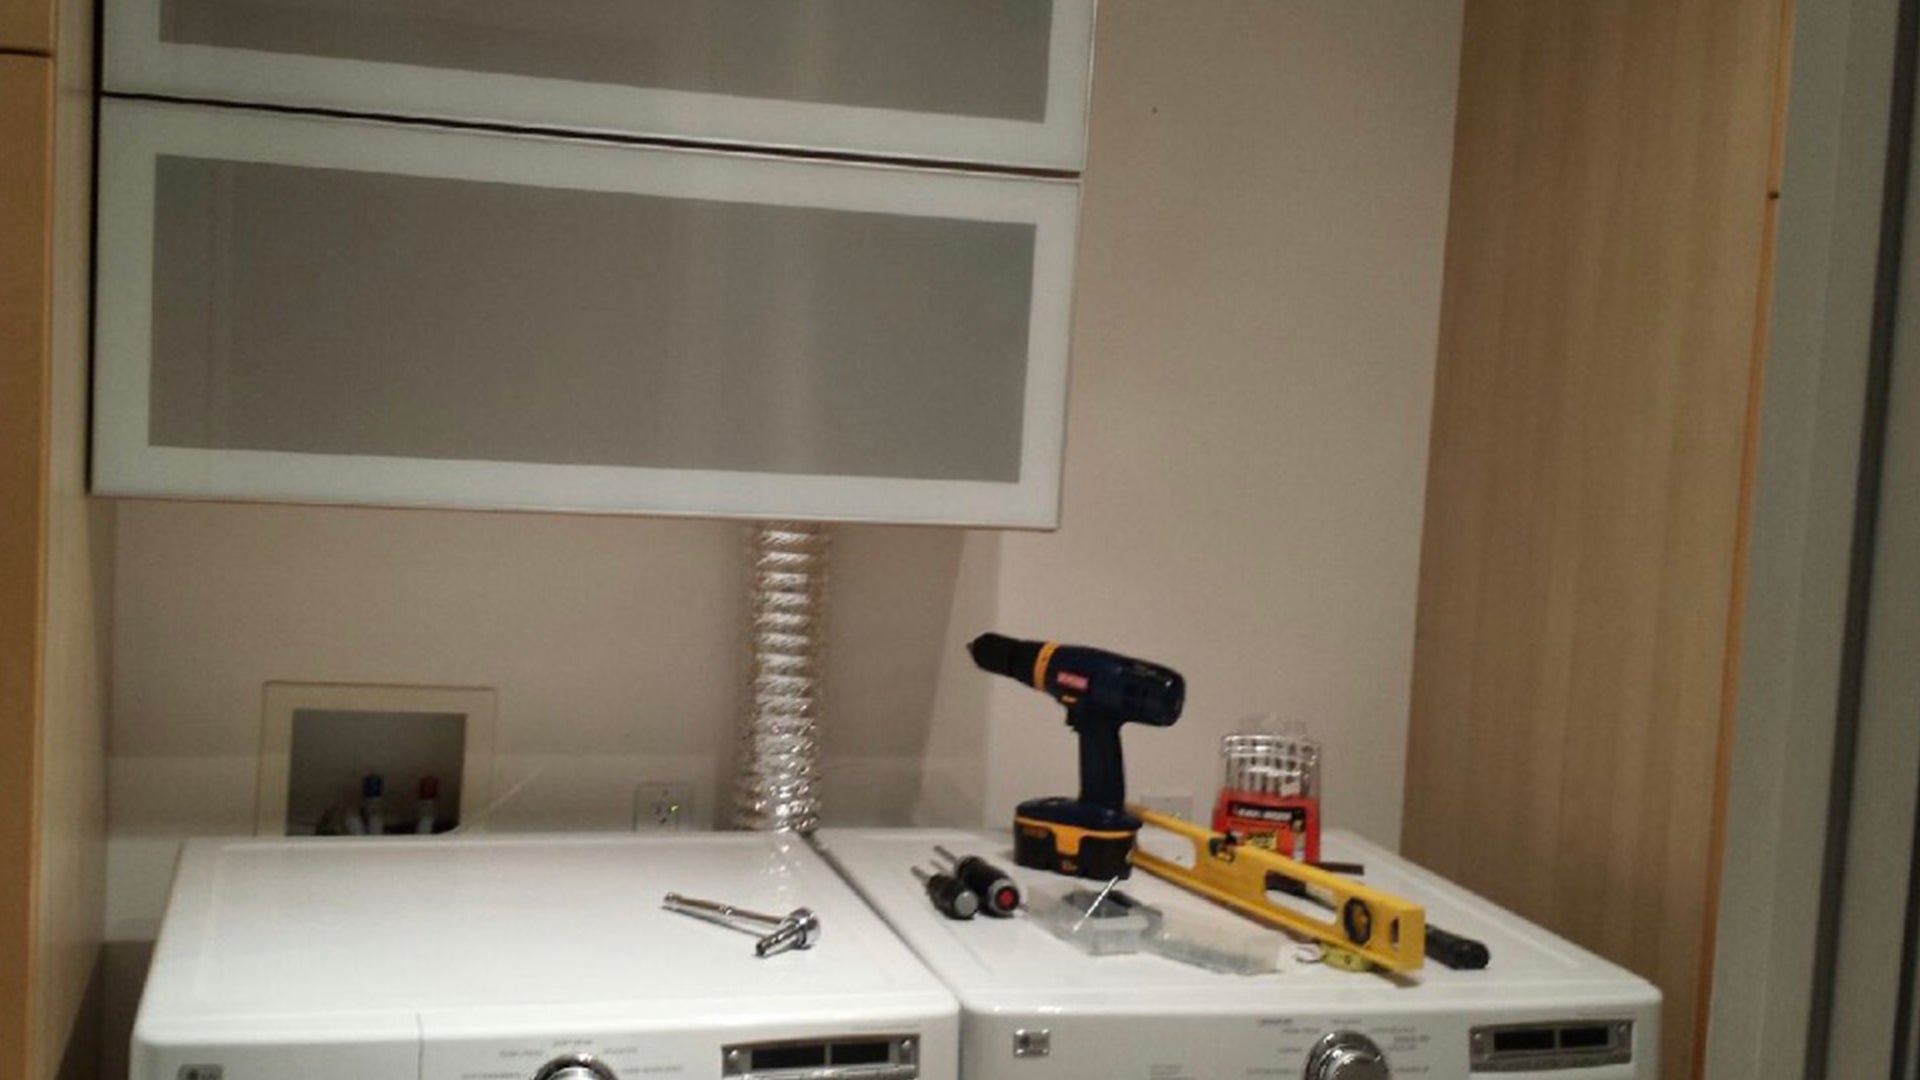
Tools & Materials Needed
● Aluminum foil dryer vent hose
● Hose clamps
● Duct tape
● Utility knife or tin snips
● Measuring tape
● Gloves (optional, for protection)
Steps to Cut a Dryer Vent Hose:

1. Measure the Required Length:
Begin by determining the amount of hose required to connect your dryer to the exterior vent. Measure the distance carefully, leaving a bit of extra length to accommodate any bends or curves in the hose path. This extra length ensures that the hose does not stretch or kink, which could impede airflow.

2. Prepare the Hose:
Stretch out the hose fully if it’s the type that expands and contracts. Lay it on a flat surface and straighten it as much as possible to ensure an accurate measurement and cut.
3. Mark the Cutting Point:
Use the measuring tape to find the right spot based on your earlier measurement. Mark the cutting point on the hose with a marker or a piece of tape.

4. Cut the Hose:
Using a utility knife or tin snips, cut the hose at the marked point. Be sure to cut as straight as possible. Tin snips are best for a cleaner cut, especially if the hose has a wire support around it.
5. Attach to the Dryer and Vent:
Slide a hose clamp over each end of the cut hose. Attach one end to the dryer’s vent connection and secure it with the clamp. Do the same with the other end at your wall or window vent. Tighten the clamps sufficiently to hold the hose firmly in place but avoid over-tightening, which could potentially damage the hose.
6. Seal the Hose:
For additional security and to prevent leaks, wrap duct tape around the outside of each hose connection. This helps seal any minor gaps or spaces where the hose meets the dryer and wall vent.

7. Check for Airflow:
Once everything is connected and secure, run the dryer on a short cycle to test for proper airflow. Check along the hose and connections for any air leakage, which might indicate a need for further tightening or adjustment.

Additional Tips
● Always ensure that the dryer vent hose does not get crushed or kinked, as this could significantly reduce airflow and lead to overheating.
● Regularly check and clean the vent hose to prevent lint buildup, which is a common fire hazard. This article will tell you how to avoid fires: How to prevent dryer fires
● Consider wearing gloves when cutting the dryer vent hose, especially if it contains sharp metal wires.
By following these steps, you can effectively cut and install your dryer vent hose, ensuring efficient operation of your appliance and reducing potential safety risks.


