Understanding the Importance of a Properly Installed Dryer Vent Hose
Before diving into the repair and replacement process, it's crucial to understand why a properly functioning dryer vent hose is vital. The dryer vent hose expels hot, moist air produced during the drying process to the outside of your home. If the vent hose is damaged or improperly installed, it could lead to increased drying times, higher energy costs, and even pose serious fire risks.
Signs of a Faulty Dryer Vent Hose
- 1. Visible Damage: Cracks, holes, or significant wear on the hose can allow lint to accumulate and pose fire hazards.
- 2. Inefficient Drying: Clothes taking longer to dry can indicate a blocked or damaged vent hose.
- 3. Excess Heat: The dryer and the room it's in feel unusually hot during operation, suggesting the vent is not expelling hot air effectively.
Step-by-Step Guide to Fixing a Dryer Vent Hose
Step 1: Assess the Damage
First, determine the extent of the damage to your vent hose. Disconnect the dryer from the power source and move it away from the wall for easier access.
Step 2: Remove the Existing Hose
Loosen the clamps or fittings that secure the hose to the dryer and the vent outlet. Carefully remove the hose and clean any lint from the dryer and vent opening.
Step 3: Choosing the Right Replacement
When choosing a replacement, consider the following materials:
● PVC Hose: Lightweight and inexpensive, PVC hoses are easy to install but not recommended for high heat situations as they can release toxic fumes when overheated.
● Aluminum Duct: Aluminum is more durable and heat-resistant than PVC, making it a safer option for high temperatures.
● Semi-Rigid Duct: This material offers a balance between flexibility and durability. It's more robust than aluminum foil ducts and less likely to crush.
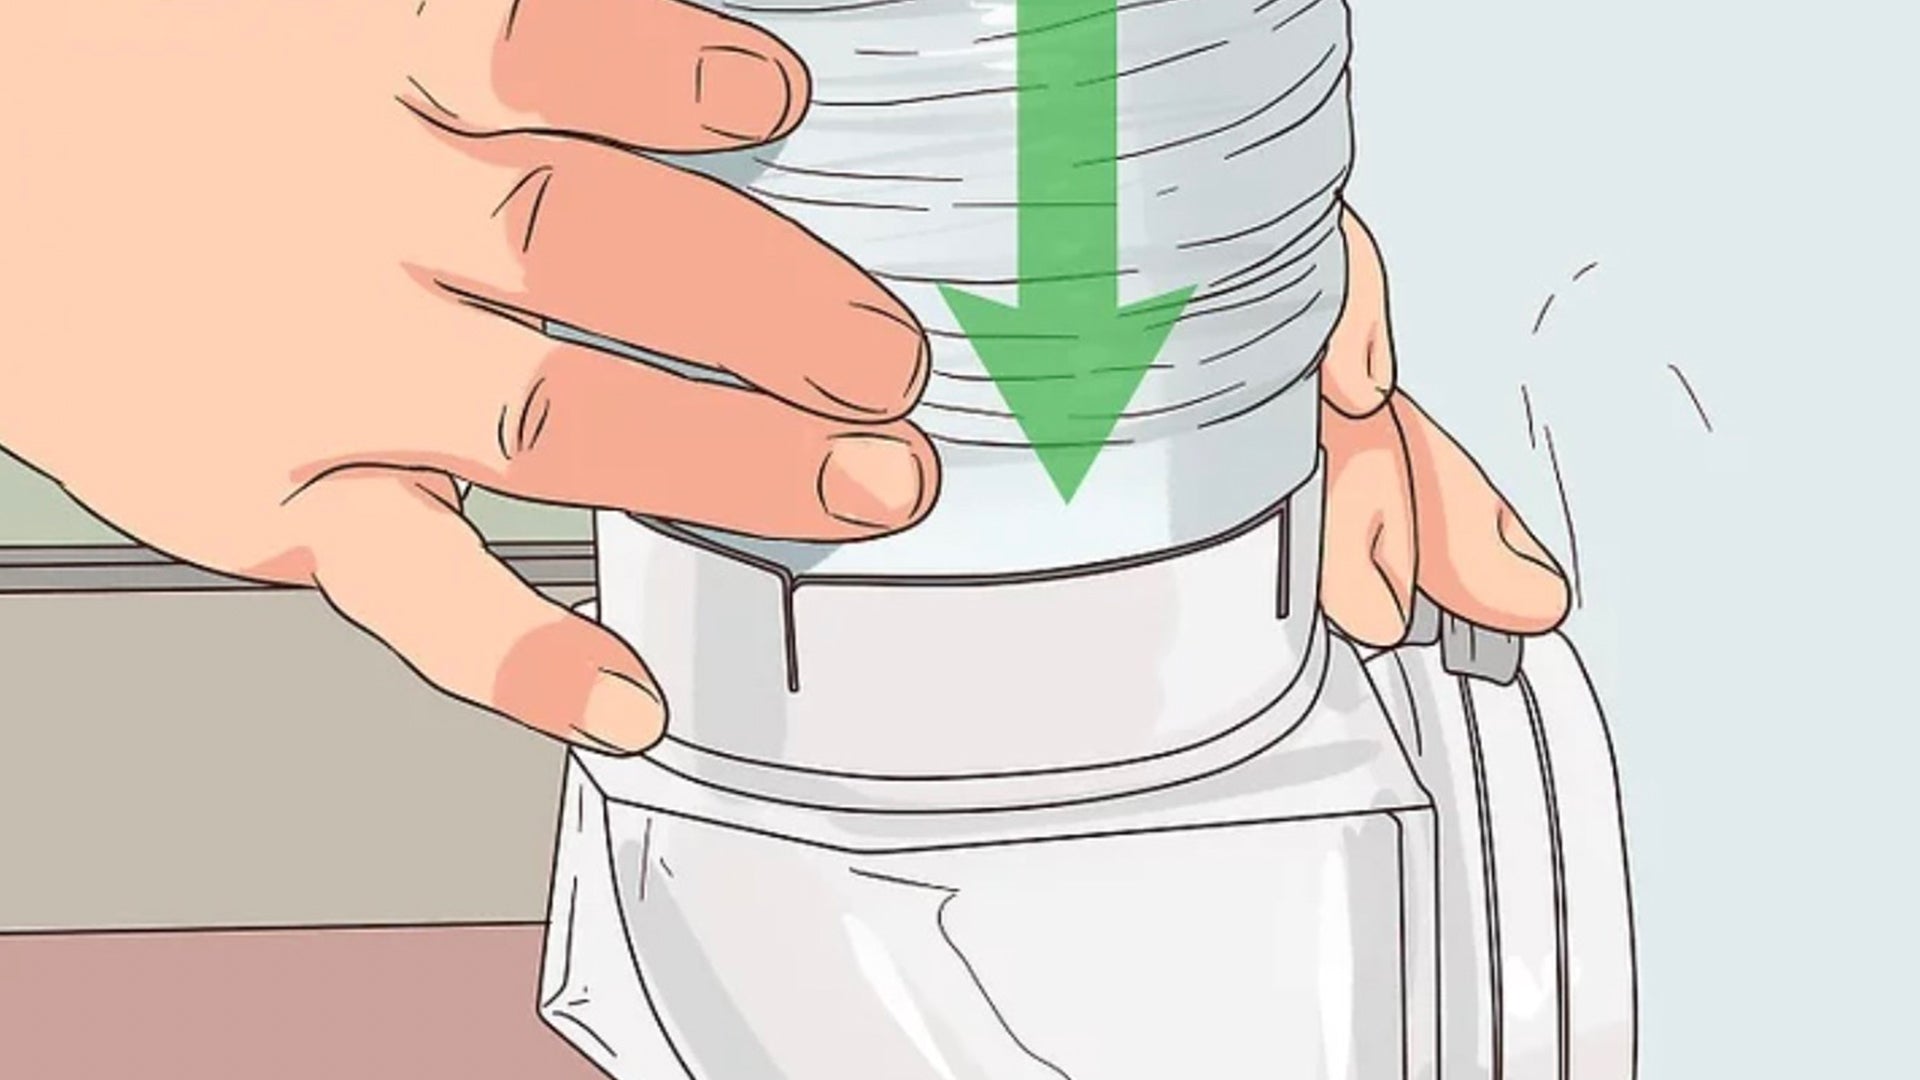
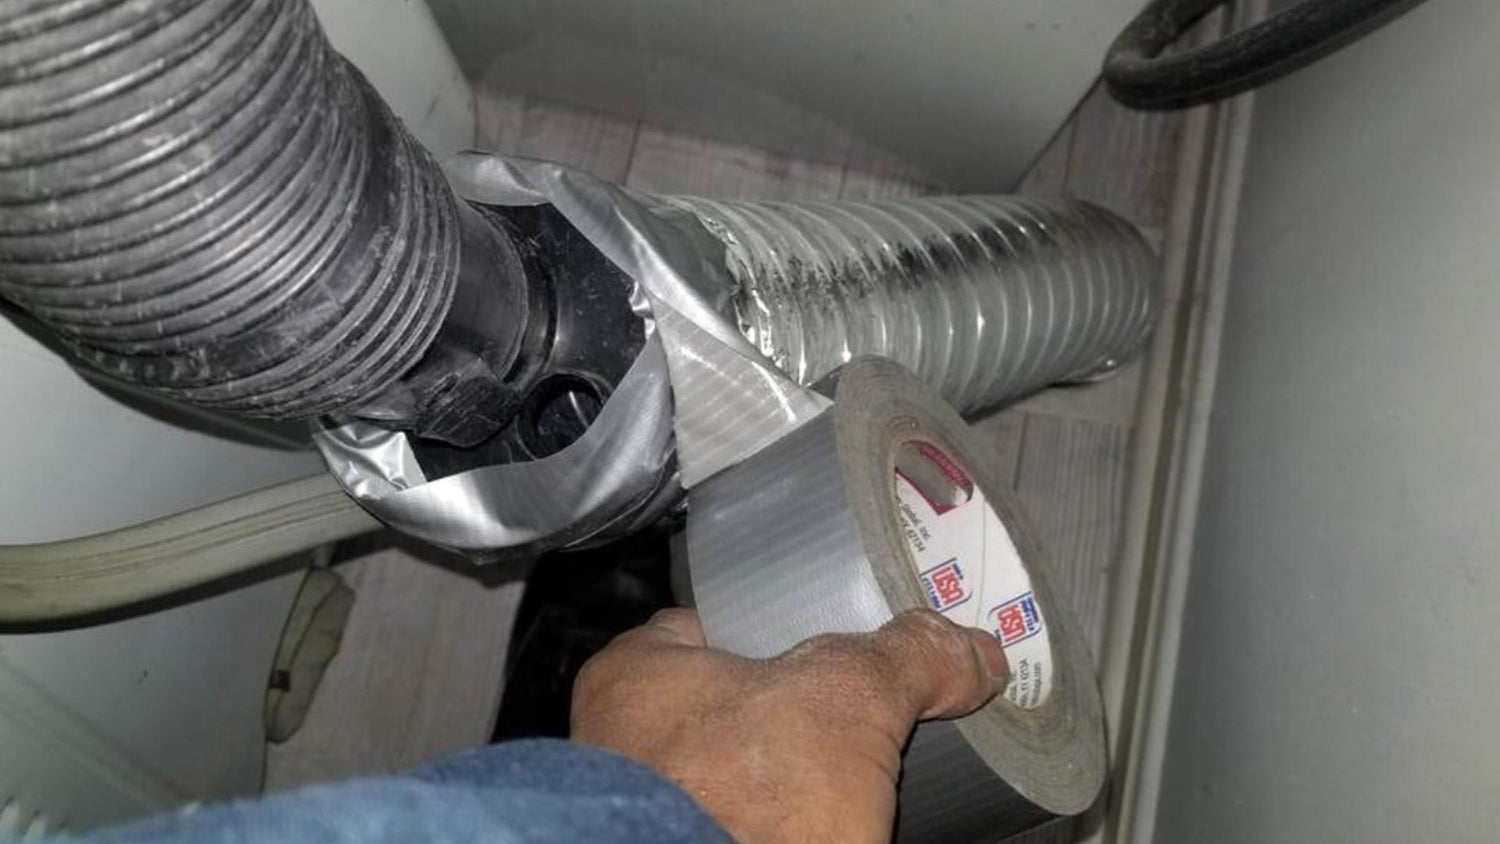
Step 4: Installing the New Hose
Measure and cut the new hose to the required length, ensuring it has the shortest and most direct path to the outside. Attach one end to the dryer’s outlet and secure it with a clamp. Then, connect the other end to the external vent, again using a clamp to secure it.
Step 5: Test the Installation
Plug the dryer back in and run a drying cycle to ensure everything is working correctly. Check for any air leaks or loose connections and adjust as necessary.
Maintenance Tips
● Regular Cleaning: Clean the lint filter after every load and inspect and clean the vent hose annually.
● Proper Routing: Ensure the vent hose is as short and straight as possible to maximize airflow.
● Monitor for Wear: Regularly check for any signs of wear or damage and replace the hose as needed.
Conclusion
Fixing or replacing a dryer vent hose is a critical maintenance task that can improve your dryer’s efficiency and prevent hazards. Choosing the right material—PVC, aluminum, or semi-rigid—depends on your specific needs and safety considerations. With the right tools and a bit of know-how, you can ensure your dryer operates safely and efficiently for years to come.
Remember, maintaining your dryer vent is not just about efficiency; it's a crucial step in ensuring the safety of your home and family.