Learning how to install a wall vent cover is one of the simplest and most cost-effective ways to improve your home’s ventilation system. A properly installed exterior wall vent cover helps expel heat, moisture, and odors while preventing cold air, pests, and debris from entering your home.
Many homeowners overlook wall vent covers until problems appear — such as cold drafts, moisture stains, longer dryer times, or even pest intrusion. The good news is that wall vent cover installation is usually a quick DIY project that takes less than 10 minutes and requires only basic tools.
In this guide, you’ll learn exactly how to install a wall vent cover step by step, what tools you need, common mistakes to avoid, and how to choose the right exterior wall vent cover for long-term performance.
What Is a Wall Vent Cover?
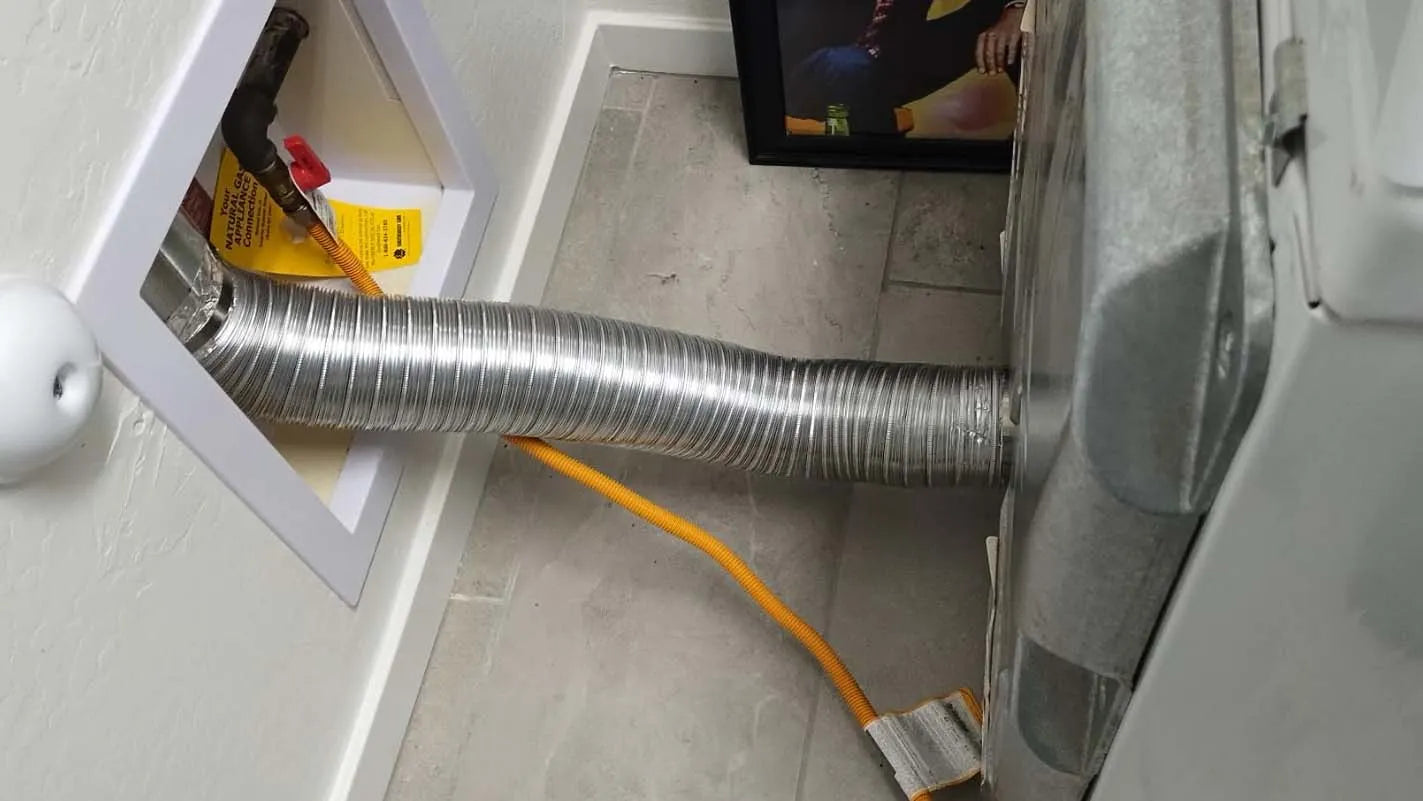
A wall vent cover is the exterior termination point of a ventilation system. It allows indoor air to exit the home while blocking rain, wind, insects, rodents, and outdoor debris from entering.
Exterior wall vent covers are commonly used for:
- Dryer exhaust vents
- Bathroom exhaust fans
- Range hood ventilation
- HVAC exhaust systems
Because wall vent covers are exposed to weather year-round, selecting the right material and installing it correctly is critical for proper airflow and home protection.
Tools and Materials Needed
Before starting your wall vent cover installation, gather the following tools and materials:
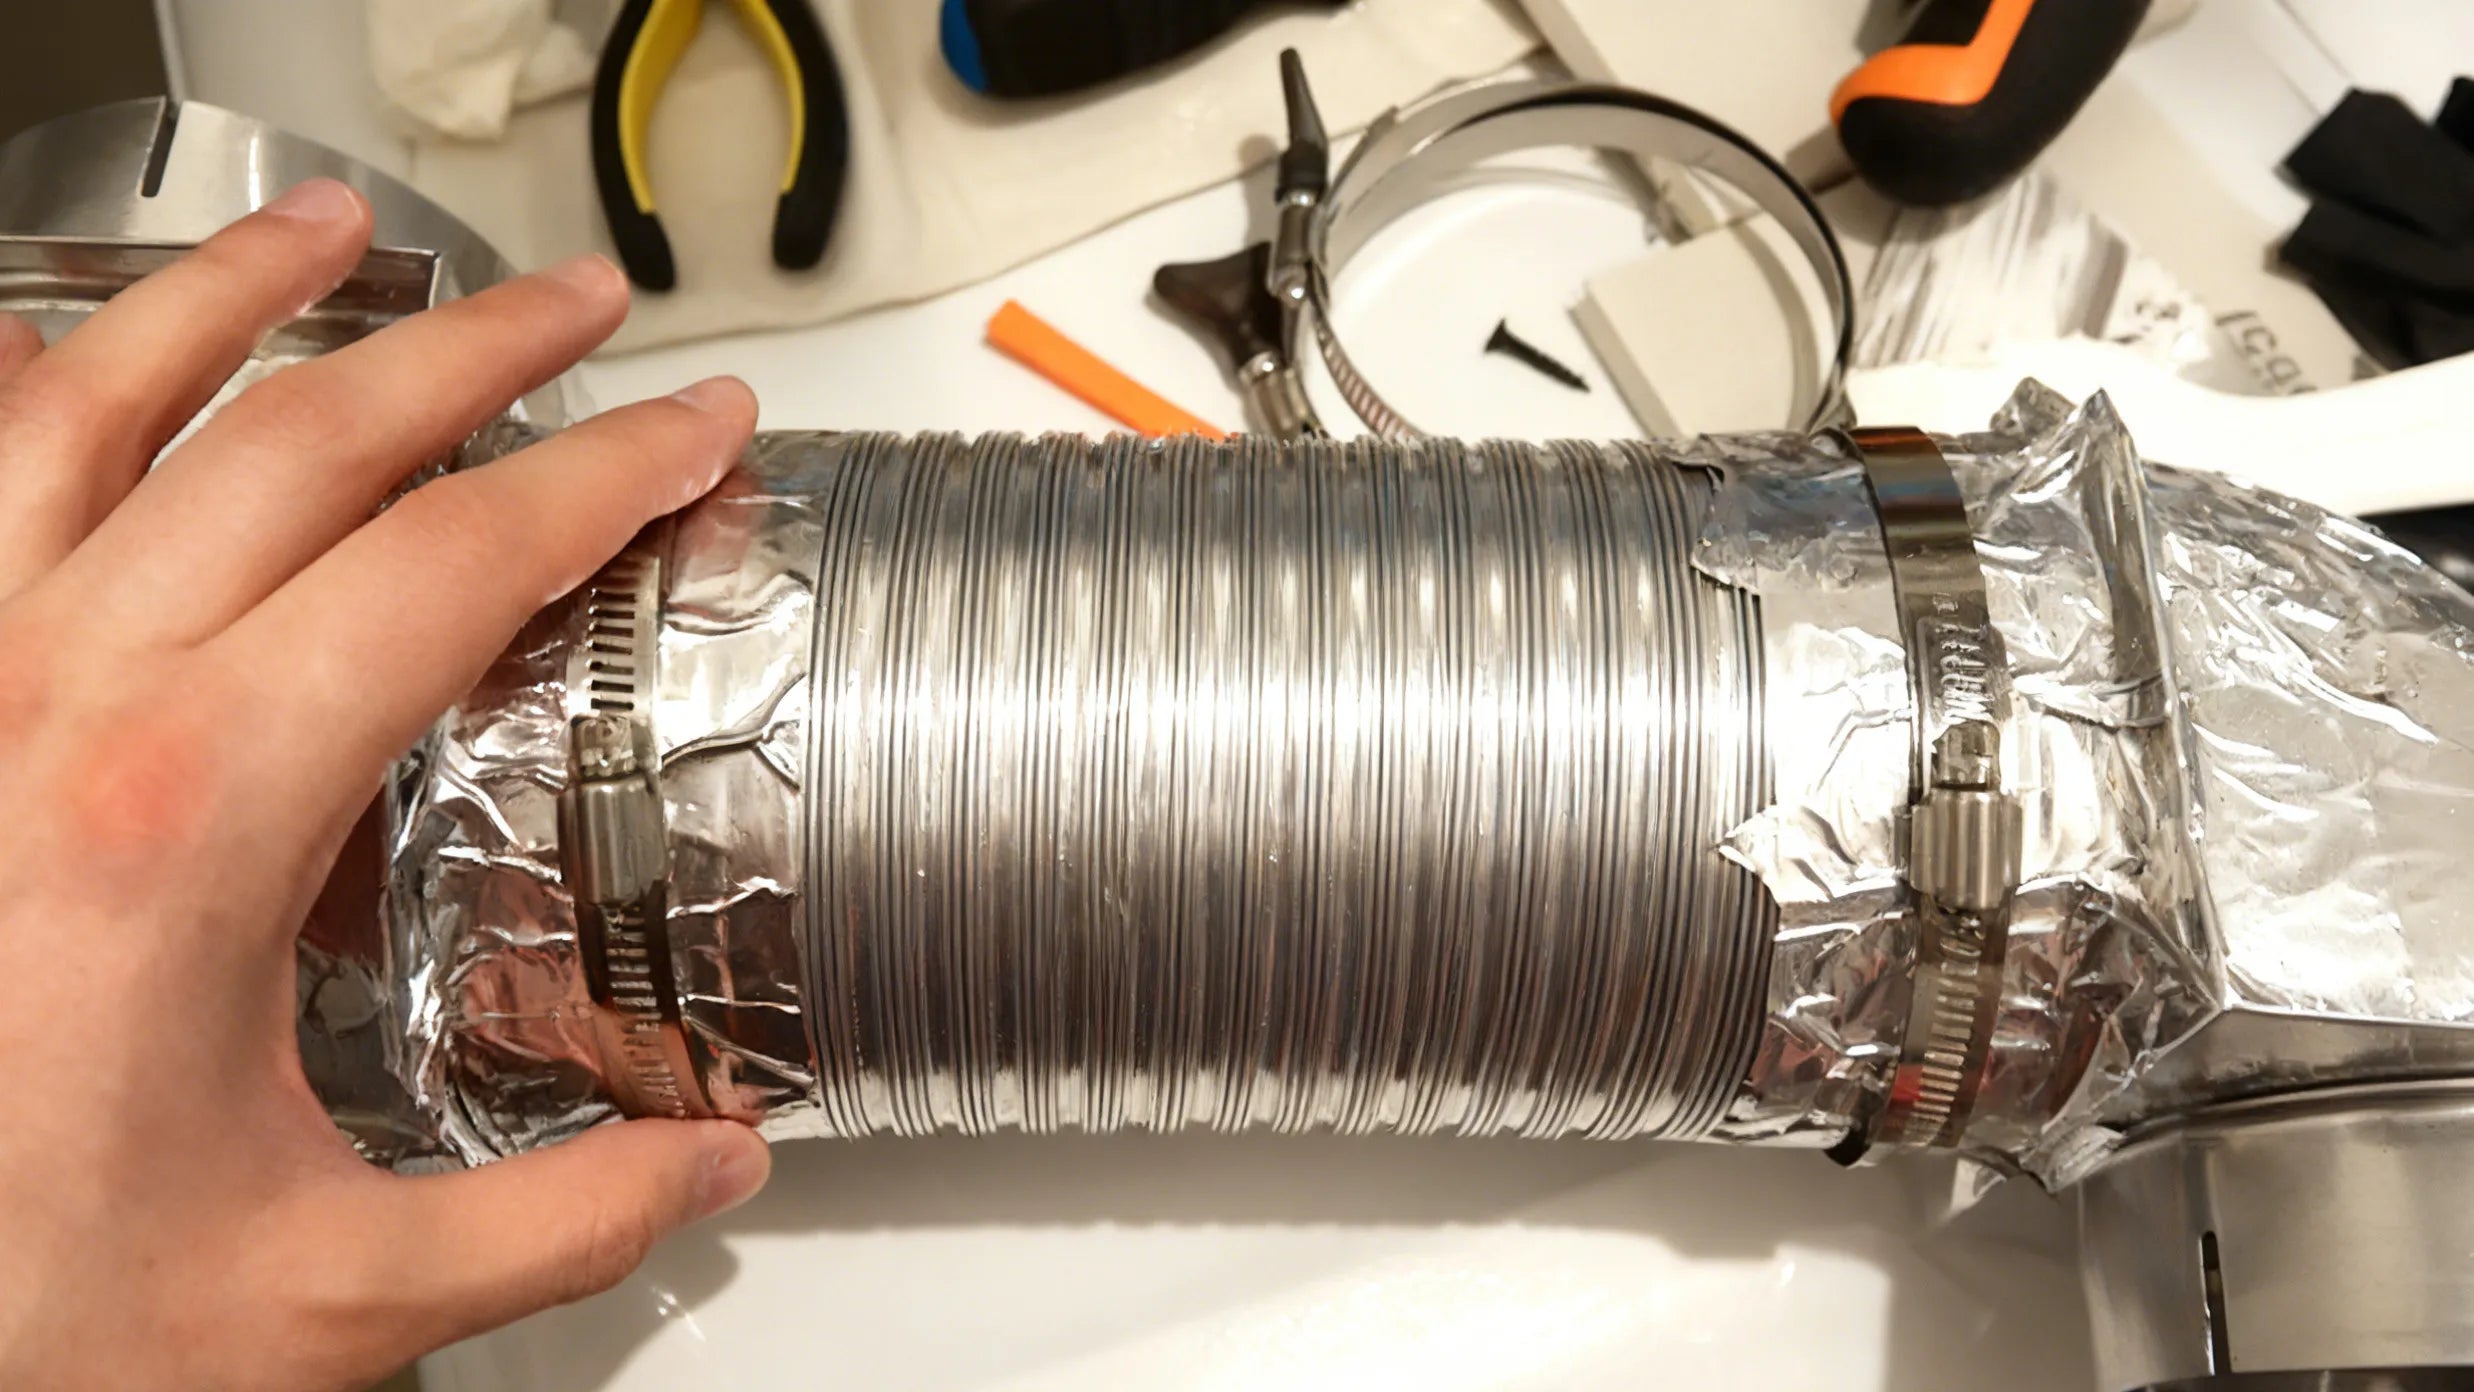
- New wall vent cover (4-inch or 6-inch, depending on your duct size)
- Screwdriver or power drill
- Mounting screws (usually included)
- Exterior-grade caulk or sealant
- Utility knife or scraper (optional)
- Work gloves (optional)
Tip: Measure the existing vent opening before purchasing a replacement. Installing the wrong size wall vent cover can restrict airflow and reduce efficiency.
A Practical Upgrade for Easier Vent Maintenance
If you’re upgrading or replacing an exterior wall vent cover, choosing a metal vent cover with a removable grid can make long-term maintenance much easier. Unlike standard vent covers with fixed flaps, this design allows the grid to be detached and cleaned, helping prevent dust, grease, and debris buildup in kitchens, air conditioning exhausts, and other high-use ventilation areas.
The vent cover features a magnetic damper that stays tightly sealed when airflow is not in use, reducing cold air backdrafts and keeping insects and debris out. When the system is running, the damper opens smoothly to allow proper ventilation without restricting airflow.
Constructed from durable, rust-resistant metal, this exterior wall vent cover is designed to withstand outdoor weather conditions better than plastic alternatives. A built-in rubber gasket also helps reduce vibration and noise while ensuring a secure fit.
Compatible with standard hoses or metal pipes, it’s suitable for bathrooms, kitchens, garages, RVs, and other indoor or outdoor ventilation applications. Link here!
How to Install a Wall Vent Cover
Step 1: Remove the Old Wall Vent Cover
Begin by unscrewing the existing exterior wall vent cover from the wall. Carefully pull it away from the siding or exterior surface.
Use a utility knife or scraper to remove old caulk, sealant, or debris around the vent opening. A clean surface ensures a tight seal for the new wall vent cover.
Step 2: Inspect and Clean the Vent Opening
Before installing the new vent cover, inspect the duct opening for lint buildup, blockages, or moisture.
This step is especially important for dryer wall vent covers, where lint accumulation can restrict airflow and increase fire risk.

Step 3: Insert the New Wall Vent Cover
Align the vent cover neck with the duct opening and gently slide it into place until the base sits flush against the exterior wall.
Check that the wall vent flap or damper opens freely and is not obstructed by the duct or wall surface.
Step 4: Secure the Wall Vent Cover
Use screws to attach the vent cover to the wall. Tighten until secure, but avoid overtightening, which can crack plastic covers or warp metal ones.
Step 5: Seal the Edges Properly
Apply exterior-grade caulk around the perimeter of the wall vent cover. This creates a weatherproof seal that prevents:
- Water leaks
- Air drafts
- Insect and pest entry
Be careful not to apply caulk inside the vent opening or over the vent flap.
Step 6: Test the Ventilation System
Turn on the appliance connected to the vent (dryer, bathroom fan, or range hood) and observe airflow.
Confirm that air exits smoothly and the exterior vent flap opens and closes properly.
Common Wall Vent Cover Installation Mistakes to Avoid
- Installing the wrong size exterior wall vent cover
- Blocking the vent flap with excess sealant
- Skipping the sealing step entirely
- Using indoor-only caulk on exterior walls
Avoiding these mistakes helps ensure proper airflow and extends the life of your wall vent cover.
Can You Install a Wall Vent Cover Without a Professional?
Yes. In most cases, homeowners can complete a wall vent cover replacement without hiring a contractor.
If the existing duct is intact and accessible, installing a new exterior wall vent cover is a straightforward DIY project that saves time and money.
How Often Should You Replace a Wall Vent Cover?
Wall vent covers typically last between 5 and 10 years, depending on material quality and exposure to weather.
You should consider replacing your wall vent cover if you notice:
- Cracks or rust
- A stuck or broken vent flap
- Cold air drafts
- Pest intrusion
- Reduced airflow efficiency
How to Choose the Right Exterior Wall Vent Cover
When selecting a new wall vent cover, look for:
- Durable materials such as stainless steel
- Smooth-operating gravity flaps or dampers
- Weather and corrosion resistance
- Easy installation design
High-quality exterior wall vent covers last longer and perform better than low-cost plastic alternatives.
Final Thoughts
Knowing how to install a wall vent cover allows you to improve ventilation, prevent moisture problems, and protect your home with minimal effort. This simple upgrade can make a noticeable difference in airflow efficiency, comfort, and long-term home maintenance.
Back to Top